Best photo and video settings for the DJI Mavic 2 Pro
Tips and settings for getting the best possible photos and videos from the DJI's fantastic drone

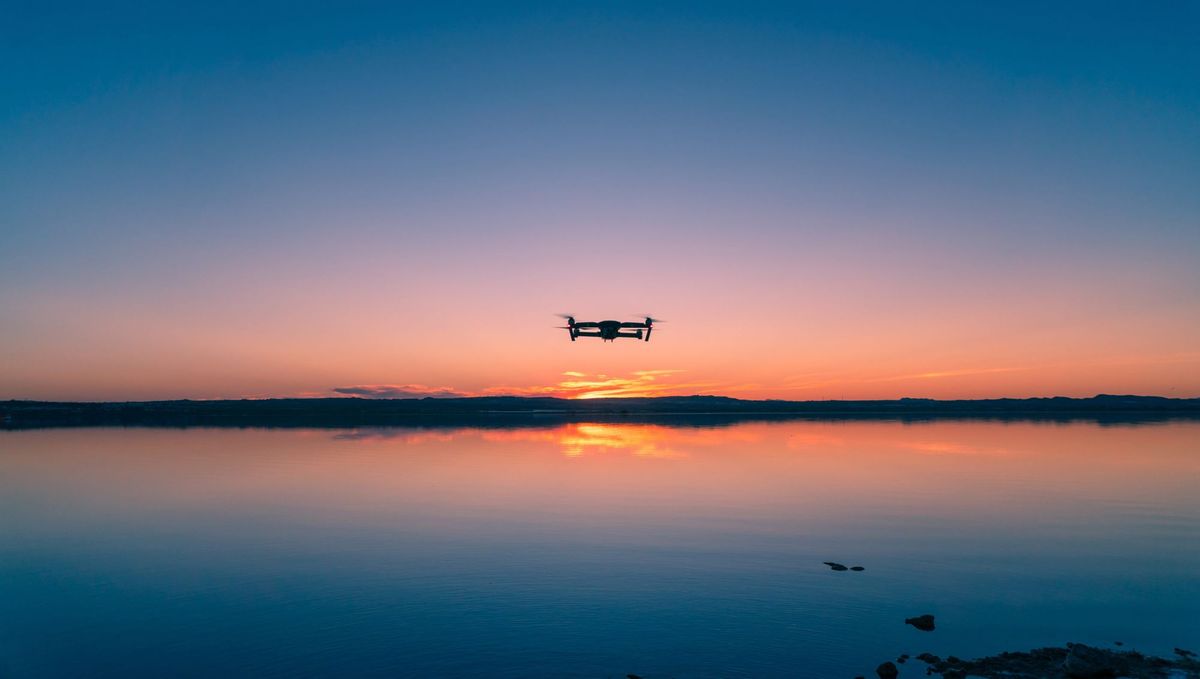
For the past year, I’ve been using the DJI Mavic 2 Pro drone for aerial photography and b-roll for travel videos shared through my YouTube channel. Over time, I’ve experimented with the drone’s settings to figure out how to get the highest quality photo and video, and have arrived at a list of recommended settings.
Casual or Pro?
Before I get into settings, there’s an important distinction to make regarding the type of user flying the drone. I’m breaking this up into two groups: “Casual” and “Pro”.
A “Casual” user is someone who wants shareable photos and videos straight-out-of-camera without any additional editing or post-processing work required.
A “Pro” user is someone who wants full customization and control over their photos and videos and is comfortable using software to post-process their content.
For the rest of this guide, I’ll recommend separate settings for “Casual” and “Pro” where appropriate.
Optimal Mavic 2 Pro settings for photography
Alright, without further ado, here are the best photography settings for the Mavic 2 Pro.
Exposure: Manual
Aperture: f/2.8-f/5.6
Shutter: At or above 1/60 second
ISO: 100
Photo: Single Shot
Image Ratio: 3:2
White Balance: Auto
Image Format: DNG (“Pro” users) or JPG (“Casual” users)
Intelligent Flight Mode: Tripod
Let’s walk through these settings in more detail.
Exposure
There are four exposure options on the Mavic 2 Pro: “Auto”, “Aperture Priority”, “Shutter Priority”, and “Manual”. By default, the camera is set to Auto, which means that the Mavic controls aperture, shutter speed, and ISO. In my experience, Auto exposure is anything but optimal, for the drone may pick sub-optimal values. For that reason, I recommend always shooting in Manual.
Aperture
It’s great that the Mavic 2 Pro provides aperture control (unlike older drones and the Mavic 2 Zoom), but in my experience, its practical aperture range is only f/2.8 to f/5.6. After f/5.6, image quality drops significantly; resulting in a loss of sharpness and clarity. In summary, start with your Aperture set to f/4, then stop up or down to f/2.8 or f/5.6 if necessary.
Shutter Speed
There’s a general rule of thumb in handheld photography that says your shutter speed should never be slower than the focal length of your lens multiplied by two. The Mavic 2 Pro’s lens has a fixed focal length of 28mm, which means you should always set your shutter speed to 1/60 or higher.
ISO
ISO is similar to Aperture, for it also has a limited quality range. When set too high, the camera introduces heavy noise and additional loss of sharpness and clarity. Always start with ISO set to 100 unless you need to let in more light (tips for doing that in a minute).
Photo Type
For simplicity, I prefer shooting Single photos. There is a bracketing option where the camera automatically captures brighter and darker photos for the purposes of blending in post, but in that mode the Mavic 2 Pro raises/lowers exposure by less than one stop (0.7 to be exact). The net result is 3 nearly identical images. For that reason, and to conserve SD card space, I use “Single”. If I need additional exposures for blending, I can raise/lower exposure myself and capture my own bracketed images.
Image Ratio
I prefer 3:2 because it mimics the shape of 35mm film and matches my non-drone photos.
White Balance
For photography, the default “Auto” setting is fine. For “Pro” users shooting DNG (more on this next), White Balance setting actually doesn’t matter because it can be fully editable in post.
Image Format
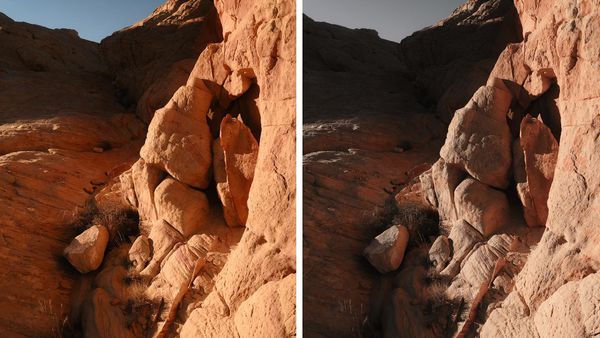
This one is important! If you are a “Pro” user, always use DNG (RAW). Shooting in RAW provides better image quality and far more customization and control without compression. You’re getting digital data straight from the sensor. Editing RAW requires software like Adobe Photoshop, Lightroom, or other apps, plus some experience editing photography in order to get good results. If you are a “Casual” user who has no interest in editing their photos, always use JPG. Shooting “DNG” files without the requisite software or experience will give you washed-out, ugly images.
Intelligent Flight Mode
This isn’t a camera setting, but rather a flight mode. On the right side of the Mavic 2 Pro controller, drop the flight mode switch down to “T” for “Tripod” mode. The drone will then prioritize stability over speed, which results in sharper photos. Typically what I do is use Sport mode (“S”) to fly the drone to its target, then downshift to “T” before capturing an image. In summary, shoot in Tripod (“T”) flight mode.
Optimal Mavic 2 Pro settings for video
Most of the aforementioned settings for photography carry over to video, but there are a few notable additions and edits I’ll point out.
Exposure: Manual
Aperture: f/2.8-f/5.6
Shutter: 1/60 second (or twice your selected FPS)
ISO: 100
Camera Video Coding: H.265
Video Size: 4K HQ / 30 FPS
White Balance: Anything but Auto
Style: Sharpness (Triangle icon) 0, Contrast (Circle icon) -1, Saturation (Square icon) 0
Color: DLog-M (“Pro” users) or Normal (“Casual” users)
Exposure
Always shoot in Manual. This is especially important for video.
Aperture
For optimum sharpness and clarity, set Aperture to f/4, then stop up or down to suit.
Shutter Speed
1/60 second when filming in 30 FPS. I’ll talk more about FPS in a minute, but for now, know that — with video — your shutter speed should be set to FPS multiplied by two (and then rounded up). For example, 24 FPS = 1/50 second. 60 FPS = 1/120 second. This is the classic “180-degree shutter rule” for natural motion blur in your footage.
ISO
Start with ISO 100, then raise if necessary to let in more light. Try to keep it under 800 for noise control.
Camera Video Encoding
The latest and greatest video codec is H.265, so you may as well use it. No need to select H.264 unless you need it.
Video Size
Okay, this is where things get…interesting! The Mavic 2 Pro offers a range of resolutions and frame rates for video:
- 4K HQ (3840×2160) — 24/25/30 FPS
- 4K Full FOV (3840×2160) — 24/25/30 FPS
- 2.7K (2688×1512) — 24/25/30/48/50/60 FPS
- 1080P (1920×1080) — 24/25/30/48/50/60/120 FPS
For the highest quality video footage, I recommend 4K HQ at 30 FPS. Why? First, 1080p video looks unusually bad on the Mavic 2. Don’t use it. As for 2.7K, it’s better than 1080p, but not as good as 4k, so unless you’re trying to save disk space there’s no point in using it.
That leaves us with 4K HQ and 4K Full FOV. “HQ” stands for (you guessed it) “High Quality” for superior sharpness with a slight crop. “Full FOV” stands for “Full Field of View” and is used when shooting 4K video using the full wide-angle field of view of the 28mm lens. “Full FOV” will give you a wider, more distant image, but sharpness is a bit softer than “HQ”.
As for the choice of 30 FPS, this may come as a surprise to filmmakers accustomed to shooting in 24 FPS, but for the Mavic 2 Pro, I recommend 30 FPS. Why? Because drones are susceptible to bumps and jitters thanks to wind and sudden movement, which can cause 24 FPS footage to sometimes look a bit choppy. 30 FPS is just a touch smoother and looks just as natural/cinematic as 24 FPS. With my footage, I interpolate 30 FPS drone footage to 24 FPS timelines and the footage always looks great.
White Balance
Never use Auto when shooting video! This will cause very noticeable white balance shifts in your footage. I set my white balance to a fixed value (eg, “Cloudy” or “Custom”) and forget about it so all my footage uses the same setting.
Style
Personally, I find the Mavic 2 Pro to be too sharp, saturated and contrasty by default. With that, I set Sharpness to 0, Contrast to -1 and Saturation to 0. Adjust these to taste.
Color
In addition to “Video Size” (see earlier), this setting has a profound impact on video and should be edited with caution. For “Pro” users, use “DLog-M”. This is DJI’s “log” profile for video. Footage will look unusually flat and low-contrast, but that’s intentional for maximum control in post when color-grading. It’s also worth pointing out that DLog-M uses 10-bit color instead of the standard 8-bit. This gets kind of technical, but all you need to know is that 10-bit packs more shades of color; resulting in higher-quality, more accurate footage. For “Casual” users, select “Normal”. This will avoid the complications imposed by “DLog-M”.
Controlling exposure
Pfew, that was a lot of technical information! If you’ve made it this far, by now you should have a good baseline of settings for shooting photos and/or videos.
The next step is understanding what to do in situations when you need to manually edit exposure to make your image lighter or darker. This is important to know, for when shooting with a “Manual” exposure (as described above) the Mavic isn’t going to help you out. It’s up to you to make the requisite changes. Here are some tips for both photos and videos.
Photo is too dark
First, open your aperture to f/2.8. To let in even more light, incrementally drop the shutter speed to 1/60 (and then stop). If that’s still not enough, slowly raise your ISO until your exposure looks acceptable.
Photo is too bright
First, make sure ISO is set to 100. Next, stop-down your aperture until you reach f/5.6 or f/8 at most. If that’s still not enough, raise your shutter speed as high as necessary. If the image is then still too bright, see the next section on neutral density filters.
Video is too dark
First, open your aperture up to f/2.8. If that’s not enough, slowly raise your ISO until your exposure looks acceptable.
Video is too bright
First, make sure ISO is set to 100. Next drop-down your aperture until you reach f/5.6 or f/8 at most. If that’s still not enough, see the next section on neutral density filters.
Recommended Mavic 2 Pro accessories
Neutral density filters
In order to maintain the natural, cinematic frame rate/shutter speed combination I wrote about above, there’s no way to darken your video past the camera’s minimum aperture without a neutral density (ND) filter. From my perspective, this is the first third-party accessory you should absolutely buy for the Mavic 2 Pro.
ND filters not only help reduce incoming light in bright conditions, but they also reduce haze, improve clarity, and saturate colors (just a little more).
Which ND filters do I recommend? The PolarPro Cinema Series 6-Pack. These filters can be attached and removed easily, stay in place, cause minimal color cast, and come with circular polarizers to help reduce reflections on hard surfaces. There are cheaper drone ND filter sets out there, but I’ve had great results from this pack and feel they’re worth every penny (especially for video).
More accessories
Neutral density filters are the most important add-on, but there are more accessories you can add to make flying the drone easier, safer, and more enjoyable. Here’s a list of recommended products.
Summary
There’s a lot of information in this post to digest and put to use, but so take your time and experiment. Edit the drone’s settings following my recommendations, put the drone up in the sky, and capture photos and videos to get acquainted with the changes. It’s worth doing this in your backyard or wherever you live before using the drone for something important in the future. You’ll be creating higher-quality photos and videos in no time!


