10 step raw photo processing framework
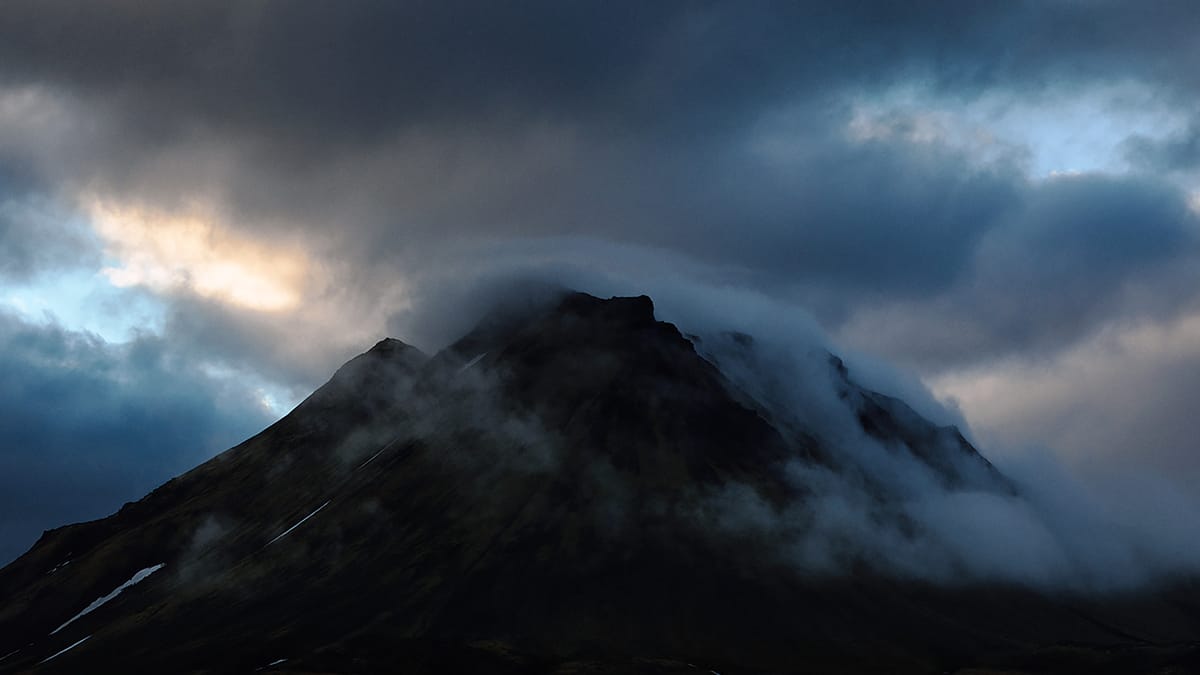
The following is an edited transcript from the 10 Step Raw Processing Framework video on my YouTube channel.
Years ago when I first got into digital RAW photography, my photo editing process was nonexistent. I would scroll through the Develop panel in Lightroom and move sliders left and right without really understanding what I should be doing, and in what order, to create a photograph out of a RAW file.
After plenty of failed attempts, I realized that my process—or lack thereof—needed structure. A series of steps, each with its own clearly defined goal, so that anytime I sat down to edit a photo I would know where to start, where I was going next, and where I would finish.
Here are the ten steps I follow when processing a RAW image from start to finish.
Step 1: Lens Corrections
It’s important to make a decision about lens corrections as the first step because they affect exposure. That’s because lens corrections remove darkened corners and edges (aka “vignette”) and distortion from the corners and edges of your RAW image. Once removed, your image will then be a little or a lot brighter, depending on the type of lens you used.
If your RAW image hasn’t been automatically corrected by its embedded correction profile, which Lightroom will indicate at the bottom of the Lens Corrections panel, you will have the option of enabling or purposely disabling this feature. Try it both ways, and pay attention to how it affects your image.
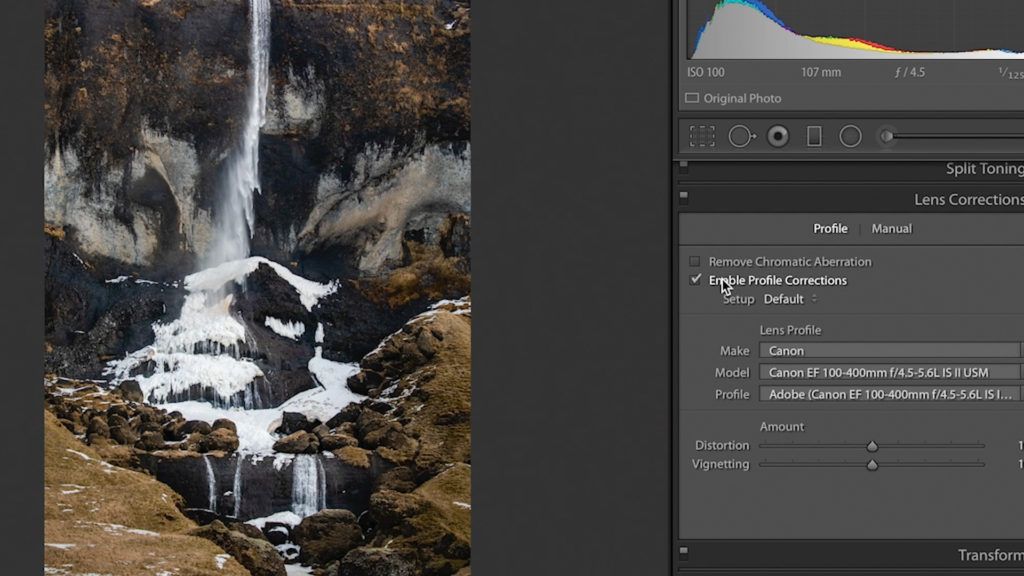
If you are using Capture One, it also has a Lens Corrections tool panel with similar controls for Distortion and Light Falloff (which is another word for Vignette).
Whichever you choose—enabled or disabled—make that decision now, then move on to the next step.
Step 2: Transform
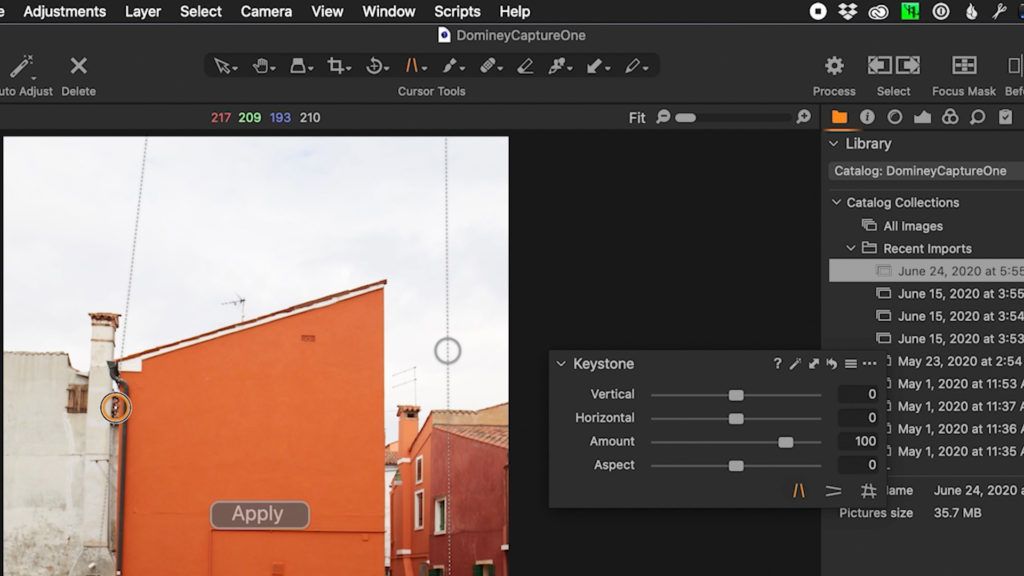
This is the step where you level your image and correct any perspective issues.
This is most commonly needed when photographing a subject with straight edges, whether that be a horizontal horizon line in a landscape or vertical lines in architectural photography. Instead of lines bending forward or backward, you’re transforming those lines into straight right angles.
In Lightroom, you do this with the Transform panel. Lightroom can automatically fix perspective issues for you, or you can draw your own guidelines to show Lightroom which lines should be straight.
In Capture One, you do this with the Keystone tool, which is accessed through the top menu toolbar or with the Keystone panel.
Step 3: Crop
Now that any underlying distortion or perspective issues have been considered, you can now crop the image. Crop it using the rule of thirds, golden ratio, or to accentuate the energy of the image by changing its aspect ratio.
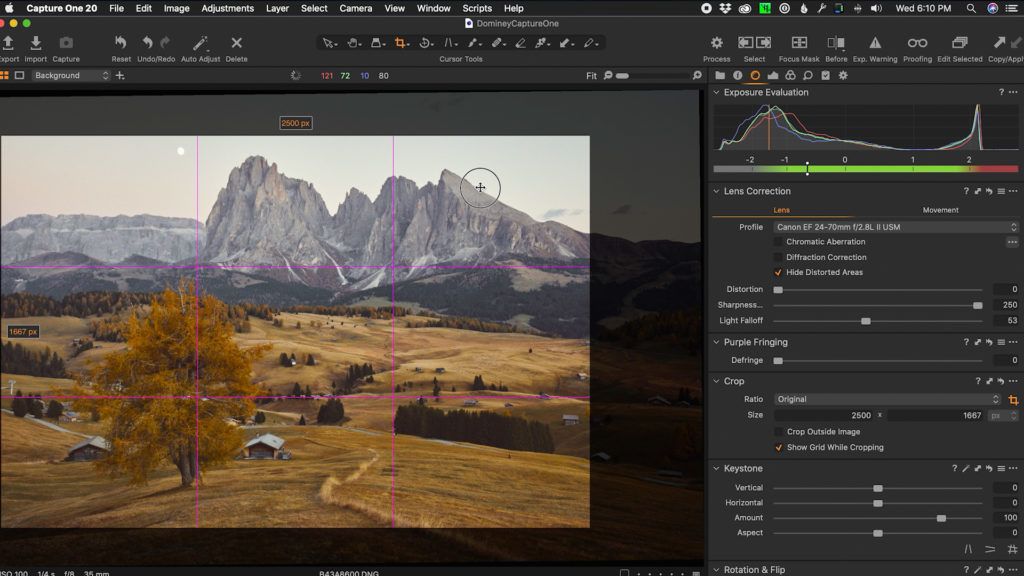
Keep in mind you’re not cropping the image for social media or any other place at this step. You’re simply cropping the image to what feels most appropriate for your subject.
Obviously, because it’s a RAW file, you can always go back and re-edit the crop if need be, but I think it’s a good idea to crop now before moving on.
Step 4: White Balance
This is when you decide whether the color temperature and tint of your RAW image needs to be corrected from the values your camera used. You can correct white balance by taking an image of a white balance gray card and then selecting it using the eyedropper tool. If you don’t have a card, select something in your image which is neutral in real life.
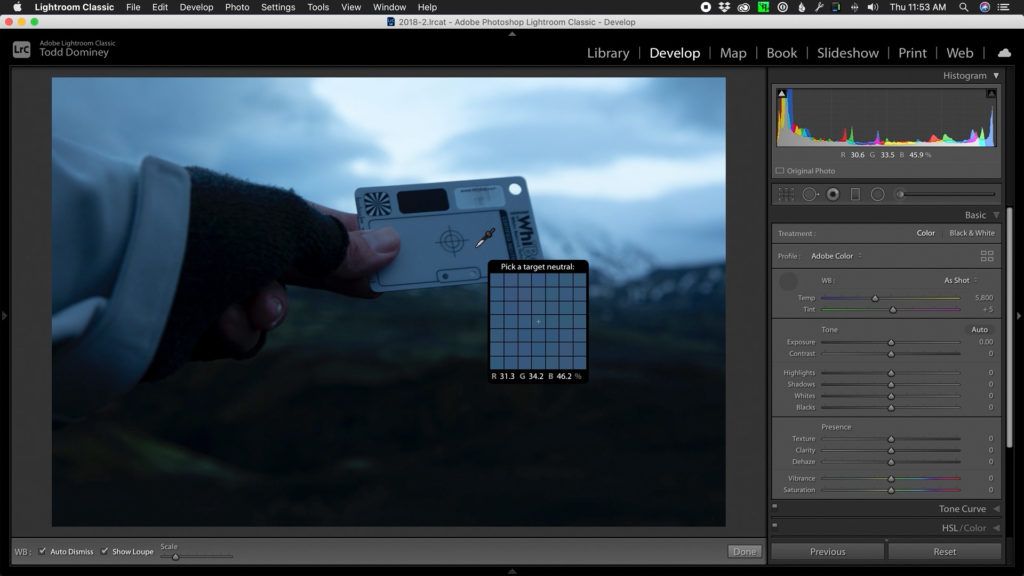
After you see the result, now is the time to ask yourself some important questions. Does this correction benefit the photo? Do the colors in the photo need to be displayed realistically with technical accuracy, or does it feel more natural and correct without correction?
Ultimately, it’s the difference between an image that is correct versus an image that looks correct.
If your image requires color accuracy for use in product photography, skin tones in portrait photography, or if you plan on using presets, profiles, or look-up-tables to apply a predefined style, correcting the white balance in this step is typically a good thing to do.
But for everything else, white balance doesn’t have to be correct. Neutrals don’t have to be neutral. You are free to use white balance creatively to capture the mood and atmosphere of your subject.
Whichever approach to white balance is appropriate for the RAW image you are editing, make a decision now, then move on to the next step.
Step 5: Exposure
This is the time to adjust the blacks, shadows, mid-tones, highlights, and whites to accentuate and enhance the luminosity of your RAW image.
What I would recommend doing, if you’re not already doing so, is to use a Black and White mode when editing exposure. That way, color is not affecting your decisions, because when you darken a pixel displaying color, its color becomes more saturated. And when a pixel gets brighter, its color becomes less saturated.
So when editing exposure you are unintentionally editing color as well. For that reason, I prefer to think about color as a separate, additive layer that sits on top of exposure, so it’s better to edit color as a separate step.
I typically I expose my landscape images to the right — otherwise known as ETTR — so that shadows contain less noise and retain more detail. So in this step, if I exposed an image to the right, I typically begin by bringing Exposure down a stop or two, then edit my black and white points to establish how narrow or wide I want the dynamic range of the image to be.
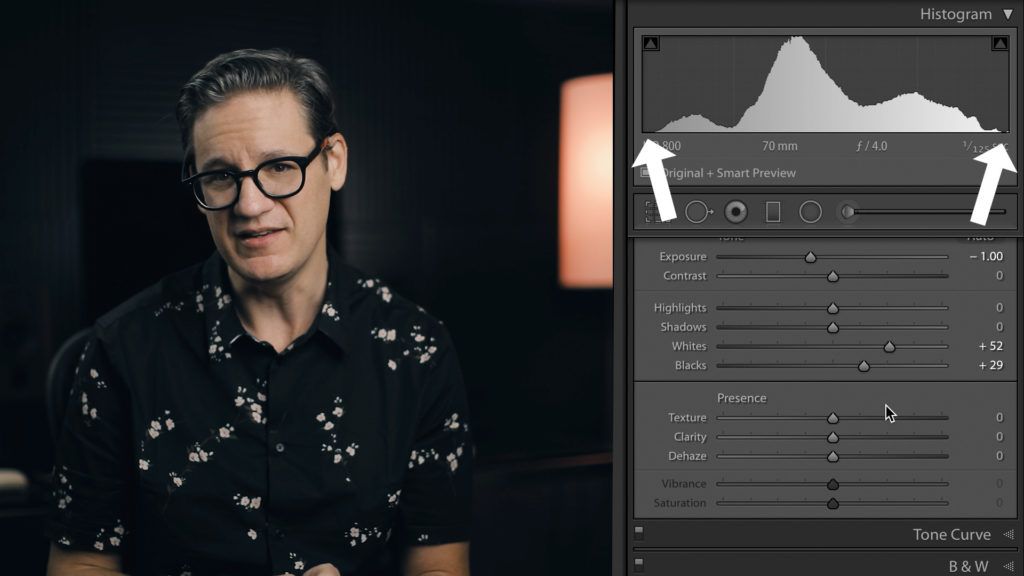
Then, it’s time to adjust the Shadows and Highlights. This helps bring more detail out of the darker and brighter areas of the image by pushing their values towards the center of the histogram. I might also take this opportunity to paint-in local adjustments to lift dark or crush bright values, with the same end goal of evening out exposure and fixing any trouble spots.
Overall, the goal of this step is to make exposure levels smoother and more gradual throughout the image. This step may only take a few seconds, or much longer depending on the image.
Step 6: Contrast
This is similar to exposure but now you are working in the middle of the histogram. The mid-tones should be pushed further apart so the image doesn’t appear too flat or gray.
Now, it may seem counterintuitive that now you’re pushing the histogram back out after pulling it in in the previous step, but by pushing and pulling exposure you then have more control over how contrast is applied so you don’t end up clipping your blacks and whites and losing detail.
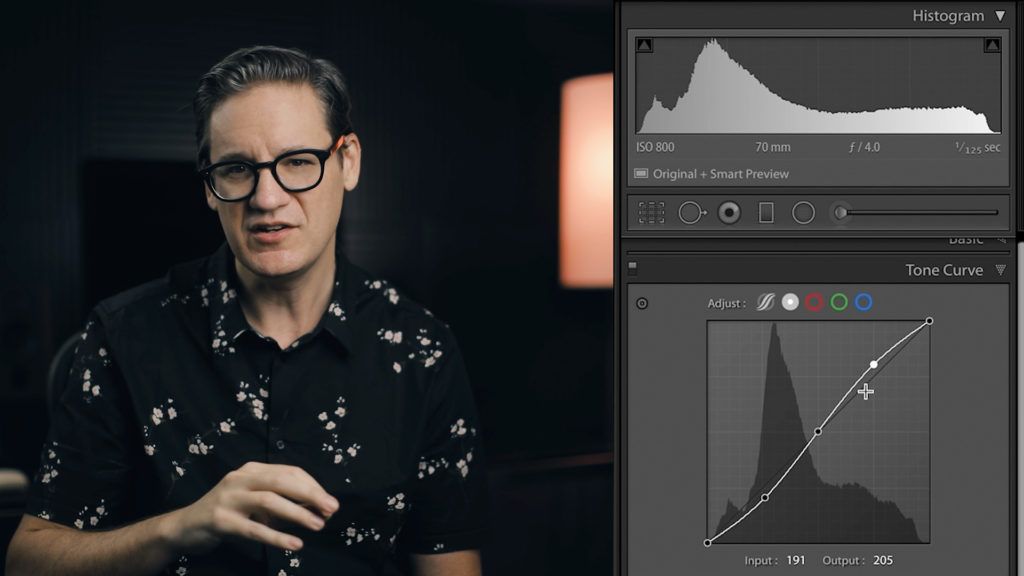
Contrast is the kind of thing you can add or remove from an image in many different ways. Yes, there is a dedicated slider for Contrast in both Lightroom and Capture One, but I generally avoid that slider because it’s not as nuanced as other tools.
Better contrast tools in Lightroom include the Clarity and Dehaze sliders (which mostly target the mid-tones) or for more control, there’s the Tone Curve.
Step 7: Color
We’ve already made a decision regarding white balance, so the goal of this step is fixing and enhancing color.
First, consider any technical problems. Are some colors now dense and oversaturated because of earlier exposure edits? Does the hue of a particular color feel off? For example, are skin tones too orange or should the sky be more cyan and less blue? You can target and fix those color issues in Lightroom’s HSL panel or with the Color Editor panel in Capture One.
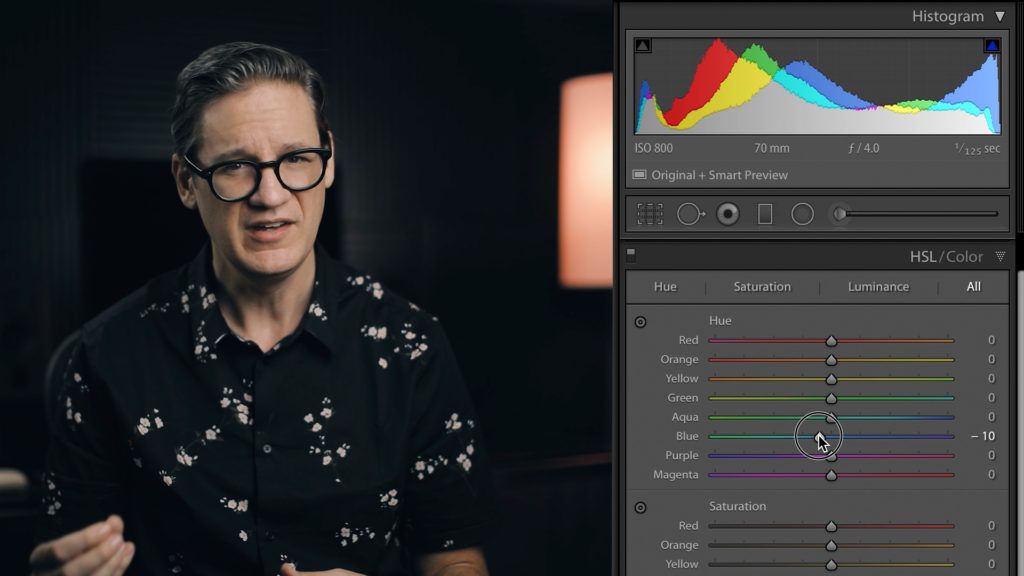
Then once you’ve corrected color from a technical perspective, it’s time to express your creative intent.
What I typically do is figure out which colors are strengthening my subject by bringing attention to it, and which colors are weakening my subject because they are distracting.
If a color is distracting, try changing its hue so it blends more with a neighboring color, or reduce its saturation to make the color less noticeable.
This is also a great time to try split toning your image. For example, injecting a cool tone into the shadows and a warm tone into the highlights.
Spend some time on this step to make sure you’re happy with color. And then? Take a break. This is the best time to do it. Go for a walk. Get some coffee. Get out of the room and the lighting environment you’re in. Wait 24 hours if you can. It will help reset and refresh your eyes.
Then come back, take another look at your image, and if you’re happy, then it’s time to break out the fine grade sandpaper and get to work on the remaining steps.
Step 8: Dodging and Burning
Dodging and burning is photography darkroom speak for brighter and darker. This is similar to the earlier Exposure and Contrast steps, but here your focus is on enhancing and improving specific objects or areas inside the image by adding or removing contrast.
What I typically do is look at an image from a distance, typically by zooming out, to see if there’s anything that is drawing too much attention because it has higher or lower contrast than the rest of the image.
This step could be as simple as adding a vignette using the Post-Crop Vignette tool, a graduated filter to darken the sky or lighten the foreground, or you could use a brush to paint-in exposure and contrast adjustments in a specific area.
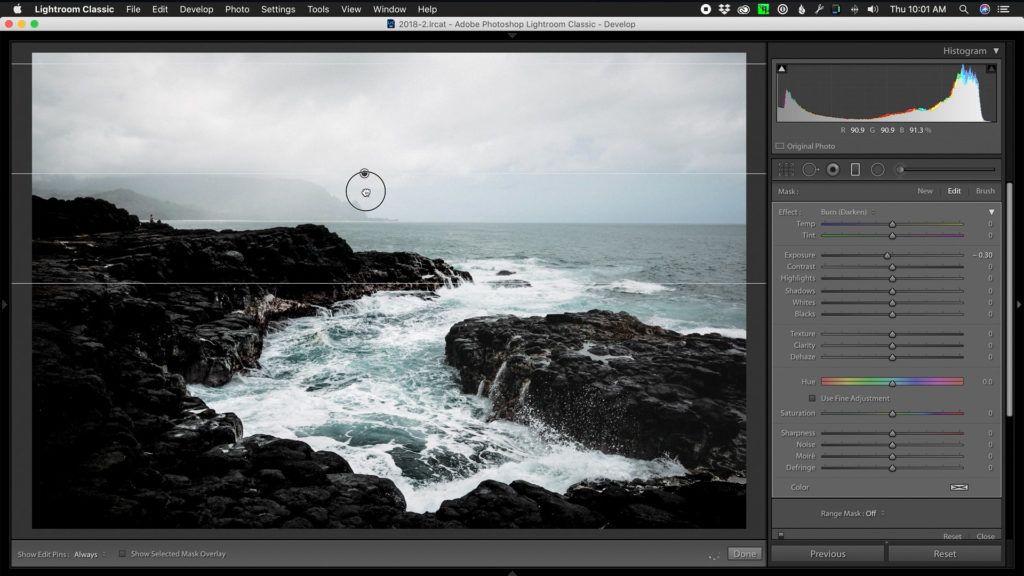
You could use Lightroom or Capture One to make those changes, but if you want to get really deep into it, this is the best time to use luminosity masks in Photoshop.
Step 9: Cleanup
By this stage, your image should be 95% done, but there may be some small, distracting things like rocks, blades of grass, trash, whatever. Pretty much every landscape photo I’ve ever edited has needed some cleanup using clone tools, content-aware fill, or spot removal.
Now, this is purely a subjective call, but for me, I don’t like going overboard with this. I like to keep things simple and only remove something if it’s non-essential and helps simplify the image to draw more attention to a subject.

If you can cleanup within the RAW image using the tools in Lightroom and Capture One, go for it. This will allow you to keep your edits within the non-destructive RAW file. For more difficult cleanup jobs however, you will need to open your RAW image in Photoshop.
Step 10: Sharpening
Congratulations, you’ve made it all the way to the end! Your image should now be 99% complete. To finish the image, now is the time to sharpen it.
This step is saved for last because how much or little sharpening you apply depends on where the image is going to be seen, whether that’s on social media, your website, or as a print.
You can apply sharpening on export in Lightroom or Capture One, or open the RAW image in Photoshop and do your sharpening and resizing there.
Summary
That’s it! Those are the ten steps I go through every single time I edit a RAW file.
The point here isn’t to say that my approach is better than anyone else’s, but rather to promote the idea of organizing your processing work into clearly defined steps so you are progressively enhancing your image step by step over time.
