What’s the difference between ND, CPL and UV Filters?
When shopping for camera lens filters, the three most common you’ll find are Neutral Density (ND), Circular Polarizer (CPL), and Ultraviolet (UV).
What’s the difference between these filters? Which filters should you own? If you’re confused, don’t be. This article will explain their differences.
What is an ND filter?
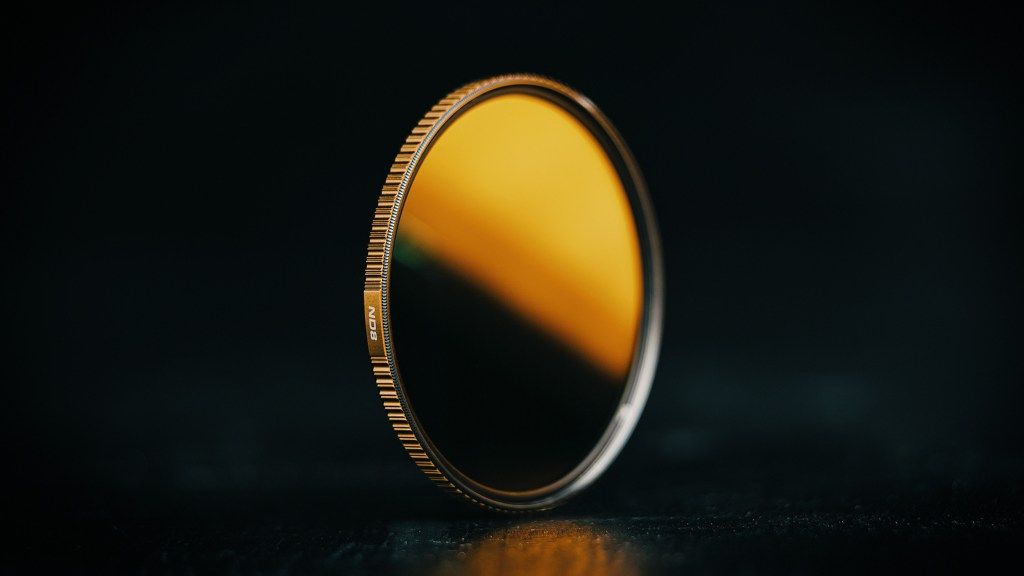
Neutral density filters are sunglasses for camera lenses. Meaning, they reduce the amount of light entering the camera. In doing so, ND filters then help cameras use exposure settings that normally aren’t possible.
For example, when shooting photos of waterfalls or moving water, photographers typically slow their camera’s shutter speed to around half-a-second. Achieving proper exposure at this speed can be difficult because the camera cannot physically close the lens aperture any smaller and/or ISO has maxed out at 100.
ND filters help resolve these issues. By reducing light, the camera may now leave its shutter open for a half-second (or however long you want) without overexposing the image.
When shopping for ND filters, there are a wide variety of sizes, densities, and qualitative differences. You also have a choice between variable and solid, with the former providing a range of densities (eg, 2-10 stops) and the latter offering only one (eg, 3-stop, 6-stop, etc).
Variable neutral density filters provide fantastic flexibility and control — especially when shooting video — but they can sometimes cause unsightly cross-polarization effects (eg, turning blue skies dark blue, etc). Photographers generally avoid variable NDs for this reason and instead use solid neutral density filters.
In my experience, variable neutral density filters are perfectly fine for general use. But if you need to shoot something that counts, solid neutral density filters provide the best and most consistent results.
What is a CPL filter?
Circular polarizers are filters that removes glare and reflections from shiny surfaces. This reveals detail and texture in areas normally obscured by bright highlights.
They may sound similar to ND filters, but CPLs are different. CPLs don’t darken an image like NDs, but rather use polarized glass (invented by Edwin Land / Polaroid) to remove the wavelengths of light that cause reflections. This effect can be only be achieved in-camera and is impossible to recreate later in Photoshop.
To use a CPL, you rotate the filter until reaching the appropriate angle between your light source (eg, the sun) and your subject. This is typically somewhere around 90 degrees. While turning the filter, keep an eye on the preview image on the back of your camera to find the proper angle, then make micro-adjustments around that angle to decide how strong the effect should be.
What is a UV filter?
Ultraviolet filters are the simplest, least expensive filters because they don’t do much of anything. They may provide a little bit of ultraviolet light filtering, but by and large, you typically can’t tell the difference between a photo shot with or without a UV filter.
Most people buy UV filters to protect lenses. A clear UV filter screwed-onto the front of a camera lens protects the glass from fingerprints, dust, scratches, or even breakage. If you’re investing in quality, professional lenses, adding UV filters to each lens is a smart thing to do.
Filter types and sizes
Filters are either circular or square. Circular filters screw-on to the front of lenses. Square filters are panes of glass held in front of a lens using specialized mounts. Circular filters are more common, though many landscape photographers prefer square filters because they allow greater flexibility when combining filters and quick removal when not in use. For those just starting out, circular is simpler and less expensive.
Circular filters are sold in different diameters, typically ranging from 37mm to 82mm or larger. This number is not the focal length of your lens, but rather its diameter. If you’re not sure what this number is, look for a number on the front or top of the lens body. When in doubt, check the specifications for the lens from wherever you bought it from.
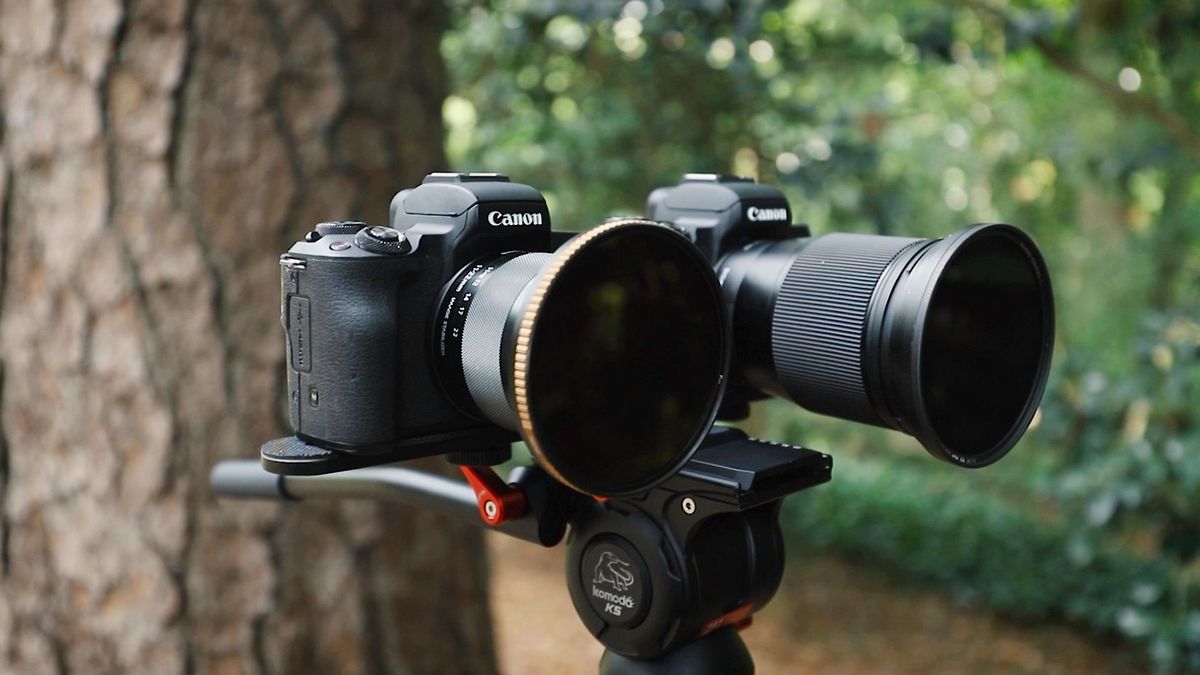
In general, it’s best to buy filters at larger diameters, then use step-up rings to attach the same filters to lenses with smaller diameters. That way you’re not buying the same filter at different sizes when you can just buy one and use it with every lens you own. If you buy both an ND and CPL at the same size, you can easily stack them together (with the CPL out front) to both slow down the camera’s shutter speed and remove reflections.
What to read next
Check out my Best Neutral Density Filters of 2020 article for recommendations.