Canon EOS R5 / R6 photo and video accessories
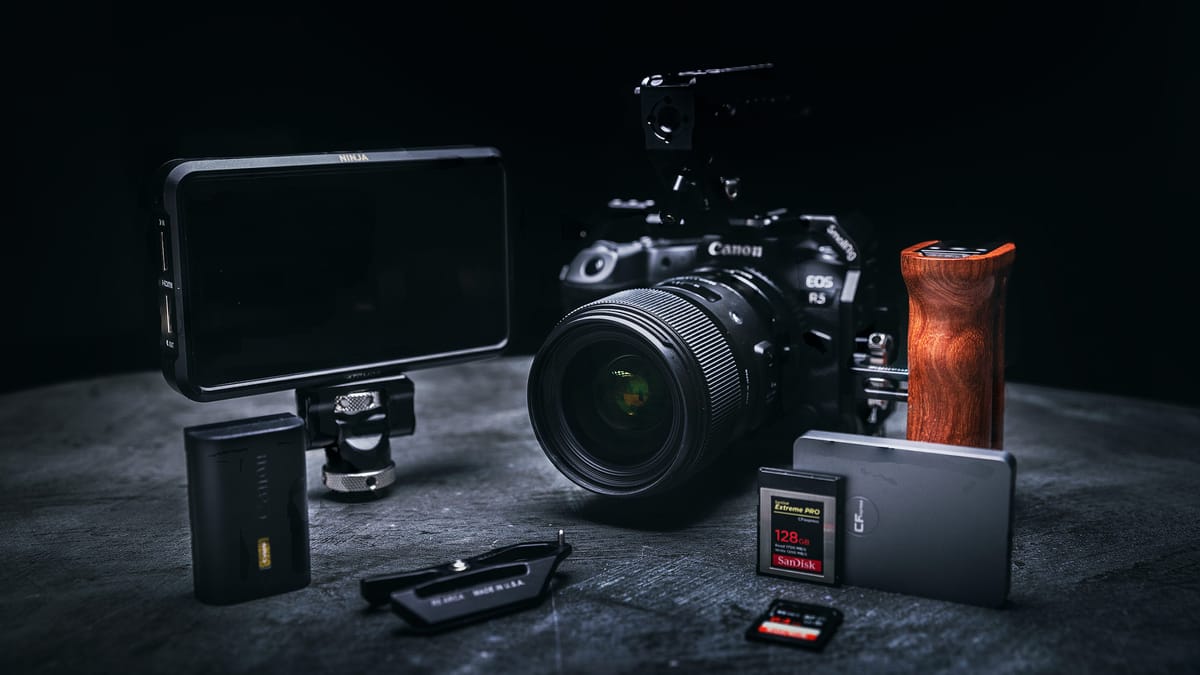
The Canon EOS R5 is a fantastic camera for both photography and video, but it’s even better with accessories! In this post, I’ll walk you through a list of recommended accessories for the R5 — batteries, cards, cables, adapters, you name it — to make your experience with the camera even better. Along the way, I’ll also be sharing technical information about the R5 itself. Let’s dive in.
Batteries, Cables, and Power Adapters
Powering the R5 requires batteries, USB-C cables, and compatible power adapters. Here’s a rundown of what you need.
Canon LP-E6NH Batteries
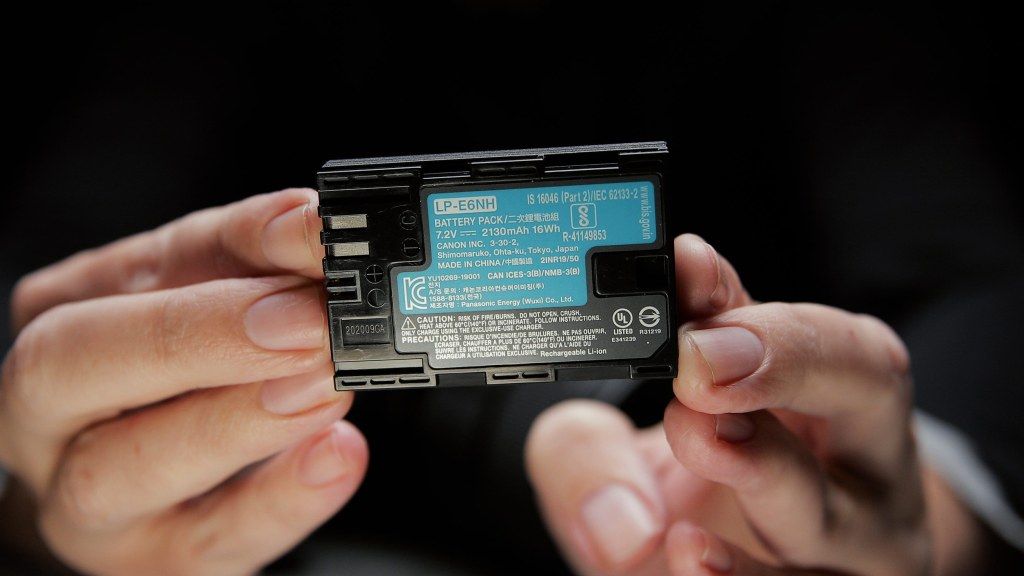
The R5 comes with a single, rechargeable LP battery. It may look the same as older LP batteries but is actually a new model. What’s different?
One, the LP-E6NH has a higher milliamp-hour capacity (2130mAh vs 1865 mAh in the LP-E6N and 1800mAh in the LP-E6), which means it will power the R5 longer.
Two, the LP-E6NH (and LP-E6N) can be charged in-camera with a powered USB-C connection (more on that in a minute).
Three, the LP-E6NH (and LP-E6N) provide more frames per second when shooting in High Continuous Shooting mode (12 shots/sec versus 8 shots/sec with the LP-E6).
Personally, I always buy OEM batteries because they last longer and are more reliable in the field. Overall, the E6NH is the latest and greatest battery for the R5 and is worth buying a few of.
Power Delivery USB-C Adapters
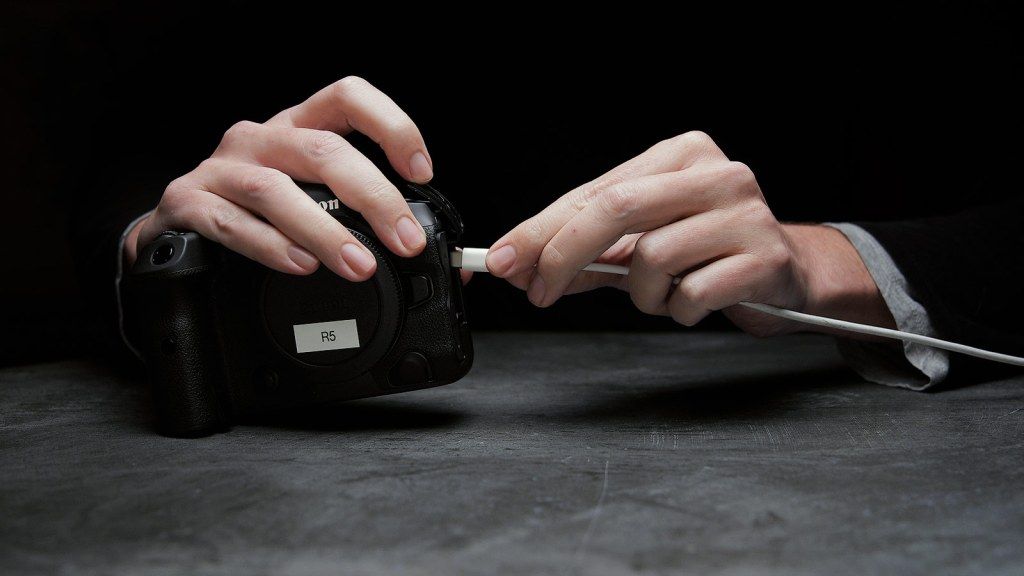
The EOS R5 (thankfully) uses a standard USB-C connection instead of the awful, proprietary USB interface from Canon DSLRs. This means you can use pretty much any USB-C cable to connect the R5 to a desktop or laptop and transfer data from its internal cards.
Additionally, the R5’s USB-C connector accepts power. When the camera is powered off, the R5’s internal battery (LP-E6NH or LP-E6N) charges. When powered on, electrical power supplements the internal battery for longer, semi-continuous use.
Unfortunately, Canon has not been forthcoming with information about power via USB-C. Instead, they promote their own overpriced USB-C cable. But you don’t have to use the Canon cable. Any USB-C “Power Delivery” (aka “PD”) connection will work as long as it outputs 45 watts or higher. This means USB-C charging cables from MacBook Pros, Chromebooks, and Windows laptops will work fine. USB-C/Thunderbolt ports in most desktops and laptops should provide power as well.
There are a variety of USB-C “Power Delivery” adapters you can buy if you need a dedicated cable. Just make sure the adapter supports “Power Delivery” (or has ports labeled “PD”) and is at least 45 watts.
Glorich AC Power Adapter
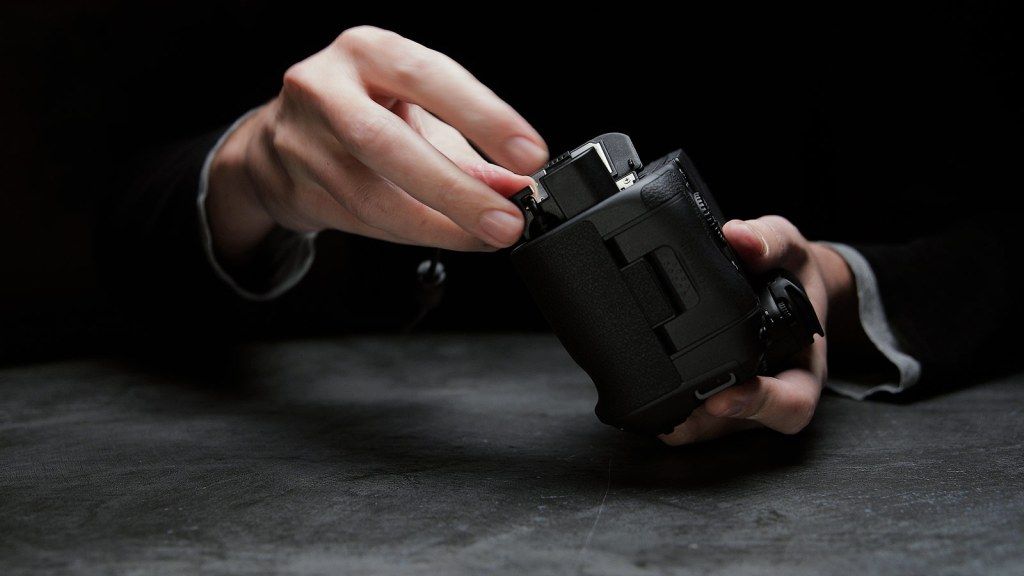
As mentioned above, you may extend the life of the internal battery by connecting a powered USB-C cable to the R5, but eventually, the battery will run out. For true, continuous power, you need a battery compartment adapter. The one I use is the Glorich AC Power Adapter. Bought it for my Canon 5D Mark IV, and in my experience, it works fine with the R5 as well.
RavPower LP Battery Charger
Charging a battery internally via USB-C is convenient, but if you have multiple LP batteries to charge you can use the RavPower LP Battery Charger. This charger uses USB and can be plugged into just about anything (“Power Delivery” not required). This is how I charge LP batteries while traveling instead of using Canon’s wall charger.
Note that this charger also comes with two “emergency” LP batteries. In my experience, they don’t hold a charge as long as OEM batteries, and you can’t rely on them to hold a charge, but hey. Always nice to have a couple of extra batteries.
Memory Cards
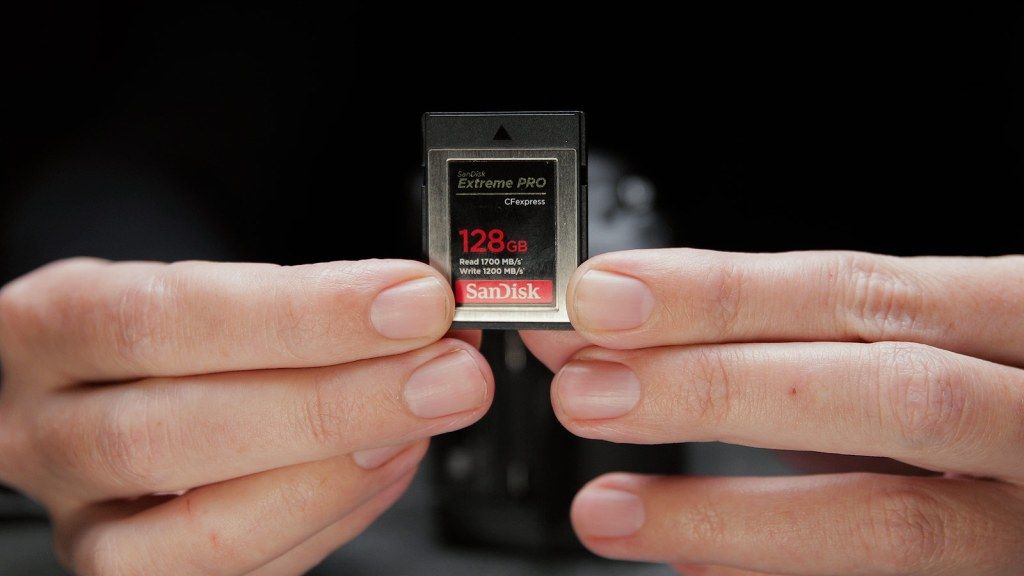
The Canon EOS R5 offers two options for saving still photos and three options for video.
For photography, you may use a single SD card (UHS-I or UHS-II supported) or a single CFExpress Type B card for the fastest possible read/write speeds.
For video, you may use a single SD card, a single CFExpress Type B card, or an external SSD drive connected to a monitor (eg, the Atomos Ninja V).
Still photography is the simplest, for if you already own a few SD cards, they will work perfectly fine in the R5. You don’t need to run out and buy new UHS-II or CFExpress Type B cards unless your workflow would benefit from faster data transfer speeds.
Video is more complicated, for the type of memory you choose is dependent on video resolution, quality, and the technical limitations of the R5.
Here’s a table to help visualize the R5’s video resolutions and which storage options are compatible. (“X” means compatible).
Resolution | FPS | Compression | SD Card | CFExpress Type B | Atomos Ninja V SSD |
HD (1080) | 24 | IPB / ALL-I | X | X | |
HD (1080) | 30 | IPB / ALL-I | X | X | |
HD (1080) | 60 | IPB / ALL-I | X | X | X |
4K | 24 | IPB | X | X | X |
4K | 30 | IPB | X | X | X |
4K | 60 | IPB | X | X | X |
4K | 24 | ALL-I | X | X | X |
4K | 30 | ALL-I | X | X | X |
4K | 60 | ALL-I | X | X | |
4K | 120 | ALL-I | X | ||
4K HQ | 24 | IPB / ALL-I | X | X | X |
4K HQ | 30 | IPB / ALL-I | X | X | X |
8K | 24 | IPB | X | X | |
8K | 30 | IPB | X | X | |
8K | 24 | ALL-I | X | ||
8K | 24 | RAW | X | ||
8K | 30 | RAW | X |
Here’s the main takeaway from this table.
For general video use, you can absolutely get by with regular ol’ SD cards. I’ve had good luck with SanDisk UHS-I SD cards and have never felt a need to buy its faster, UHS-II sibling, but that may change once prices (hopefully) come down on UHS-II cards in the future.
For professional video use, you should own at least one CFExpress Type B card to capture 8K RAW or ALL-I video. Even though 8K may seem like overkill, and we aren’t exactly using 8K displays, the higher resolution opens up all kinds of creative opportunities when downscaled to a 4K timeline.
If you shoot long-form 4K video, an Atomos Ninja V pays for itself in the long run. Compatible SSD drives are super cheap comparatively (much cheaper per GB than internal cards), you avoid the R5’s annoying 30-minute internal record time limit, and overheating is no longer a concern. You can record all the high-quality, 10-bit 4:2:2 4K video you want to the Ninja’s SSD.
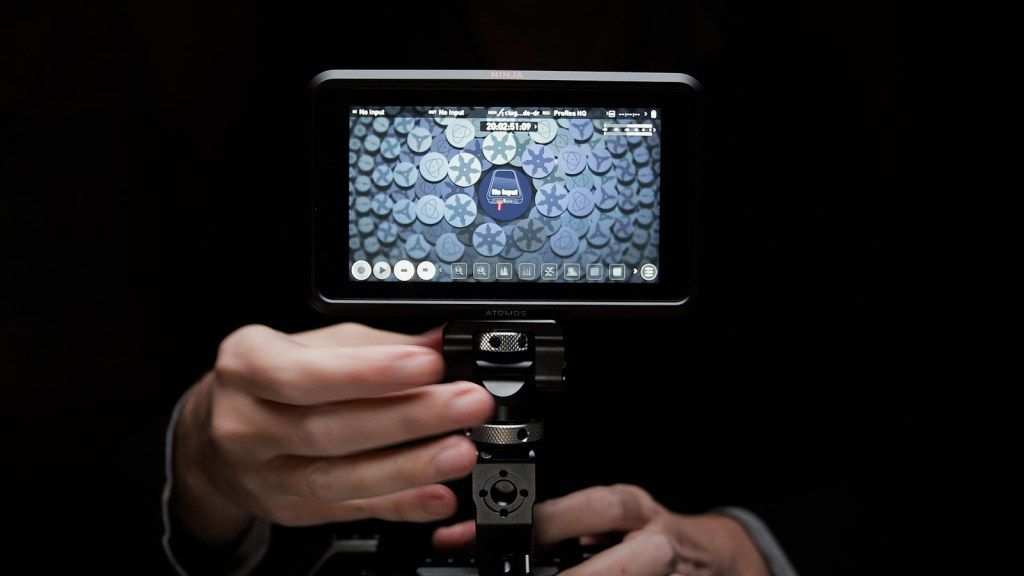
(Tip: To connect the Atomos Ninja V to the R5, consider a coiled HDMI 2.0 cable. Keeps the cable length short, clean, and neat.)
CFExpress Type B Card Reader
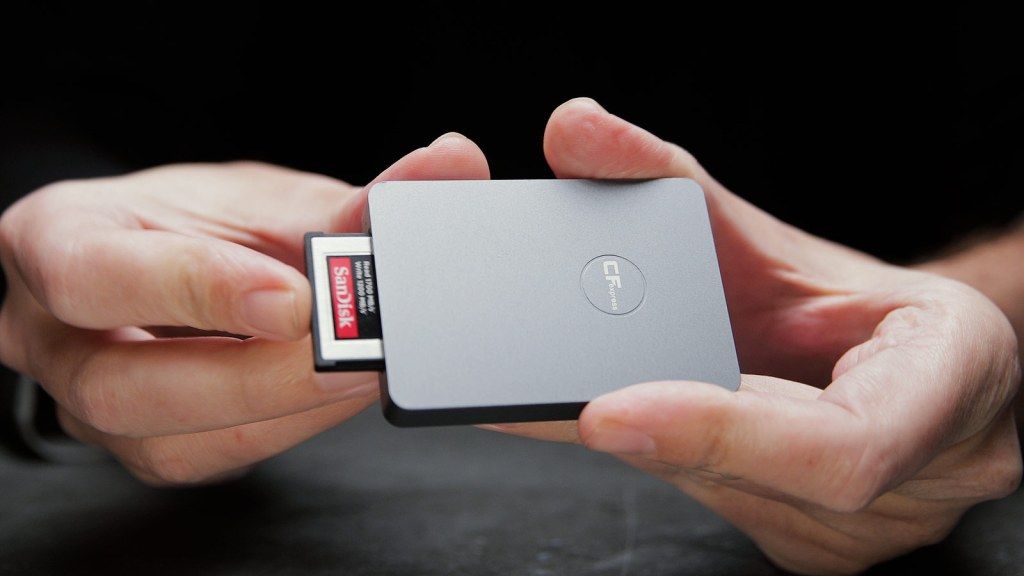
If you buy a CFExpress Type B card, you’ll need a CFExpress card reader to quickly transfer photos and videos onto your computer. You can transfer files over USB-C (Mac tip: use macOS’s Image Capture), but the speed will be much slower. A dedicated CFExpress Type B reader will move those files much faster and speed up your workflow.
EF/EF-S to RF Lens Adapters
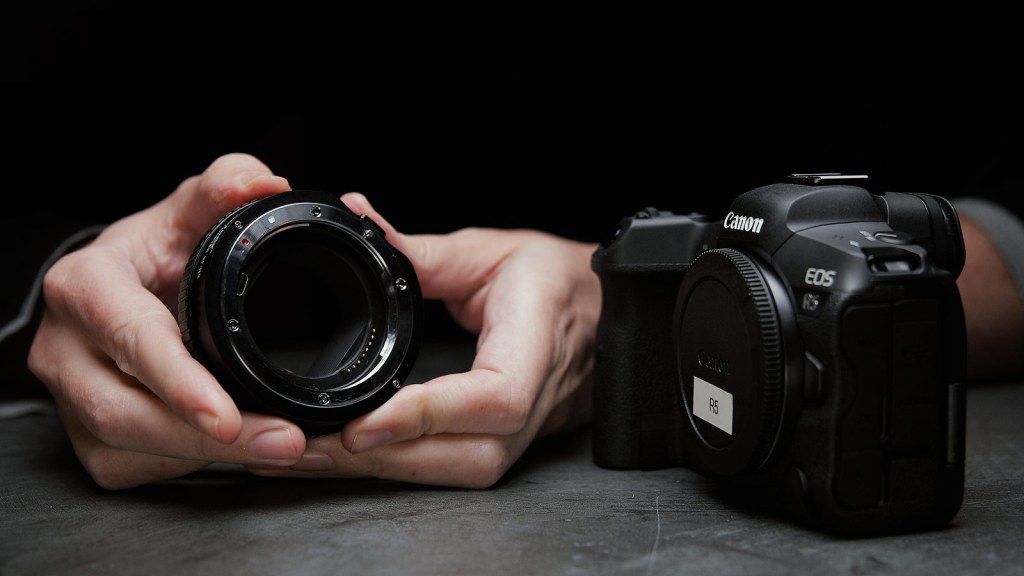
The Canon EOS R5 uses Canon’s new RF mirrorless lens mount. There are an increasing number of excellent RF lenses being created by Canon, but what if you already own EF or EF-S lenses? Fortunately, you can easily use those lenses on the R5 using a compatible adapter.
There are a variety of EF/EF-S to RF lens adapters to choose from. I produced a separate article and video on this topic, so check that out if interested.
R5 Arca Swiss Plate
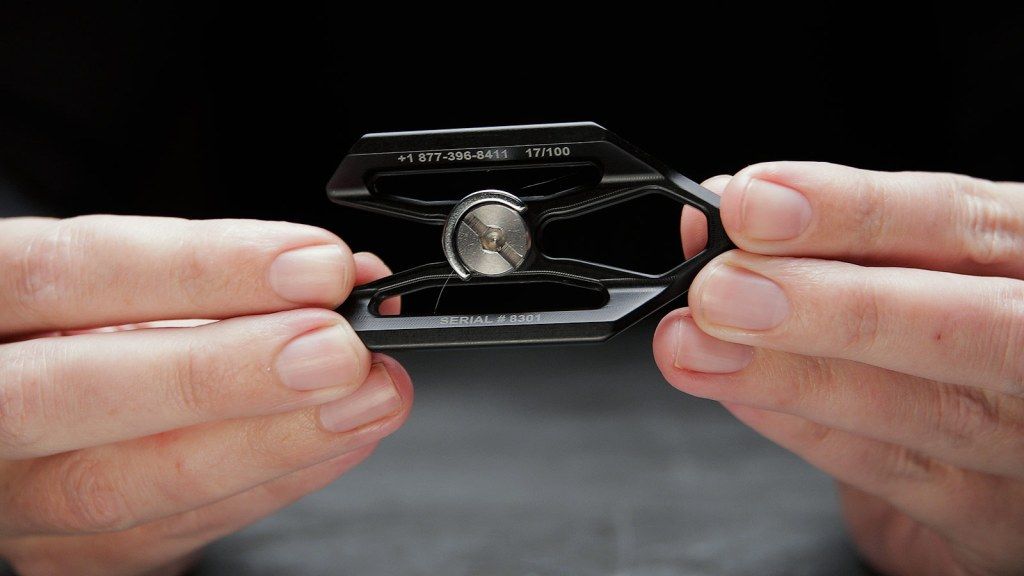
You may use any Arca Swiss plate with the R5, but for optimum fit and stability, the Breakthrough Photography R5 Arca Plate is a fantastic addition to your camera bag.
How is it different from a regular Arca plate?
One, weight. The Breakthrough Photography R5 Arca plate is machined from rigid anodized aluminum with multiple cutaways. This is what gives the plate such a unique, contemporary appearance. In my tests, the Breakthrough Arca Swiss Plate weighed 0.9 ounces while generic, metal Arca plates weighed 1.6 ounces, on average.
Two, a more secure fit. The plate includes a metal pin that inserts into a hole in the bottom of the R5. This makes the plate fit more secure, and helps prevent the R5 from rotating and/or coming loose.
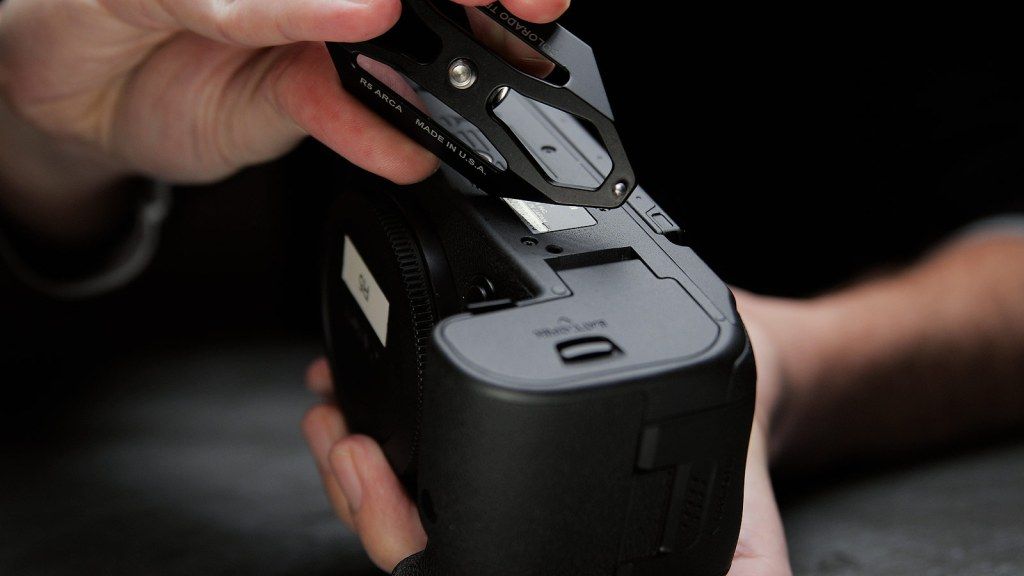
Three, it’s a limited edition! Like a fine art print, each plate displays its numerical sequence (mine is “17 of 100”).
Additionally, Breakthrough guarantees their plate will fit every Arca-head type tripod ever manufactured, or your money back.
R5 Video Cages and Mounts
If you’re more than a casual video creator, a custom-fit cage will transform your R5 into a professional video machine. You may then mount handles, lights, microphones, whatever you need. When I’m not using the R5 for still photography, I keep the R5 in a cage so the camera is ready to shoot video anytime.
SmallRig R5 Cage
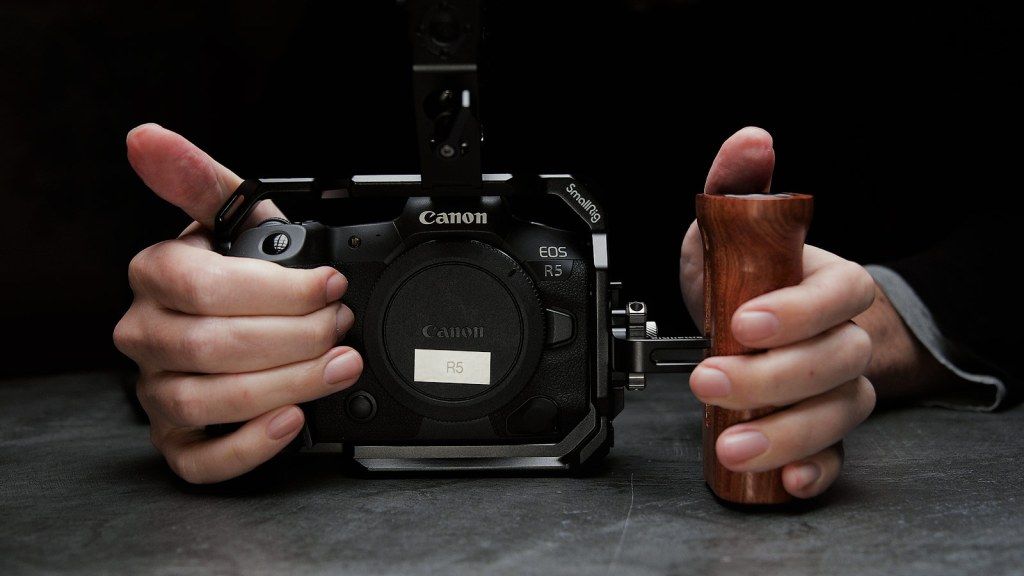
First things first, you need a cage. The one I use is the SmallRig EOS R5 2982 Cage. It provides a plethora of threads to mount handles and accessories (more on those in a minute), an Arca compatible plate on the bottom (so you can mount the camera and cage to a tripod), and it doesn’t interfere with any of the R5’s ports or buttons. The build quality is solid yet surprisingly lightweight.
SmallRig NATO Top Handle
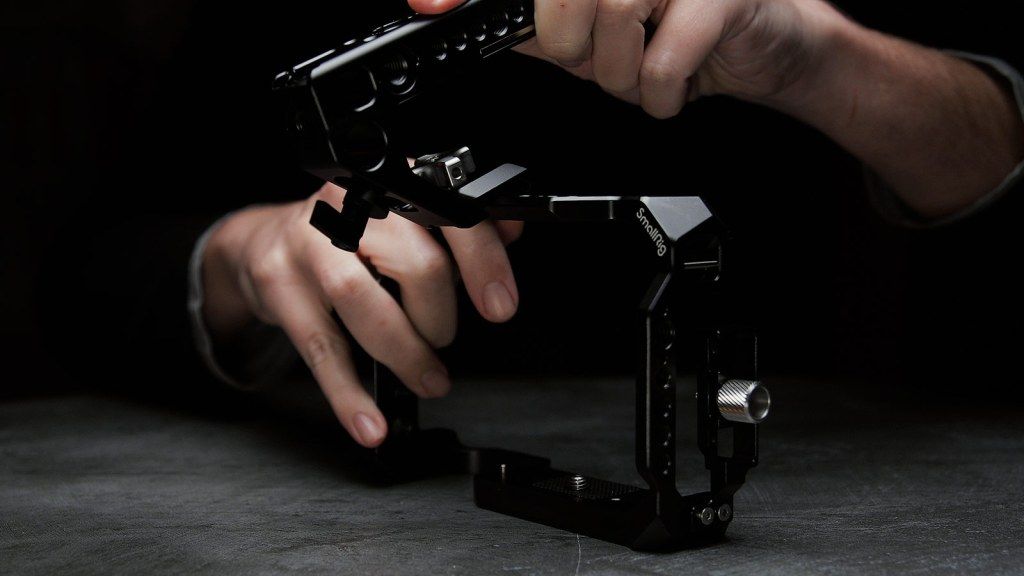
This handle attaches to the NATO rail on top of the SmallRig cage. If you’d rather go with a generic, non-NATO handle, there are other handles you may attach. I went with a NATO model because its mounting interface is faster and easier.
Once attached, you then have a comfortable place to carry the camera and shoot video low to the ground.
But for me, the handle’s real superpower is when mounting external HDMI monitors. There are three cold shoe mounts to choose from, one of which has a locking mechanism that keeps mounted accessories (like expensive monitors) from accidentally sliding out. This is the shoe I use with the aforementioned Atomos Ninja V.
(Tip: To keep your external monitor setup tidy and compact, I recommend this Mini HDMI 2.0 coiled cable. Works great with the EOS R5 and Atomos Ninja V).
SmallRig Wooden Side Grip Handle
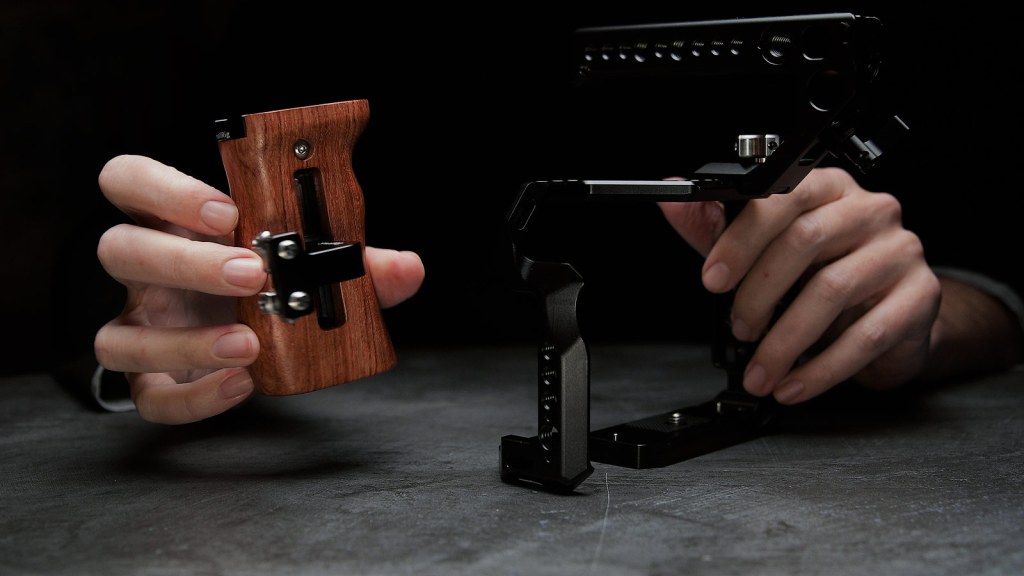
Mount this SmallRig wooden grip on the left side of the SmallRig cage to comfortably hold the R5 with both hands (one on the grip, one on the camera). This makes the camera much more stable and fluid when shooting handheld than simply holding the camera itself. Grip comes with its own cold shoe mount on top, plus an integrated hex wrench in case you need one.
SmallRig Cable Clamp
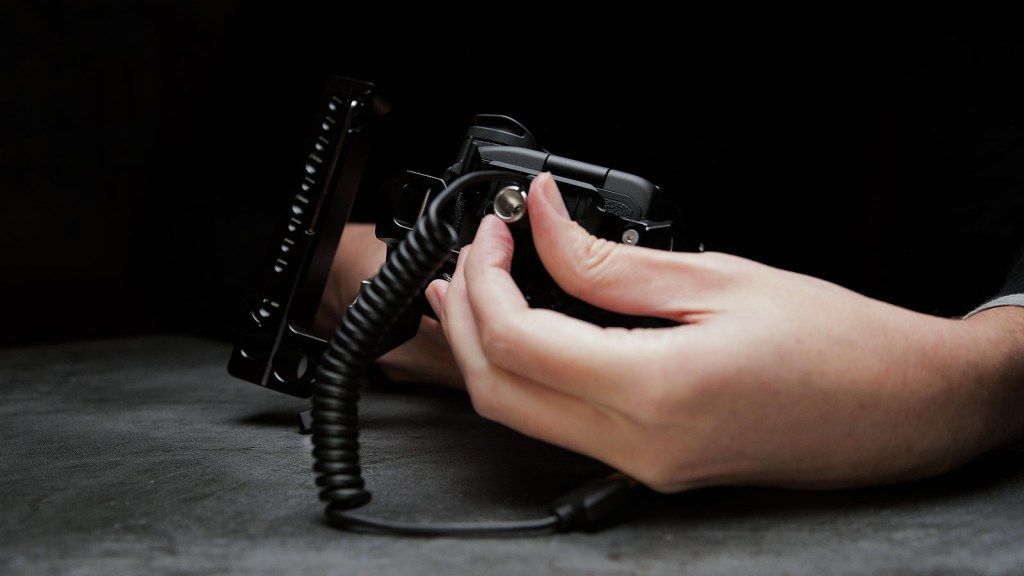
Unfortunately, the EOS R5’s external video connector is Mini HDMI instead of full-sized HDMI. Mini and Micro HDMI connectors are flakey and have a tendency to break and/or wear down over time. We may not be able to change the connector type, but there is an accessory to protect it.
The SmallRig Cable Clamp attaches to the left side of the SmallRig cage. Insert a Mini HDMI cable and/or USB-C cable, then tighten the silver knobs. Once tightened, the cable connections are tight, secure, and with little-to-no wiggle or bending.
Personally, I found setting up the SmallRig Cable Clamp to be more time consuming than expected. It takes a few minutes to get the clamp correctly aligned over the ports, then you have to fiddle with the knobs to get the tightening mechanism to work properly. Additionally, the clamp encroaches on the microphone input flap; making it hard to attach a microphone once the clamp has been installed.
But that said, the security and protection this clamp provides is worth the effort.
SmallRig Monitor Mount
This is how I mount the Atomos Ninja V to the aforementioned SmallRig Top Handle. The mount conveniently tilts the monitor forward and backward, and feels much more secure and grounded than cheap cold shoe adapters.
The one thing I’m not crazy about is when swiveling the monitor 360 degrees. In my experience, the monitor comes unthreaded from the top of the mount before the mount allows itself to be rotated. Perhaps I’m not doing it right, but that’s been my experience so far. Otherwise, very well built.

