Restoring vintage photos using Topaz Labs Photo AI
Using Photo AI's artificial intelligence to breathe new life into old family portraits
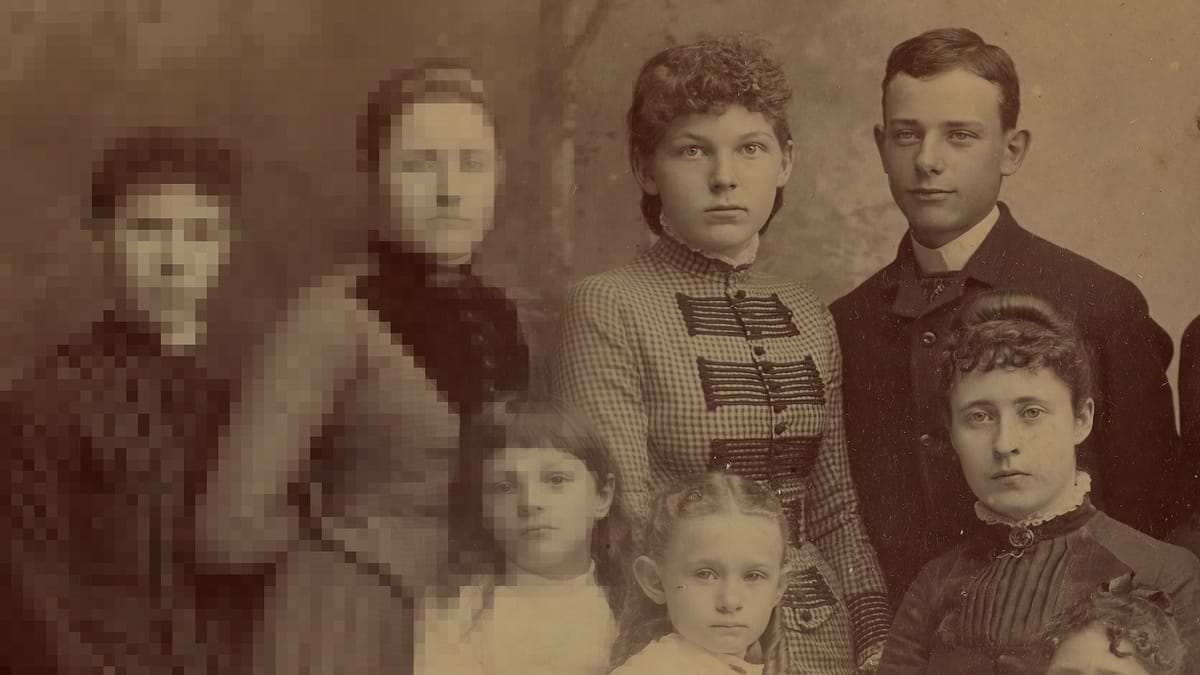
After reviewing Photo AI from Topaz Labs, I wondered what Photo AI could do with old family portraits. Old images exhibiting elevated levels of noise, dull details and soft facial features. To find out, I turned to the Getty Open Content Program, a website with 150,000 digital scans of public domain photos and art. There I found some fascinating 100+ year old family portraits that were perfect for this test.
Here is the first photo we'll be working with.
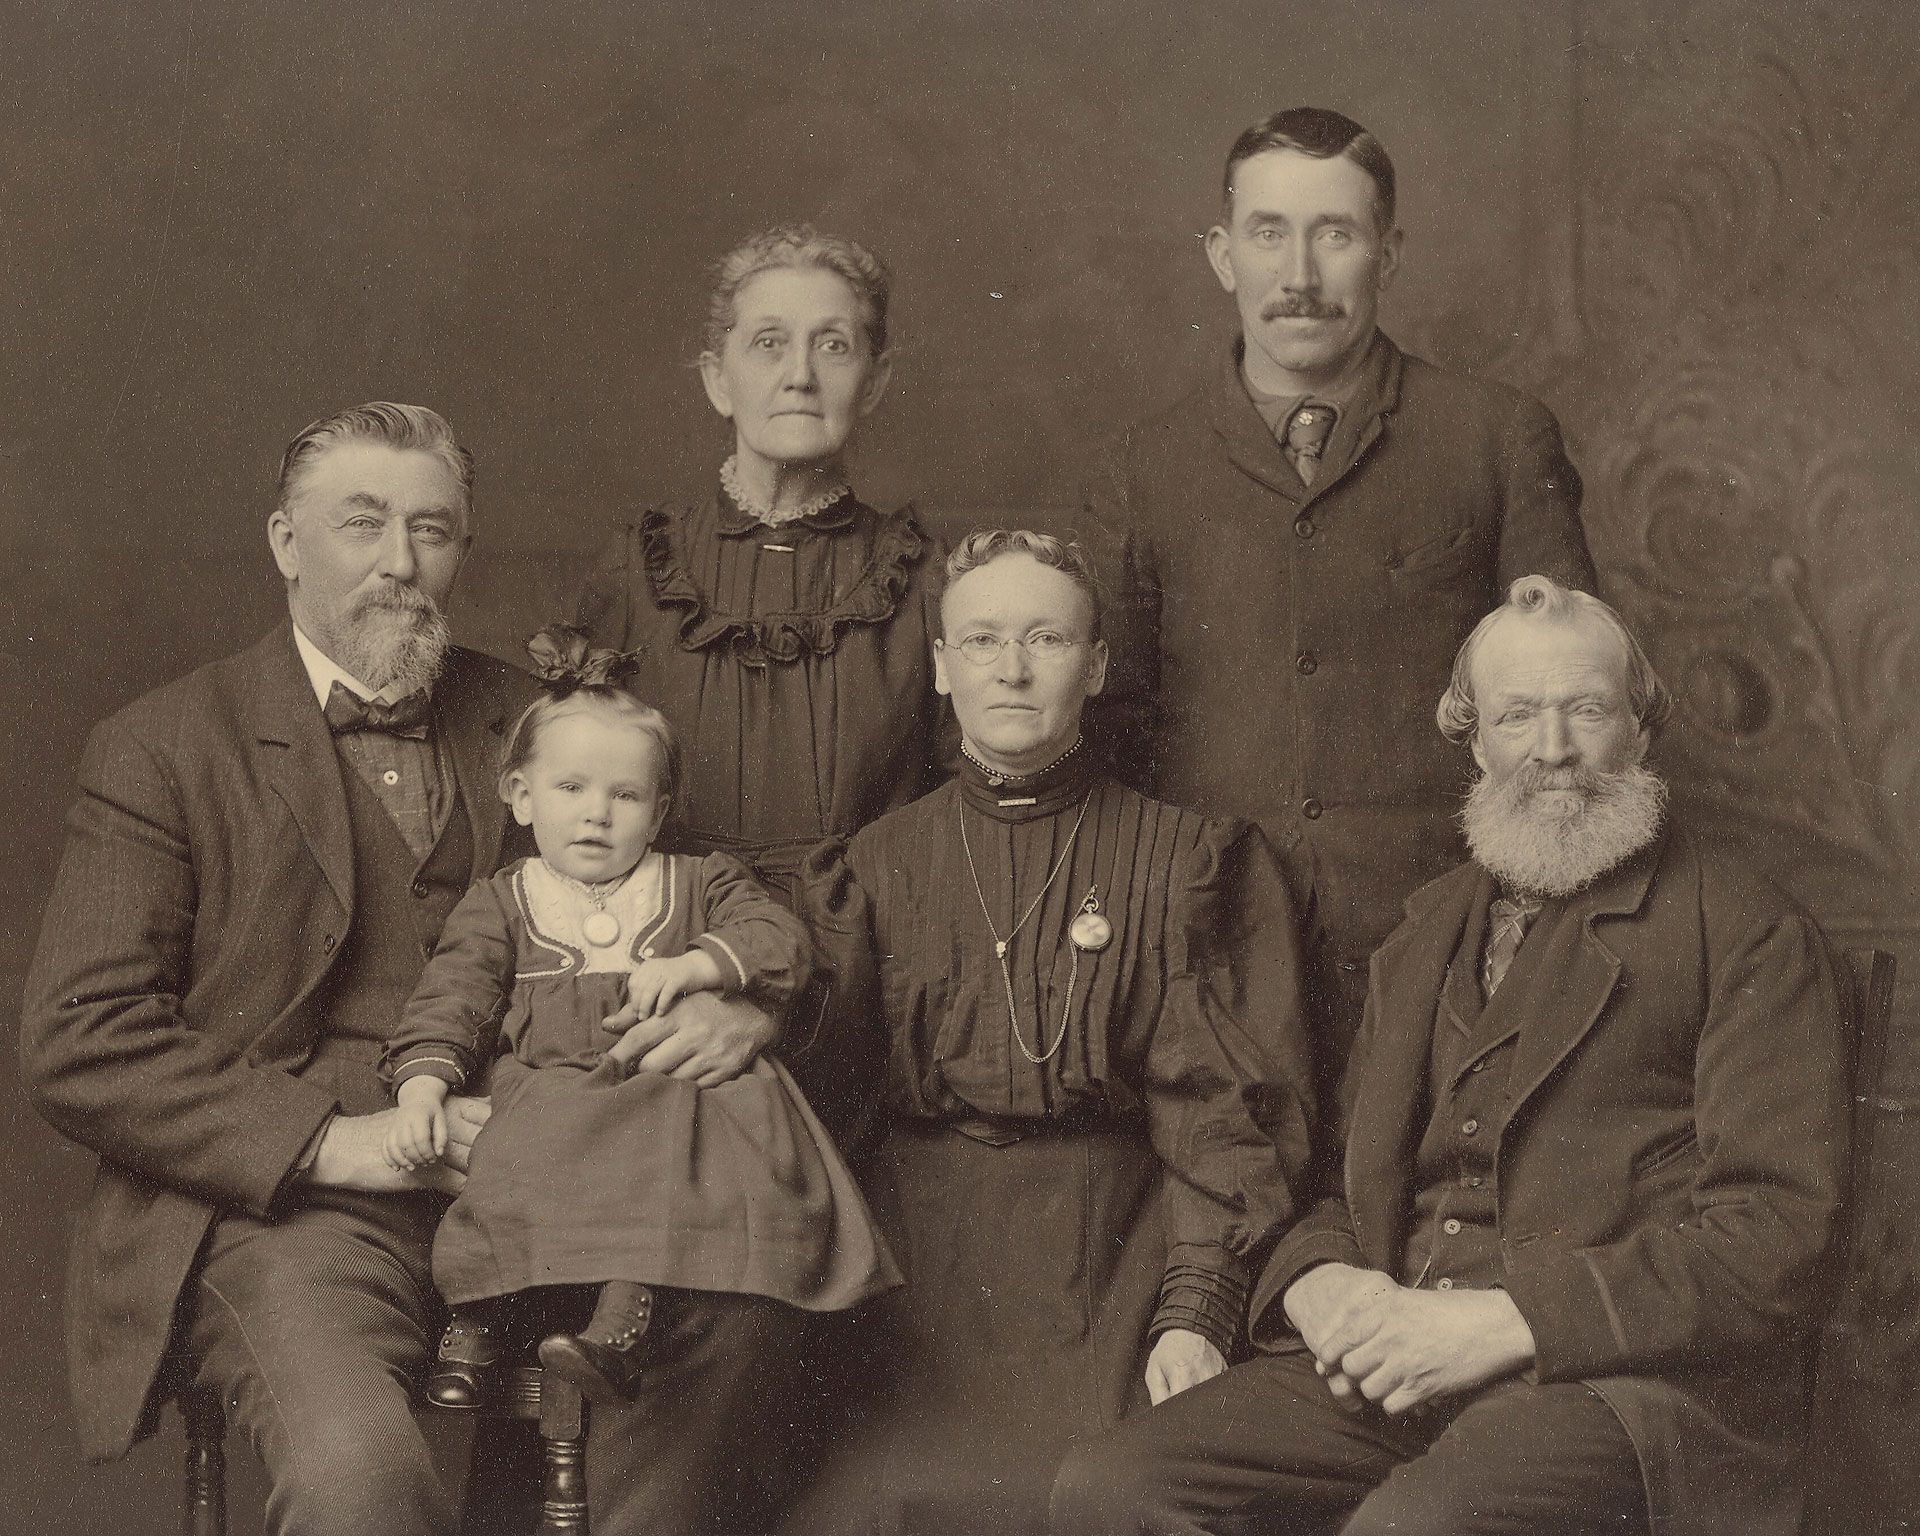
First of all, I'm fascinated by old images like this. Who were these people? What kind of life did they have? Considering how expensive photographs were in this time period, and the clothes and accessories they're wearing, I assume this was a well-to-do family. Also notice how good the lighting, details and tonal values are, with plenty of detail in the highlights and shadows. I think the man at far left is also a dead ringer for actor Alec Baldwin (with a goatee).
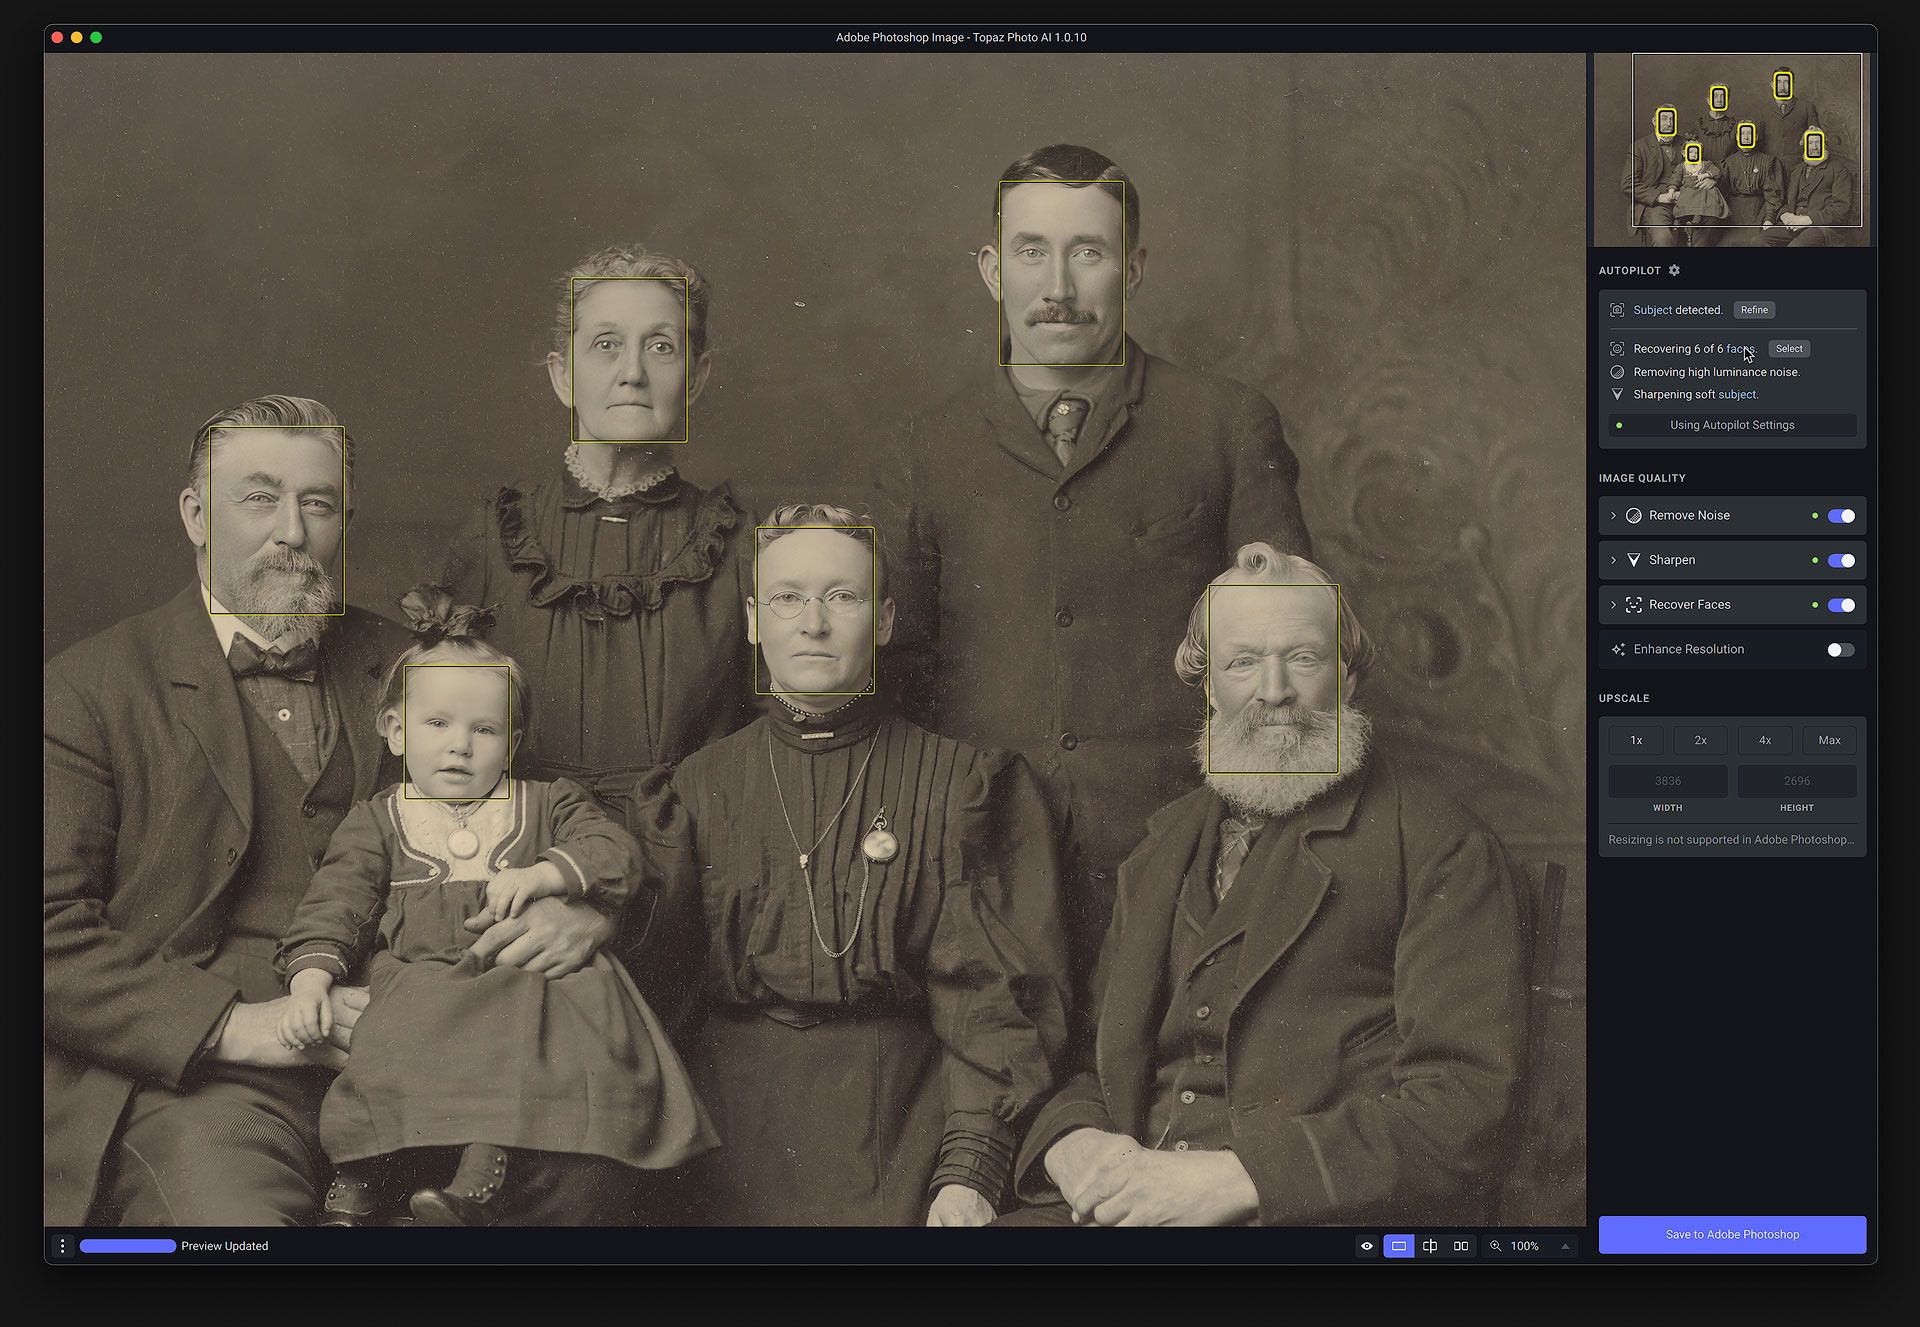
When opened in Photo AI, the software's Autopilot tool analyzes the photo and applies recommended enhancements. Autopilot also automatically detects the six faces (yellow rectangles in the image below) and enables the Recover Faces tool to help increase detail and clarity where it matters most.
Without any additional tweaks or adjustments, here is a before and after comparison. Original image on the left, Photo AI image on the right.
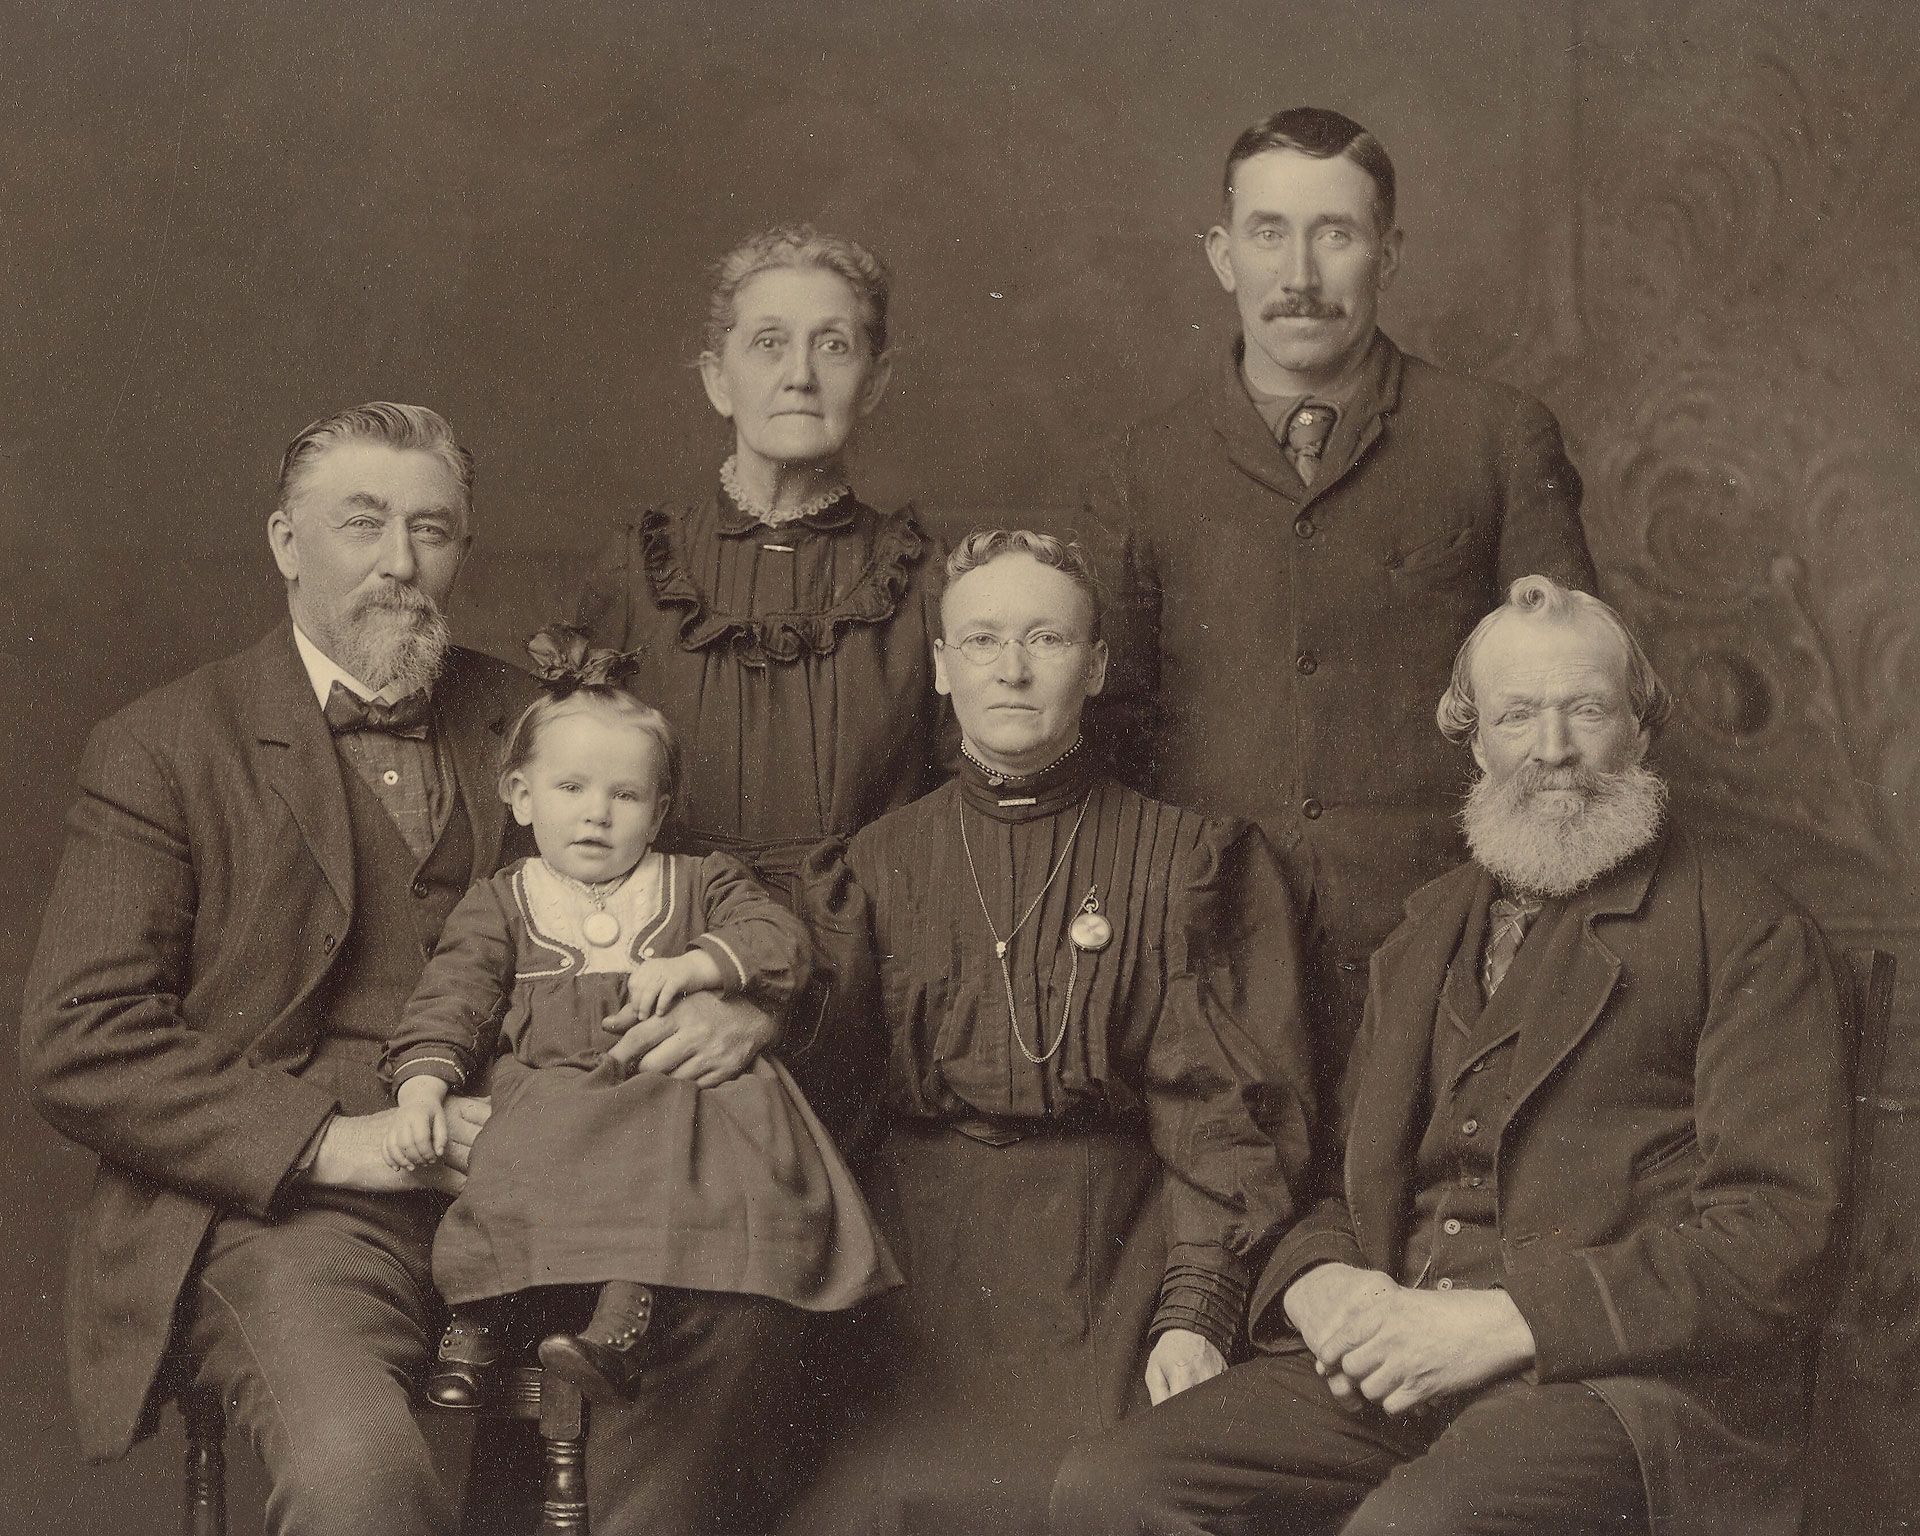
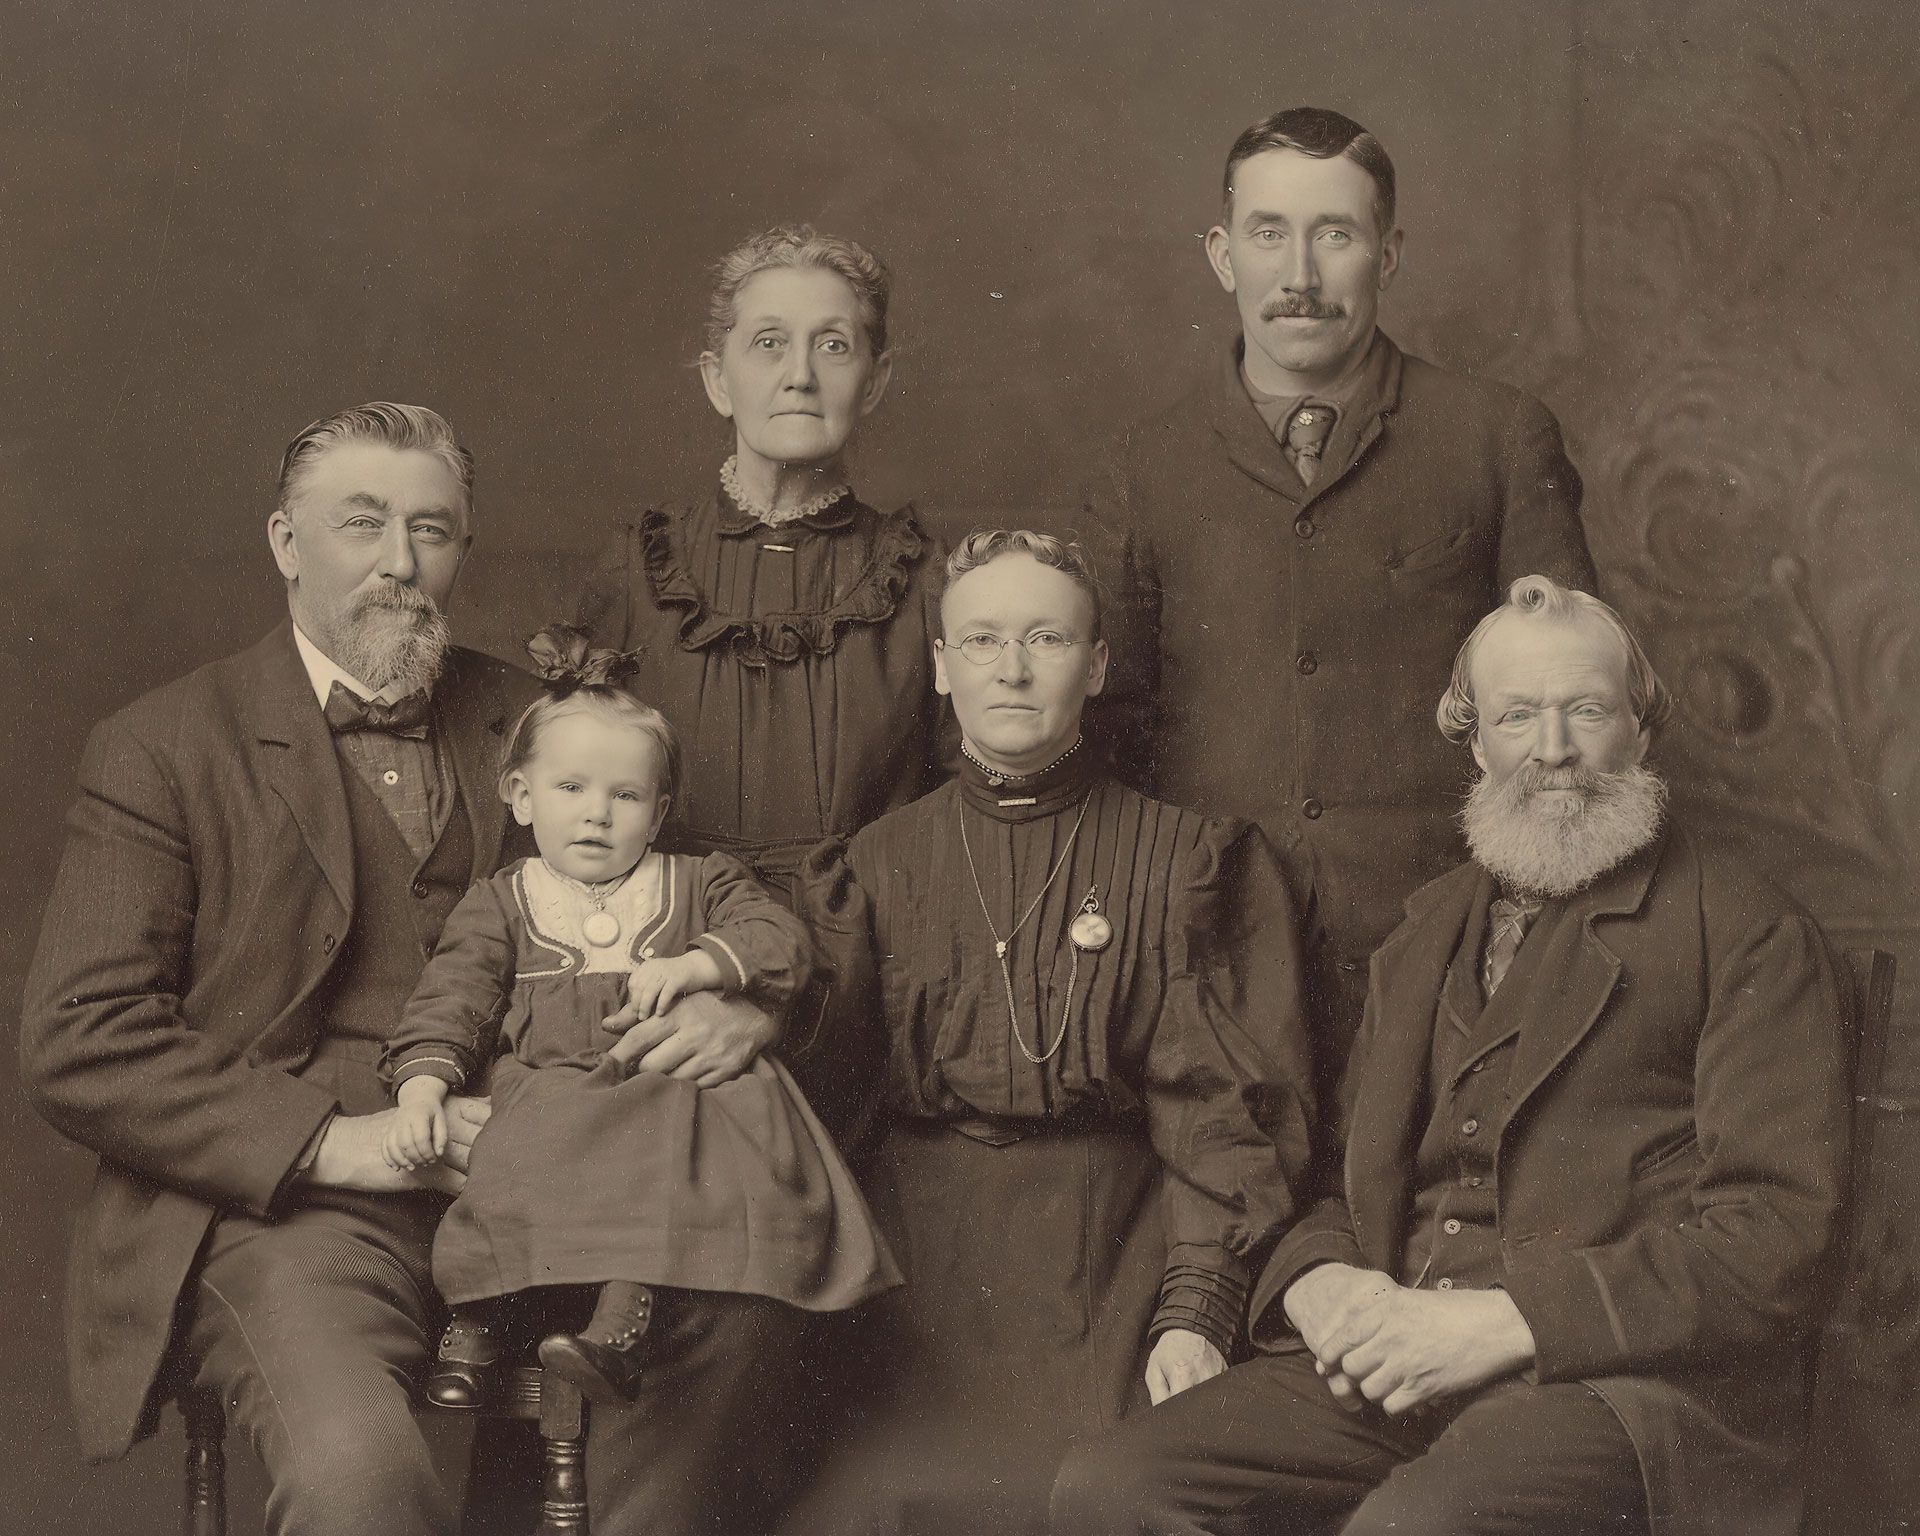
As you can see, Photo AI automatically denoised the image while preserving most of the important detail. Photo AI also added a little sharpening to help clarify edges and fine details. But the biggest change occurred with the Recover Faces filter. Here's an up-close look at one of the people in the image.
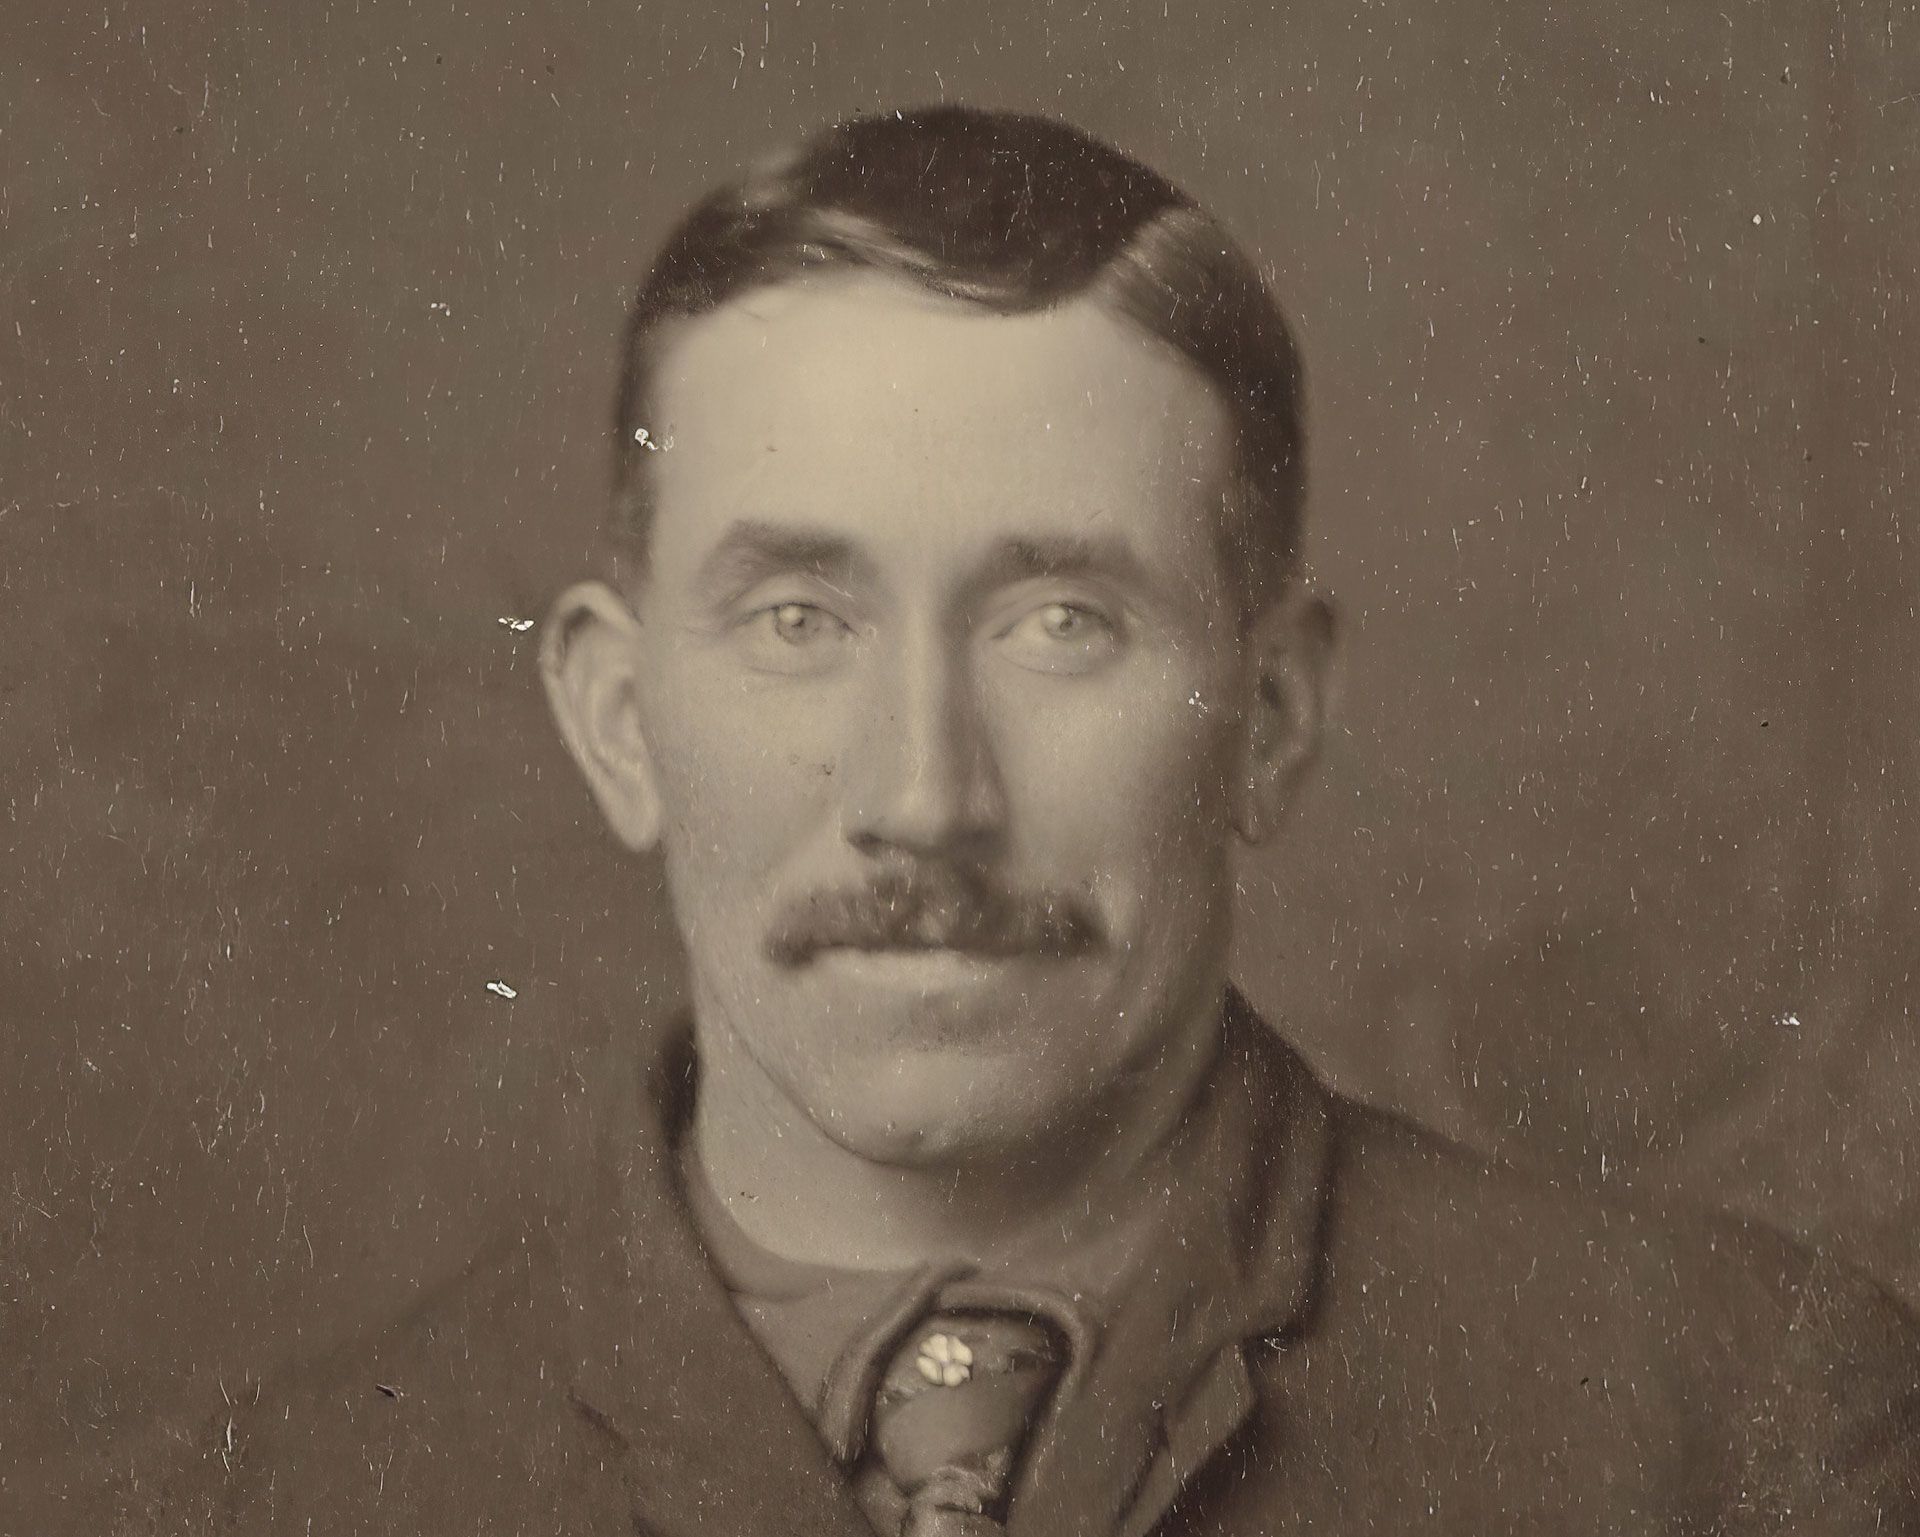
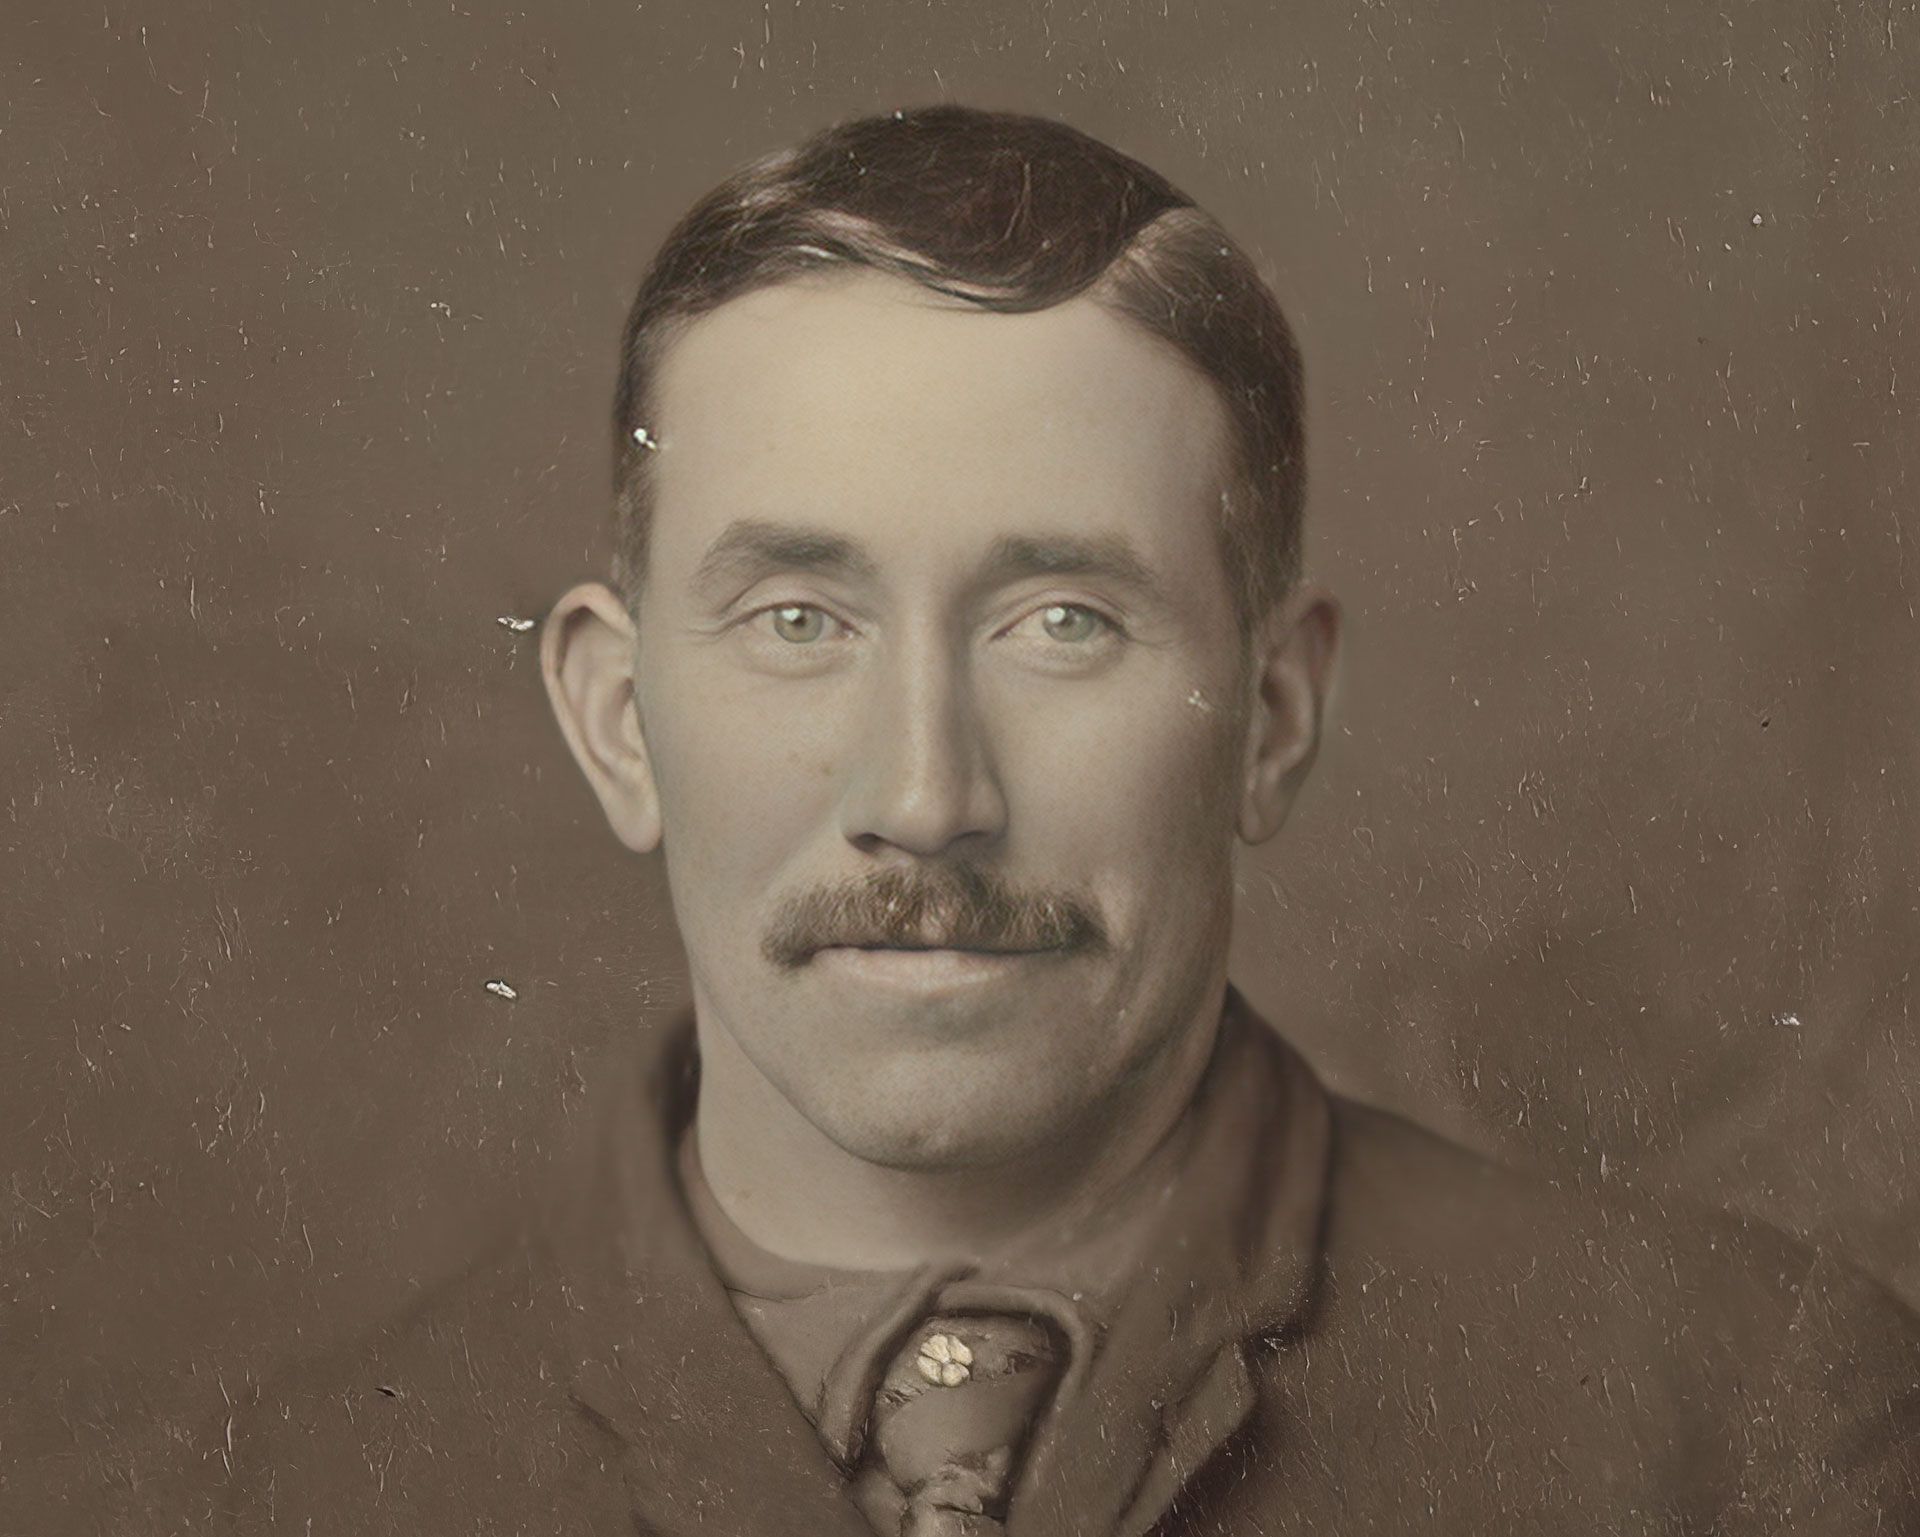
Wild! The reason the Photo AI image looks so sharp and clear is because Photo AI is rebuilding and reconstructing the pixels. In other words, it is altering the photo's DNA with new facial features and details that did not exist in the original. You can see these new details especially well in the man's eyes and mustache. Net result is a composite image blending fact and fiction that looks pretty realistic and true to character.
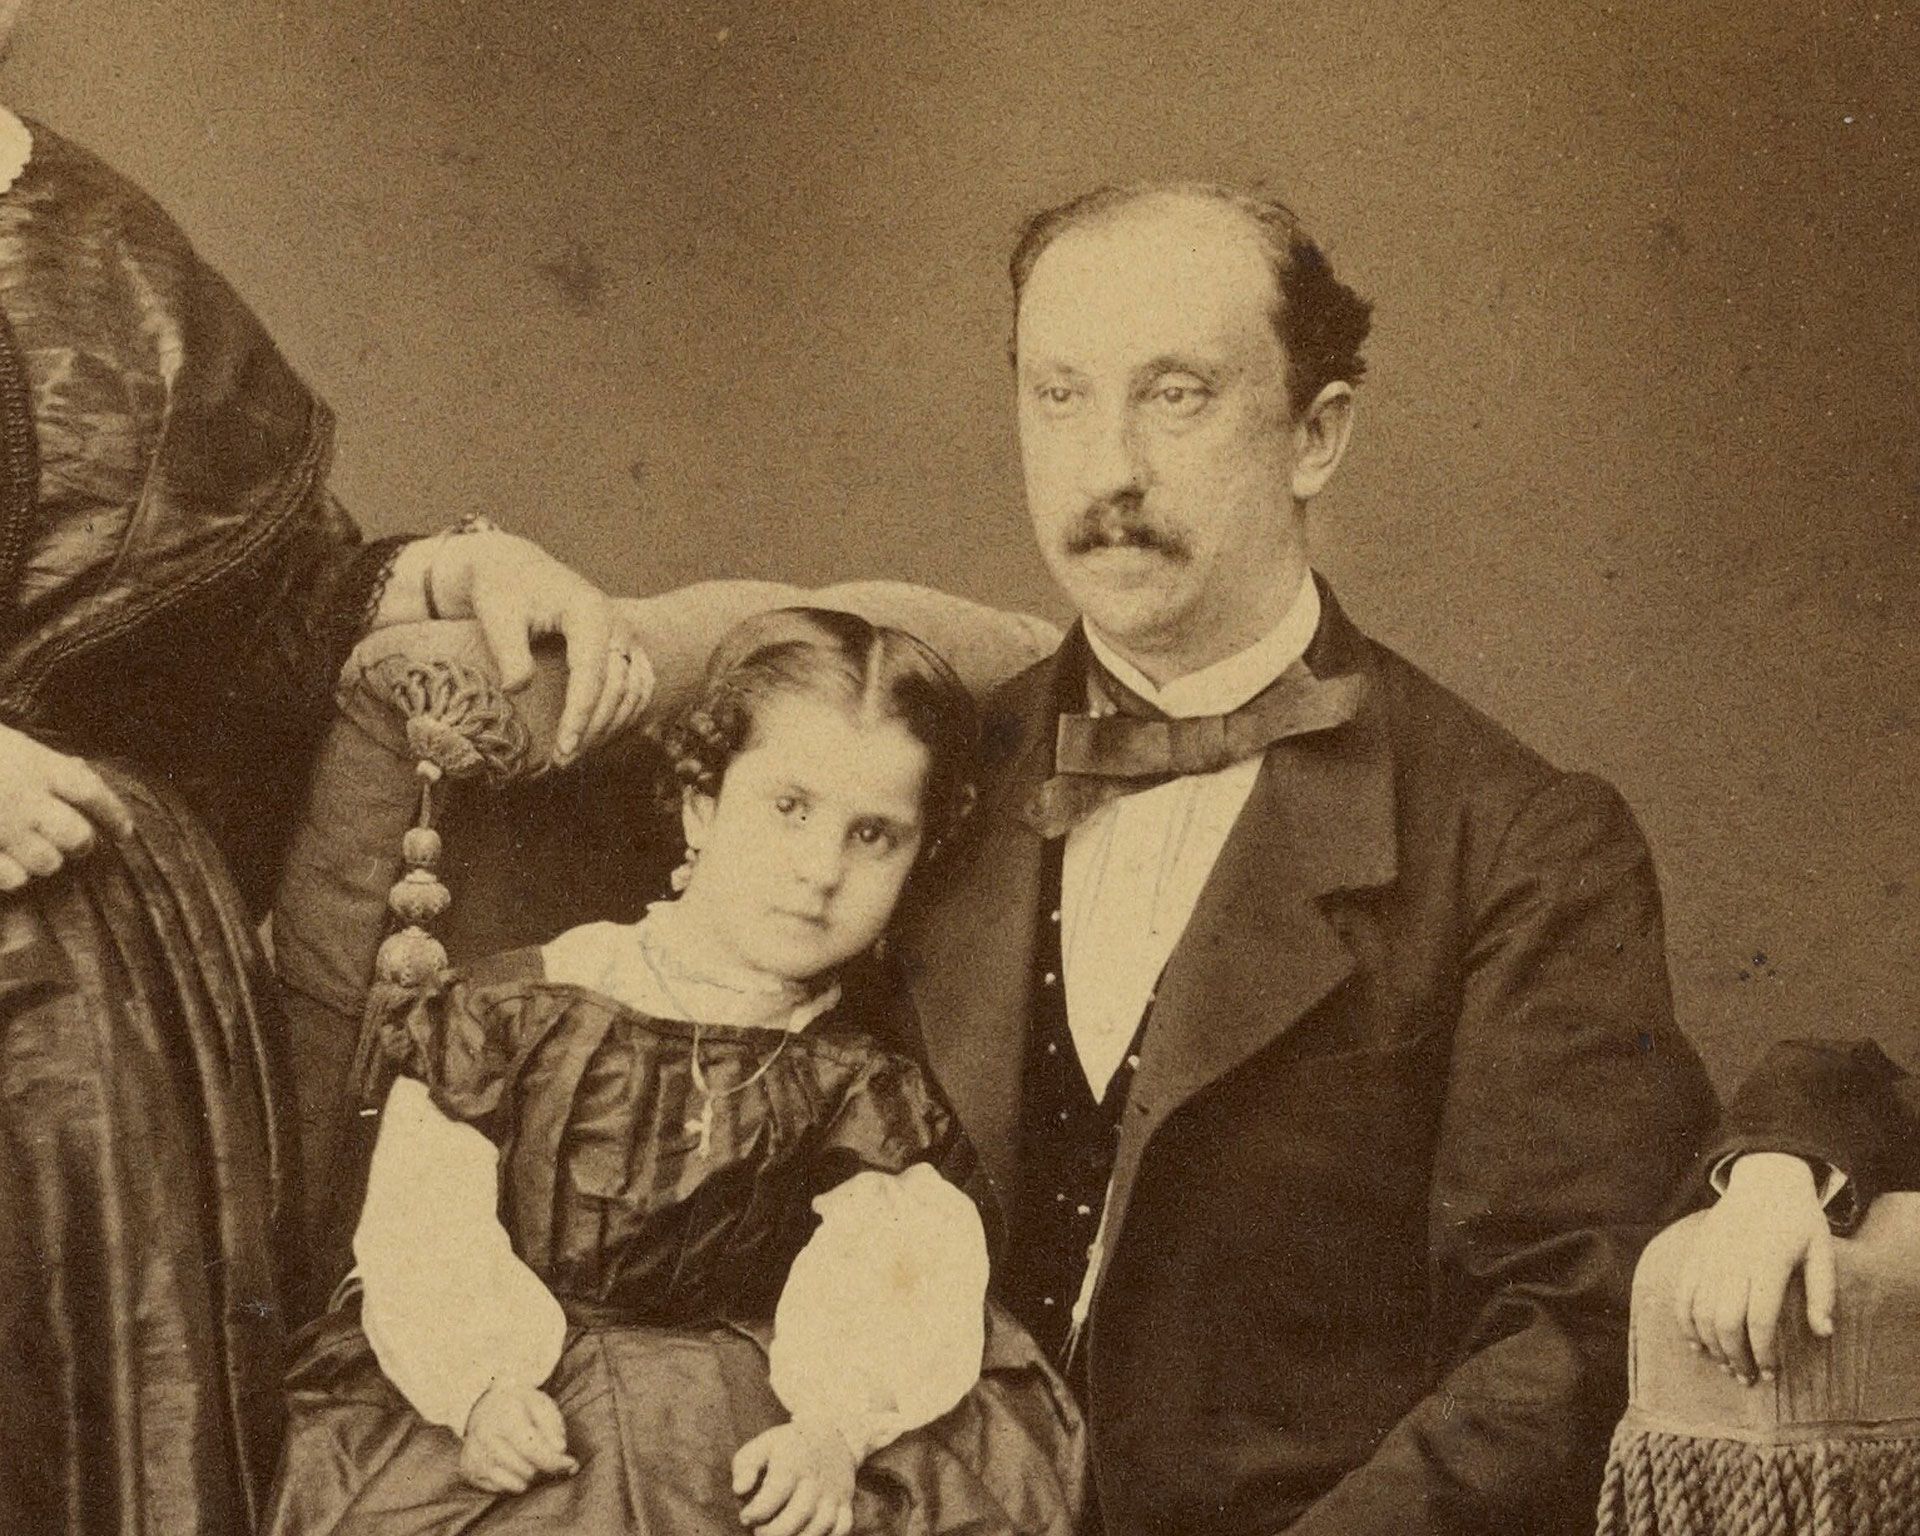
Here's another example.
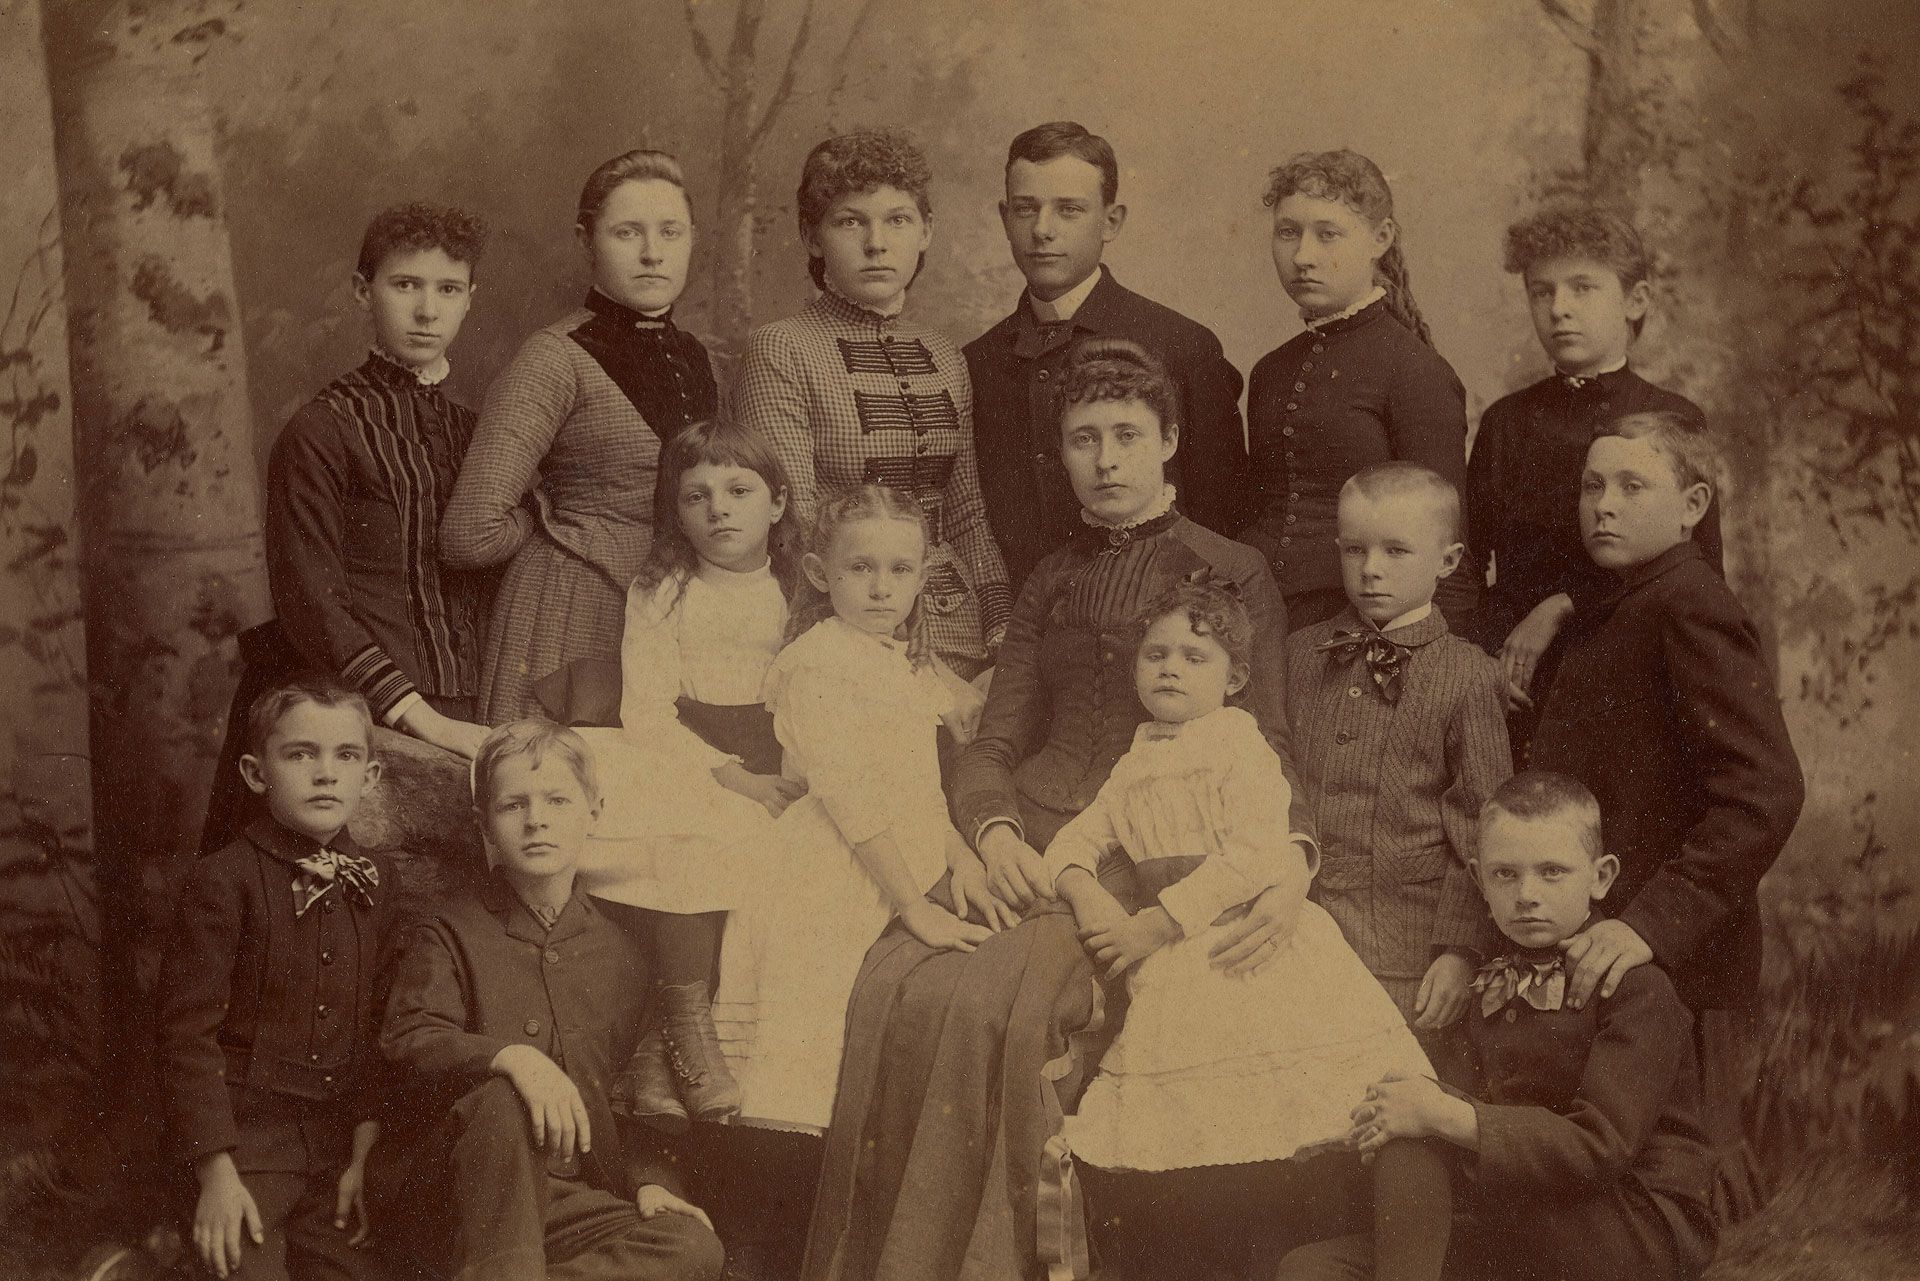
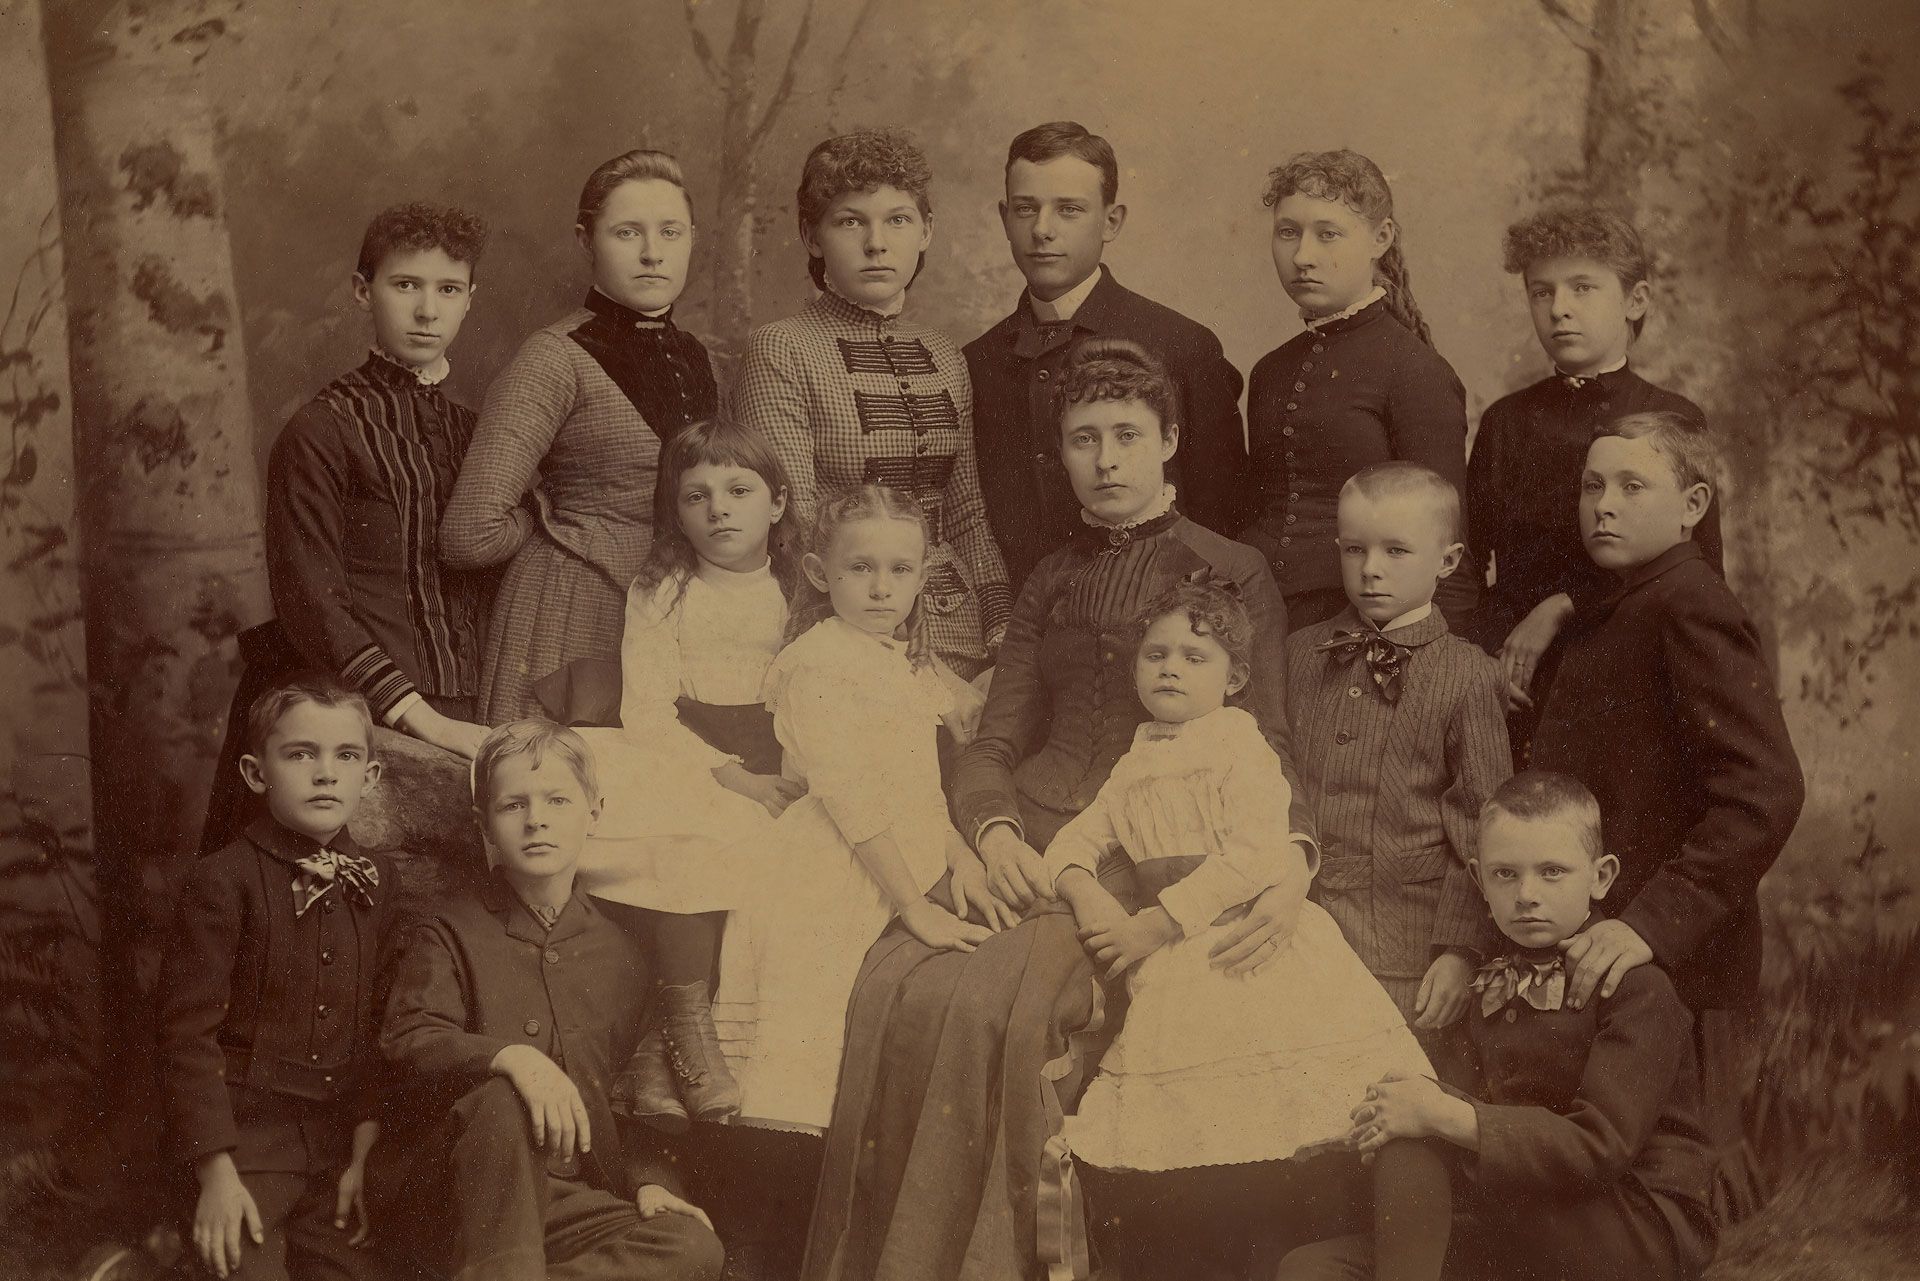
Zooming-in to take a closer look...
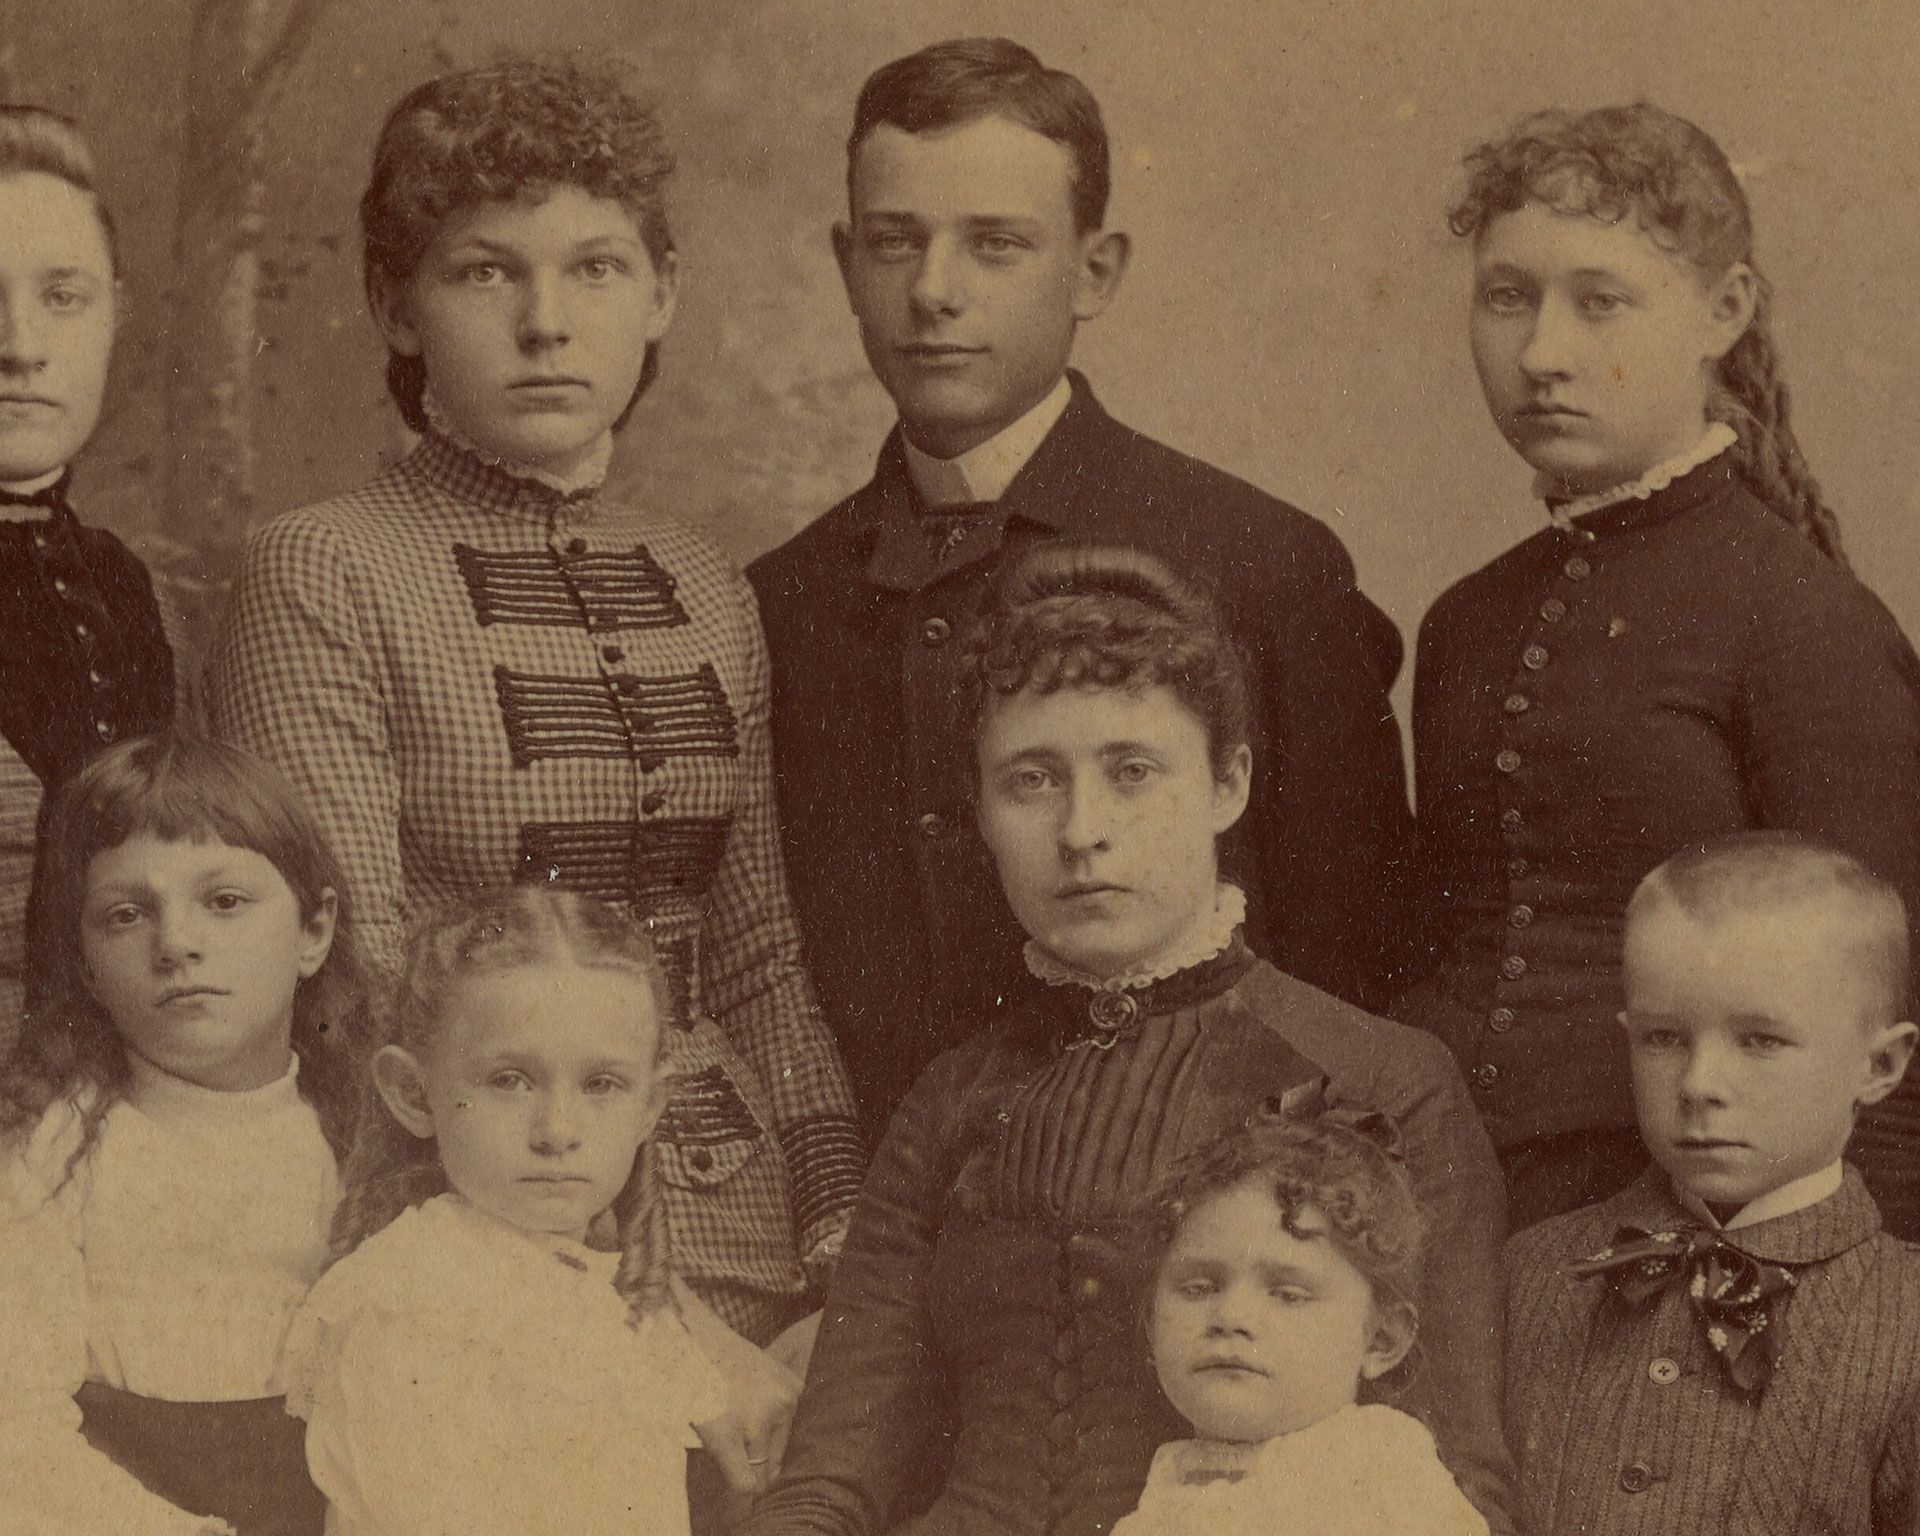
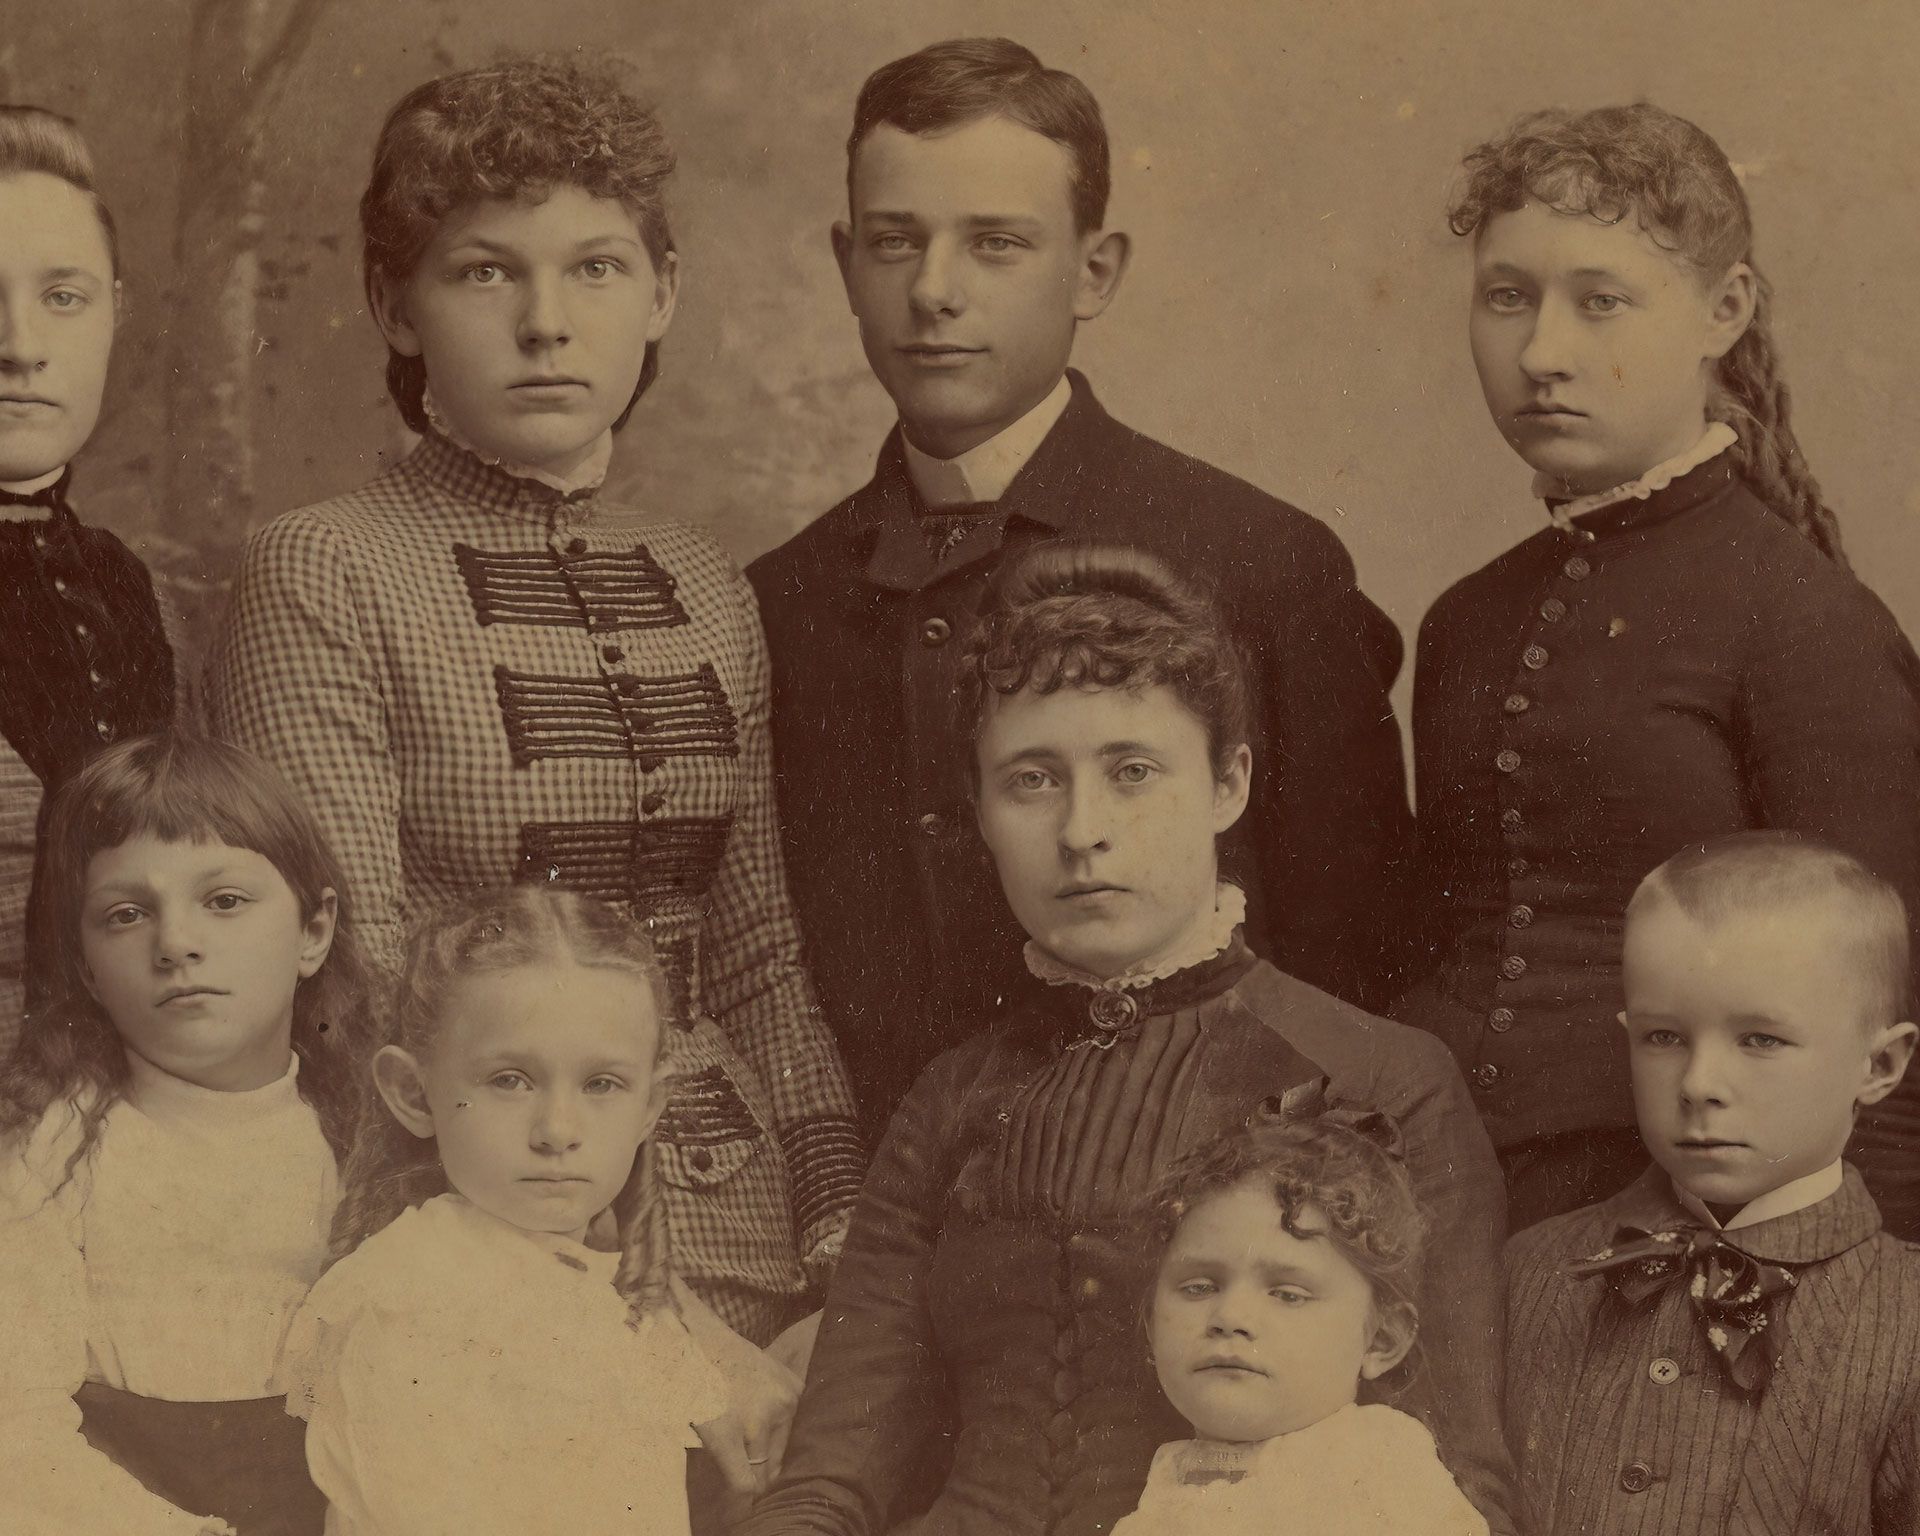
Again, Photo AI does a good job of removing noise, increasing detail, and re-constructing facial features without going overboard. It's also worth pointing out that Photo AI (thankfully) left paper splotches, scratches and defects alone. This is good, for those are things best suited for Photoshop or similar software.
In my tests, Photo AI can automatically push the Recover Faces effect a bit hard, especially when editing RAW files instead of TIFF. As the old saying goes, "the eyes are the gateway to the soul", and we as human beings can sense when something isn't right. Known as the uncanny valley, it's the reason characters in some animated and computer generated films (most notably, Polar Express) are uncomfortable to watch.
Thankfully, the Recover Faces tool has a Strength slider, so if the effect is too strong and unnatural it may be turned down. Recover Faces can also be disabled altogether.
One thing I'd love to see Topaz Labs add to Photo AI is more control over what the Recover Faces filter changes because it sometimes injects color where color didn't originally exist. Eyes sometimes turn hazel or light blue, and skin appears rosier. You can see both of these enhancements in the image above and below, which to me look a bit strange in a sepia-toned, monochromatic image.
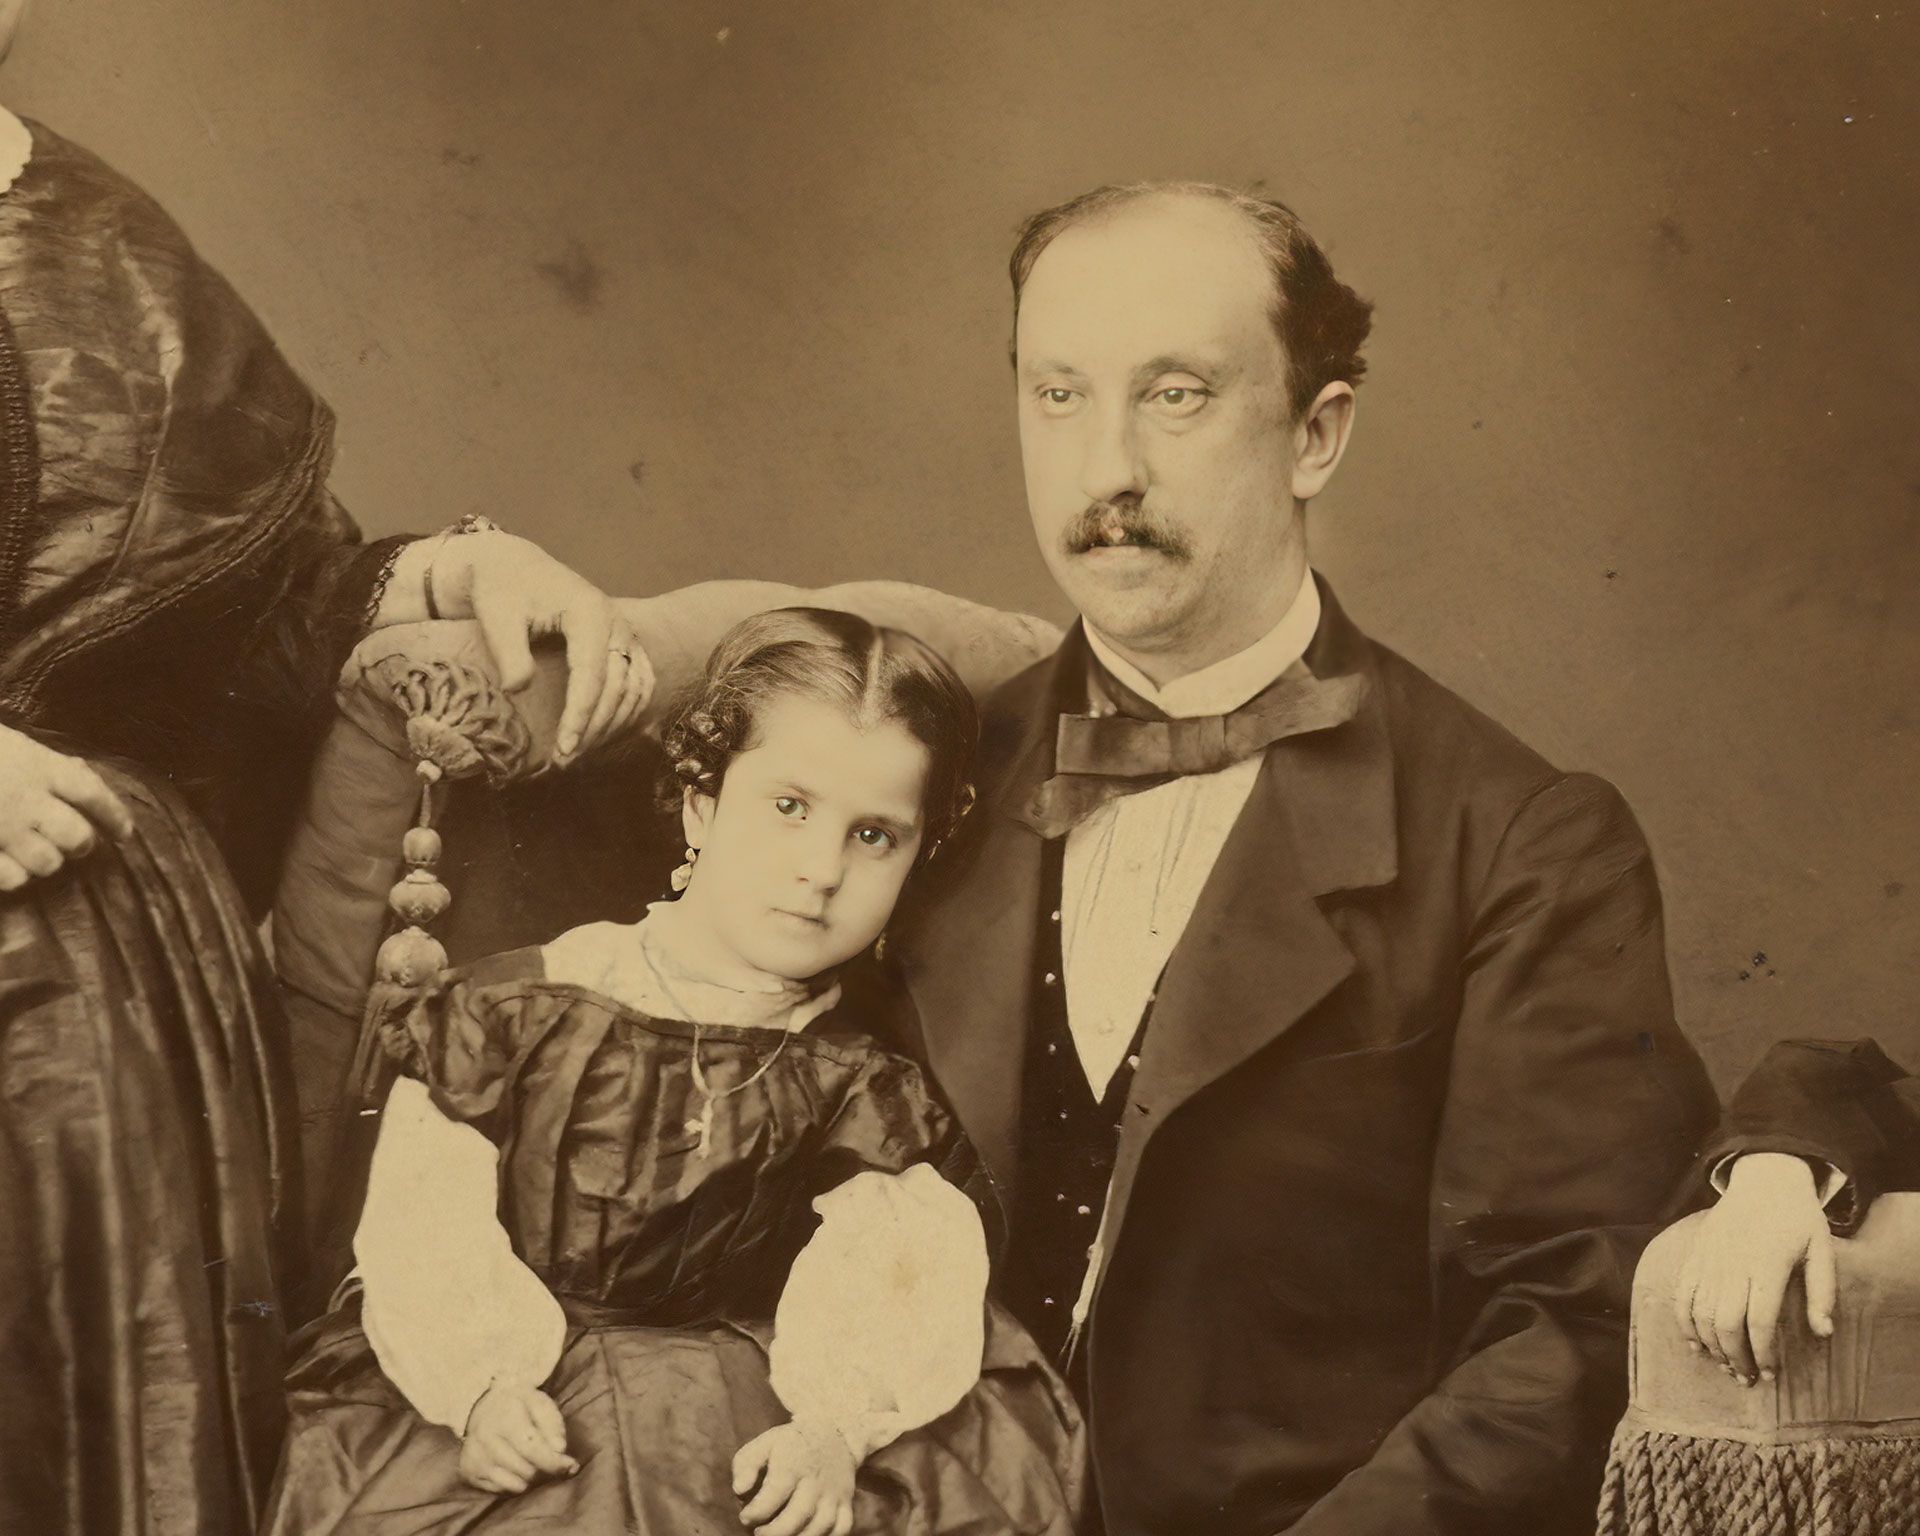
Overall, the Recover Faces tool in Photo AI doesn't always get faces right, but when it does the results can be quite remarkable; especially because this kind of intelligent photo enhancement isn't the kind of thing most people are capable of doing on their own. It could be an especially powerful tool for people looking to scan, clean-up, and upscale old family photos.
Tips for using Photo AI with your own photos
Photo AI performed well with these images because the originals were good quality and scanned at high resolutions. The more pixels Photo AI has to work with, the better and more natural the results. If scanning your own images, scan them at the largest size and DPI you can.
Second tip, always save and keep the original scans. Artificial intelligence is continually improving, so what looks great today could look even better a year from now or later. By keeping the original scans, you always have the option of running images again through Photo AI (or any other tool) in the future.
Third tip, if editing a group image and some faces look good while others do not, try exporting two or more images with different strengths from Photo AI, then blend them together in Photoshop. This could help in situations where different strengths work better with different faces.
Finally, from an aesthetic perspective, I would recommend not going overboard with denoising and sharpening. It's tempting to try and convert a 100+ year old film photo into one that appears to have been captured using a modern, digital camera, but the results can look over-baked. Sometimes imperfections are a good thing!
Try Photo AI for yourself
For more, check out my review of Photo AI and download a free trial for macOS and Windows to test the software with your own images.
Example image 1 (Getty images)
Example image 2 (Getty images)
Example image 3 (Getty images)
