Lightroom's secret sky masking trick
Simple solutions to create better, more accurate sky masks, plus other helpful masking tips
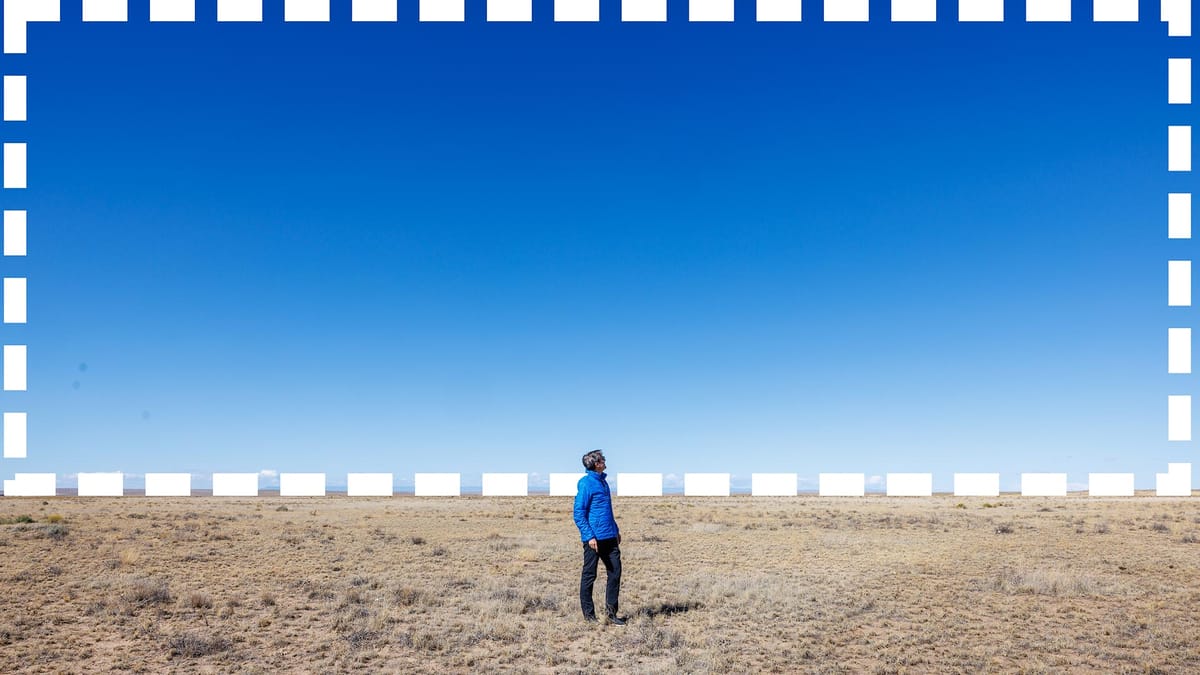
Without question, Adobe changed the raw photo editing game in late 2021 when they overhauled Lightroom's masking system. I found the new tools to be so helpful and useful, they single handedly pulled me back to Lightroom after switching to Capture One. Since then, Adobe has updated Lightroom's masking system with more AI-driven tools and have further refined its capabilities.
Because I primarily photograph landscapes, I often use the "Select Sky" mask. Not simply for selecting skies, but for selecting and editing everything but the sky, which is easily done by inverting a Sky mask.
The Sky mask is great, but does have some drawbacks. Occasionally, the AI powering the mask can become confused when there are mountains, hills, buildings, or boulders that share similar colors and tonalities in the foreground. When this occurs, the Sky mask can inadvertently stretch beyond its intended borders, affecting areas it shouldn't.
For example, take a look at the image below. The Select Sky mask is masking the sky, plus portions of the boulders in the foreground. This seems to be occurring because the rocks have light blue highlights resembling the sky's color, and since the rocks and the sky are closely situated, Lightroom's AI engine appears to mistake the rocks for being part of the sky.
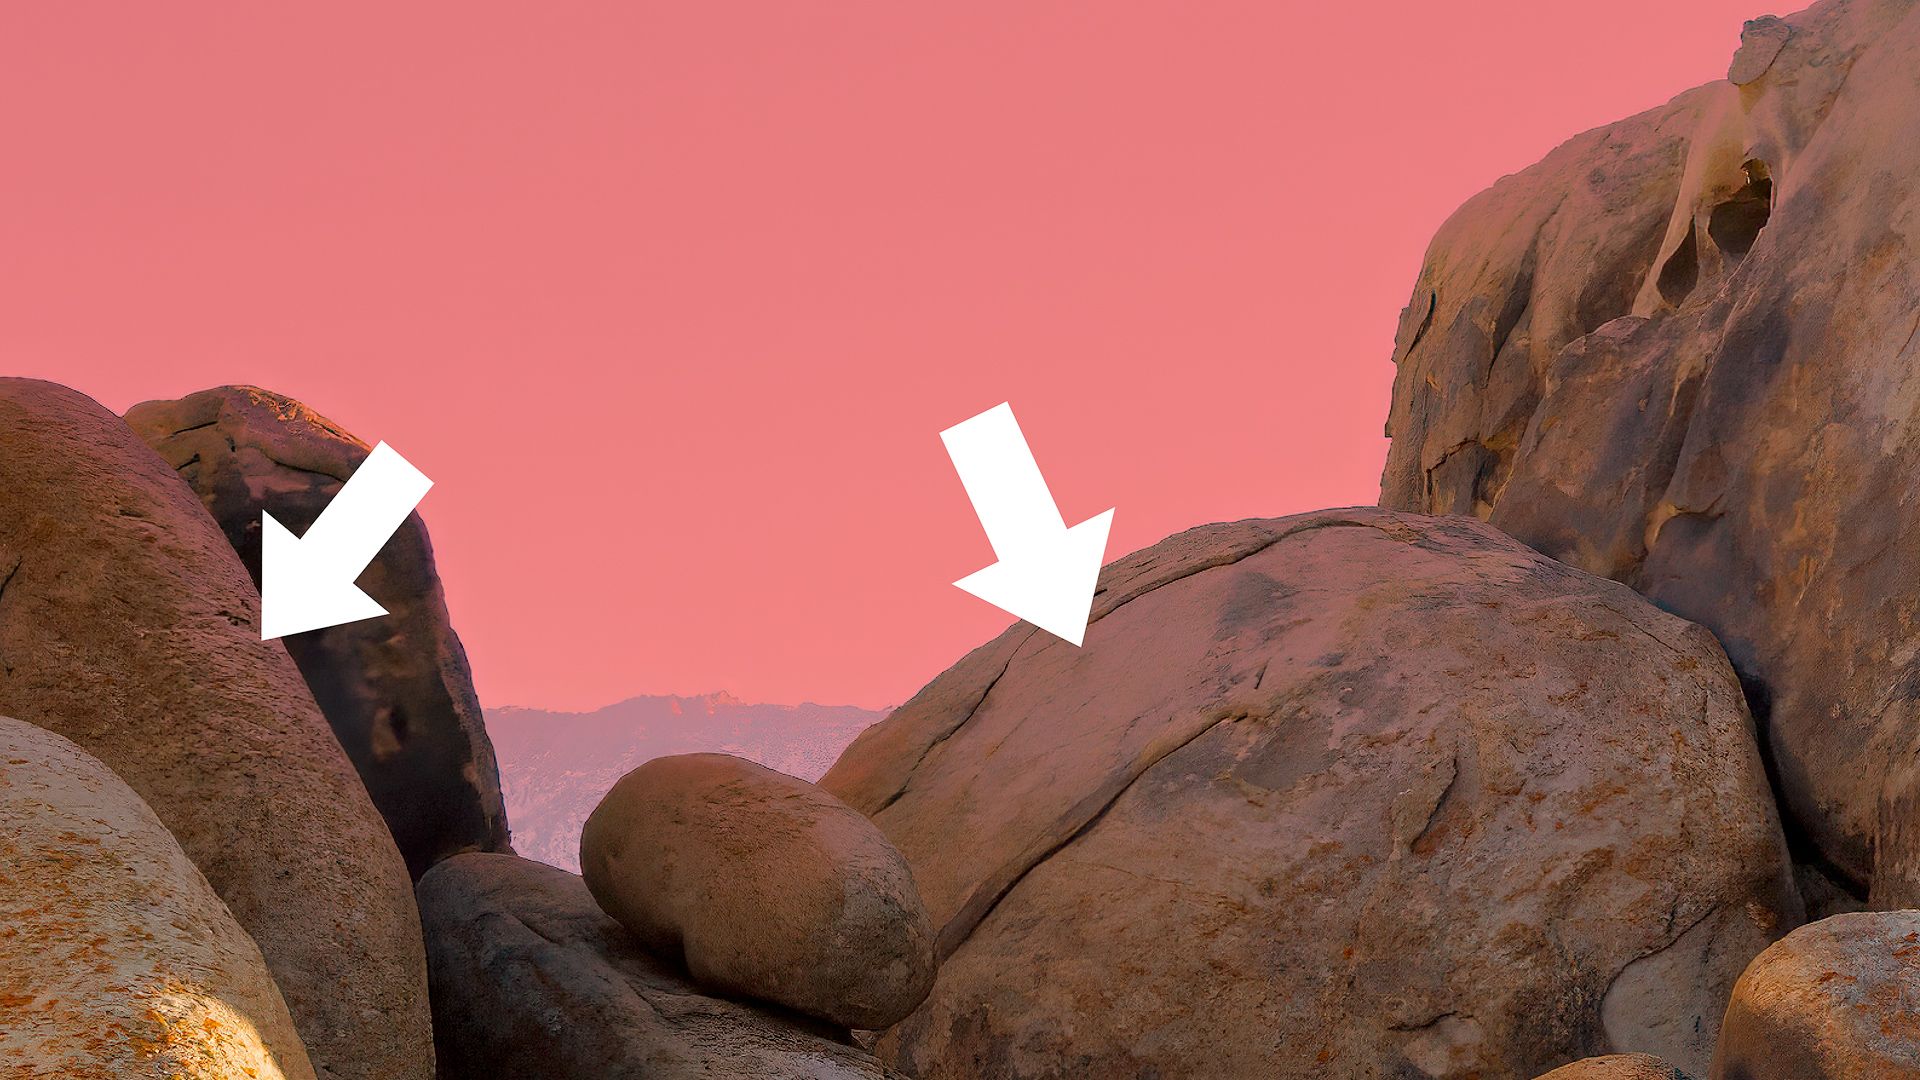
I've been experimenting with ways to resolve this, and have found a quick and easy solution that feels a bit like a hack, but works. Best of all, it's super easy to do. Check out the video below to learn how to resolve Sky "bleed" problems, plus other helpful masking tricks you can immediately put into practice with your own photography.
Speaking of masks, I created a collection of free Lightroom presets that automatically create common masks I use when editing landscape images. I find these masks to be a huge timesaver in my workflow. Check them out if interested!
