Fujifilm GFX Settings for Landscape Photography (2025)
Recommended global settings and custom modes for creating landscape images with the Fujifilm GFX 100S II (and other GFX models)
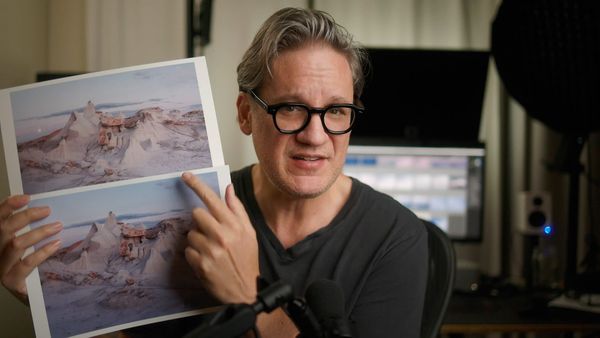
Fujifilm's GFX cameras are sensational for landscape photography. I've shot thousands of landscape images using the GFX 100S, and now with the newly released 100S II, I'm setting up the camera with a fresh batch of modified settings and custom shooting modes tailored for creating landscape images. I'll be referring to the latest GFX 100S II from this point forward, but if you use the first generation 100S, or a different GFX camera model, most of the menu settings will be the same. Any settings not mentioned below are assigned their default, factory settings.
Global Fujifilm GFX settings
Global settings are used across every shooting mode, even custom ones. Assign a value to a global setting, and that value is used at all times. The default values that ship with the GFX 100S II are mostly fine, but I changed these to conserve power and improve the user experience of the camera.
- Menu > Network/USB Setting > Bluetooth/Smartphone Setting > Bluetooth ON/OFF > OFF
- Menu > Set Up > Screen Set-Up > Autorotate PB > ON
- Menu > Set Up > Screen Set-Up > Disp. Custom Setting > (everything OFF but the following)
- [x] Framing Guideline
- [x] Focus Frame
- [x] Focus Indicator
- [x] Histogram
- [x] Aperture/S-Speed/ISO
- [x] Expo. Comp. (Scale)
- [x] Touch Screen Mode
- [x] Movie Mode & Rec. Time
- [x] Mic Level
- [x] No storage media warning
- [x] Battery level
- Menu > Set Up > Screen Set-Up > Framing Guideline > Grid 9
- Menu > Set Up > Button/Dial Setting > Function (Fn) Setting
- Fn2: Electronic Level Switch
- Fn3: Histogram
- Menu > Set Up > Button/Dial Setting > Command Dial Setting
- Front Dial: F (Aperture) and ISO
- Rear Dial: S.S. (Shutter Speed)
- Menu > Set Up > Screen Set-Up > LCD Brightness > +2
- Menu > Set Up > Screen Set-Up > Sub Monitor Setting > Histogram
Display, Function, and Command Dial settings are suit-to-taste, so I recommend experimenting with all three to find what works for you. I like my LCD and viewfinder clean and uncluttered, so fewer settings work well for me. I also prefer the screen to be a little brighter when shooting outdoors.
For buttons, I like having Electronic Level assigned to a button when leveling my ball head, and the Histogram is essential for checking exposure and channel clipping.
Creating custom shooting modes
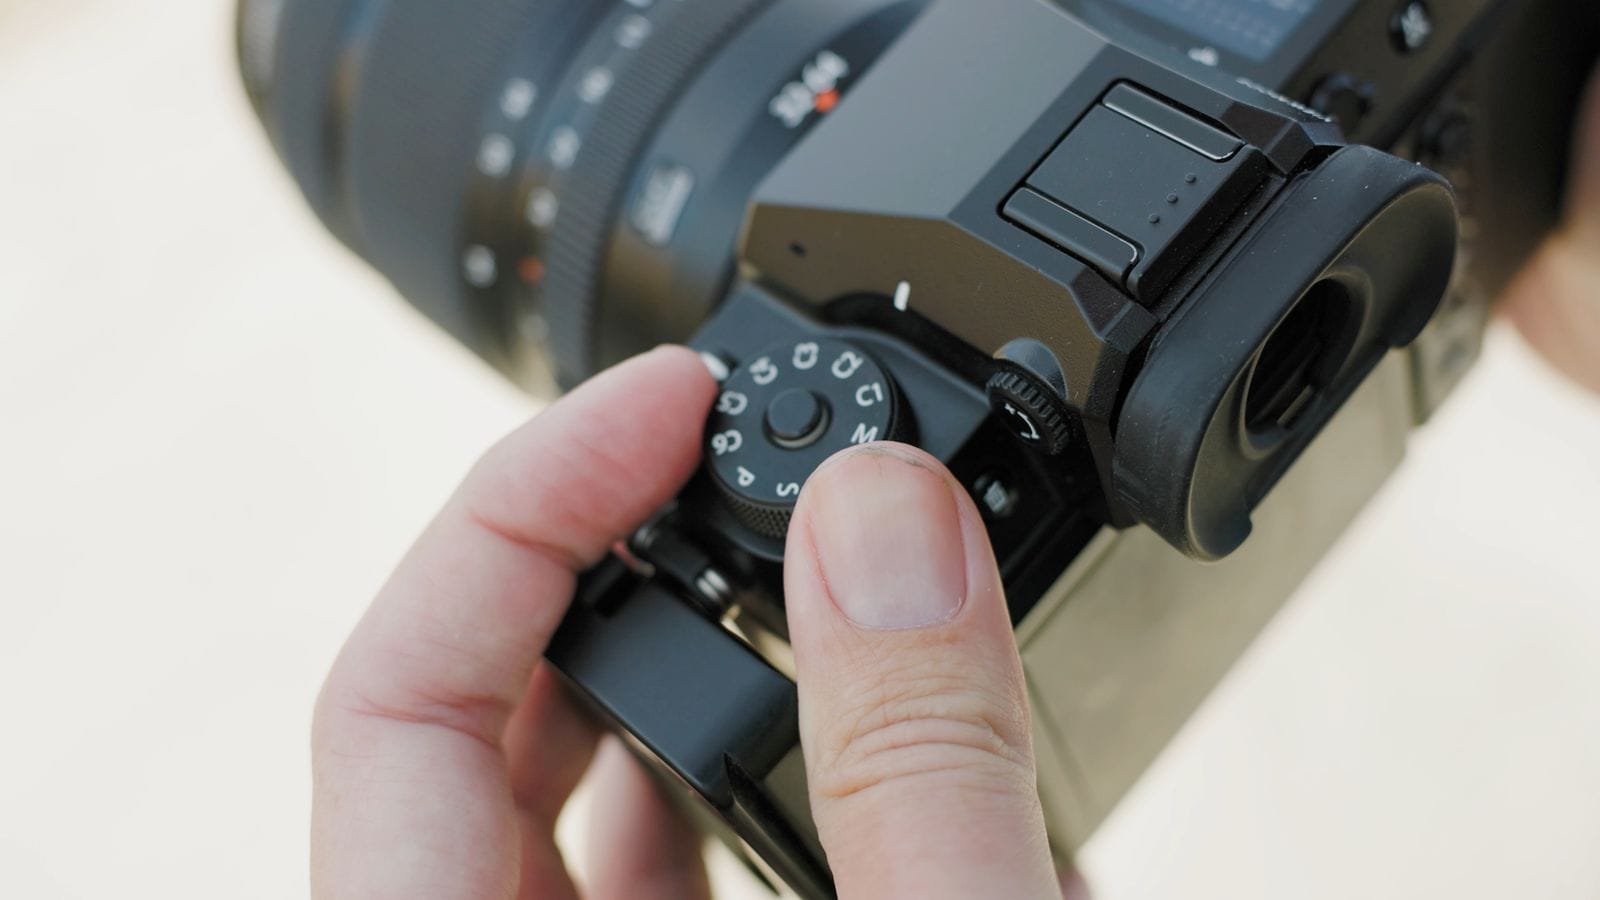
Custom shooting modes (C1, C2, etc) are fantastic for storing custom camera settings for different scenarios. These modes can be programmed for both stills and video, resulting in six custom modes for video and six for still images. For landscape photography, I use C1 for single landscape images and C2 for bracketed (HDR) images.
By default, GFX cameras automatically save any changes you make to the currently selected custom mode (e.g., C1). This is controlled by the following:
- Menu > I.Q. > Auto Update Custom Setting
When Enabled, changes are saved instantly, which is useful when building or refining custom modes.
When I'm comfortable with a custom mode's settings, I switch this to Disabled. This keeps custom mode settings consistent and prevents accidental overwrites in the future.
Note that when Auto Update is Disabled, anytime the camera is using different settings from a custom mode, a red dot will appear next to a mode in the Edit/Save Custom Setting menu, as shown below. These adjusted settings will revert to the custom mode's settings when the camera is powered off/on.
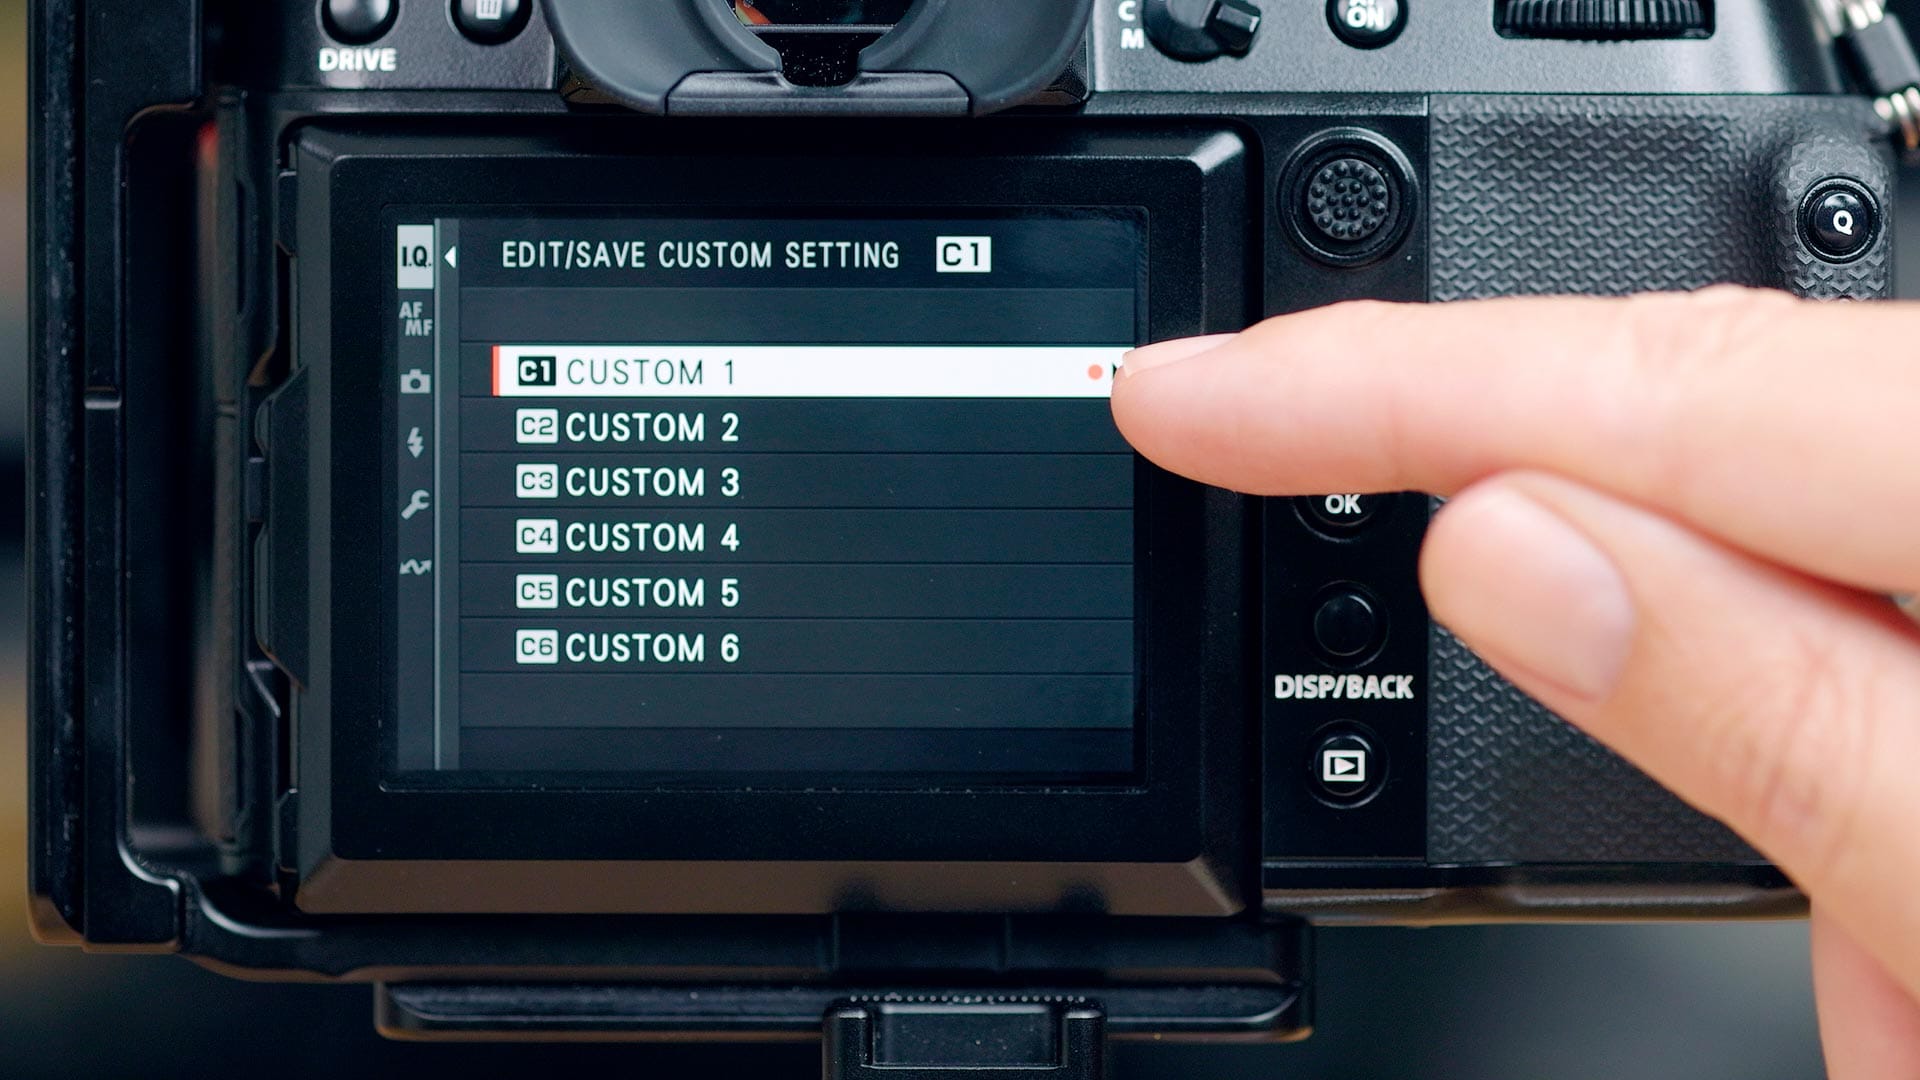
To review and/or overwrite new settings in a custom mode, go here:
- Menu > I.Q. > Edit/Save Custom Setting > C1 > Edit/Check
Settings with a red dot are different. Here, you can select a changed setting, then press the Q camera button to overwrite that specific setting. Or, you can press the BACK button and select Save Current Settings to save all changes.
C1 shooting mode: single landscape images
This is the shooting mode I use for capturing the highest quality single exposure landscape images with the GFX 100S II mounted to a tripod. "Drive", "Q" and "Menu" refer to buttons on the back of the camera.
- Drive > Still Image
- Q > Shooting Mode > M (Manual)
- Q > ISO > ISO 80
- Q > White Balance > K (Custom)
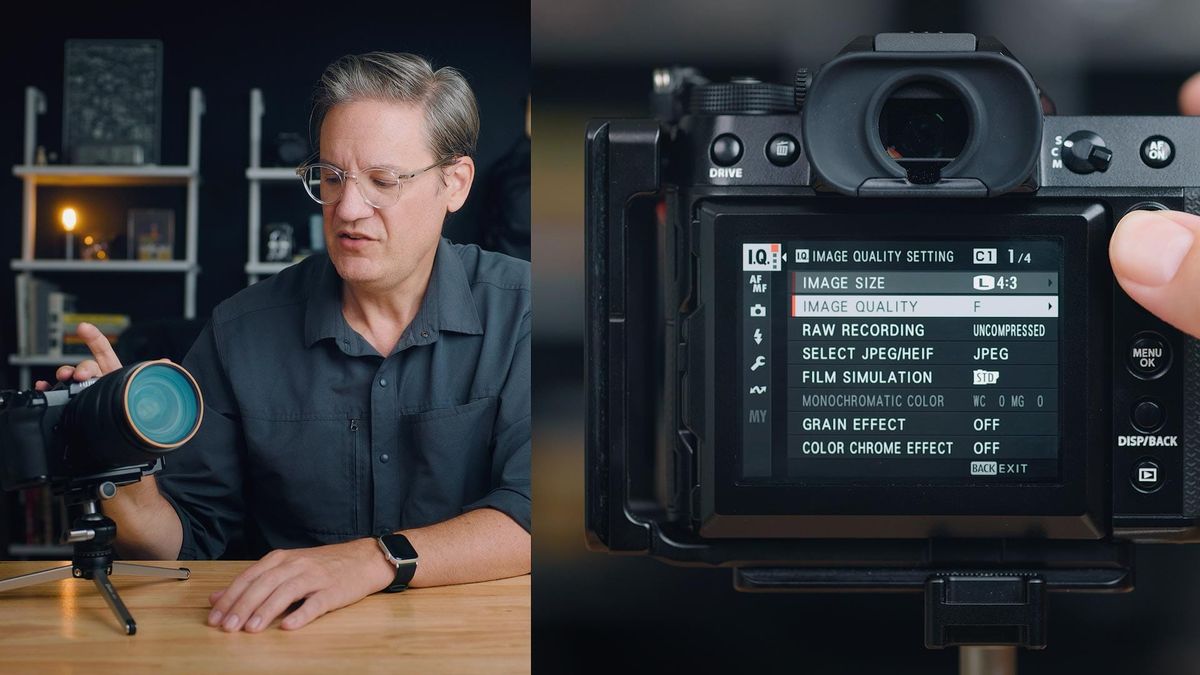
- Q > Image Size > RAW
- Q > Image Quality > RAW
- Q > Self-Timer > 2 seconds
- Menu > I.Q. > Raw Recording > Lossless
- Menu > I.Q. > Raw Recording > Lossless > 16-bit
- Menu > I.Q. > White Balance > K > 5600 kelvin
- Menu > I.Q. > Long Exposure NR > Off
- Menu > AF/MF > AF+MF > On
- Menu > AF/MF > MF Assist > Peak > Focus Peak Highlight > Red (High)
- Menu > AF/MF > Focus Check > On
- Menu > Shooting > Save Self-Timer Setting > On
- Menu > Shooting > IS Mode > Off
- Menu > Set-Up > Sound Set-Up > (everything "Off" except Electronic Shutter volume)
- Menu > Set-Up > Power Management > Performance > Normal
- Menu > Set-Up > Power Management> Auto Power Save > On
When shooting with this C1 mode, I keep ISO fixed at 80 for the lowest noise and widest dynamic range. I set the aperture manually on the GF lens, usually between f/11 and f/22 for optimal sharpness, and use the rear command dial to adjust shutter speed. Most of the time I adjust only the shutter speed to fine-tune exposure, increasing ISO only when wind or low light requires a faster shutter. I also use a 2 second timer to avoid camera shake when pressing the shutter.
The autofocus settings (AF/MF menu) enable manual focus overrides. Hold the shutter button down halfway, rotate the focus ring on the lens, and the LCD preview will zoom-in and apply red highlights to edges in focus. Note that this only works when the Focus Mode switch to the right of the viewfinder is set to S (Single AF).
C2 shooting mode: exposure bracketed landscape images
When a single image can't hold the full dynamic range of a scene (histogram uncomfortably close to pure black and/or white), I use this mode to create two additional images for HDR blending.
Because this also involves shooting on a tripod, all of C1's settings can be reused. Fortunately, we can copy everything from C1 to C2 by doing the following:
- Turn the mode dial to C2
- Menu > I.Q. > Edit/Save Custom Setting > C1 > Copy
- Select Custom 2 and confirm
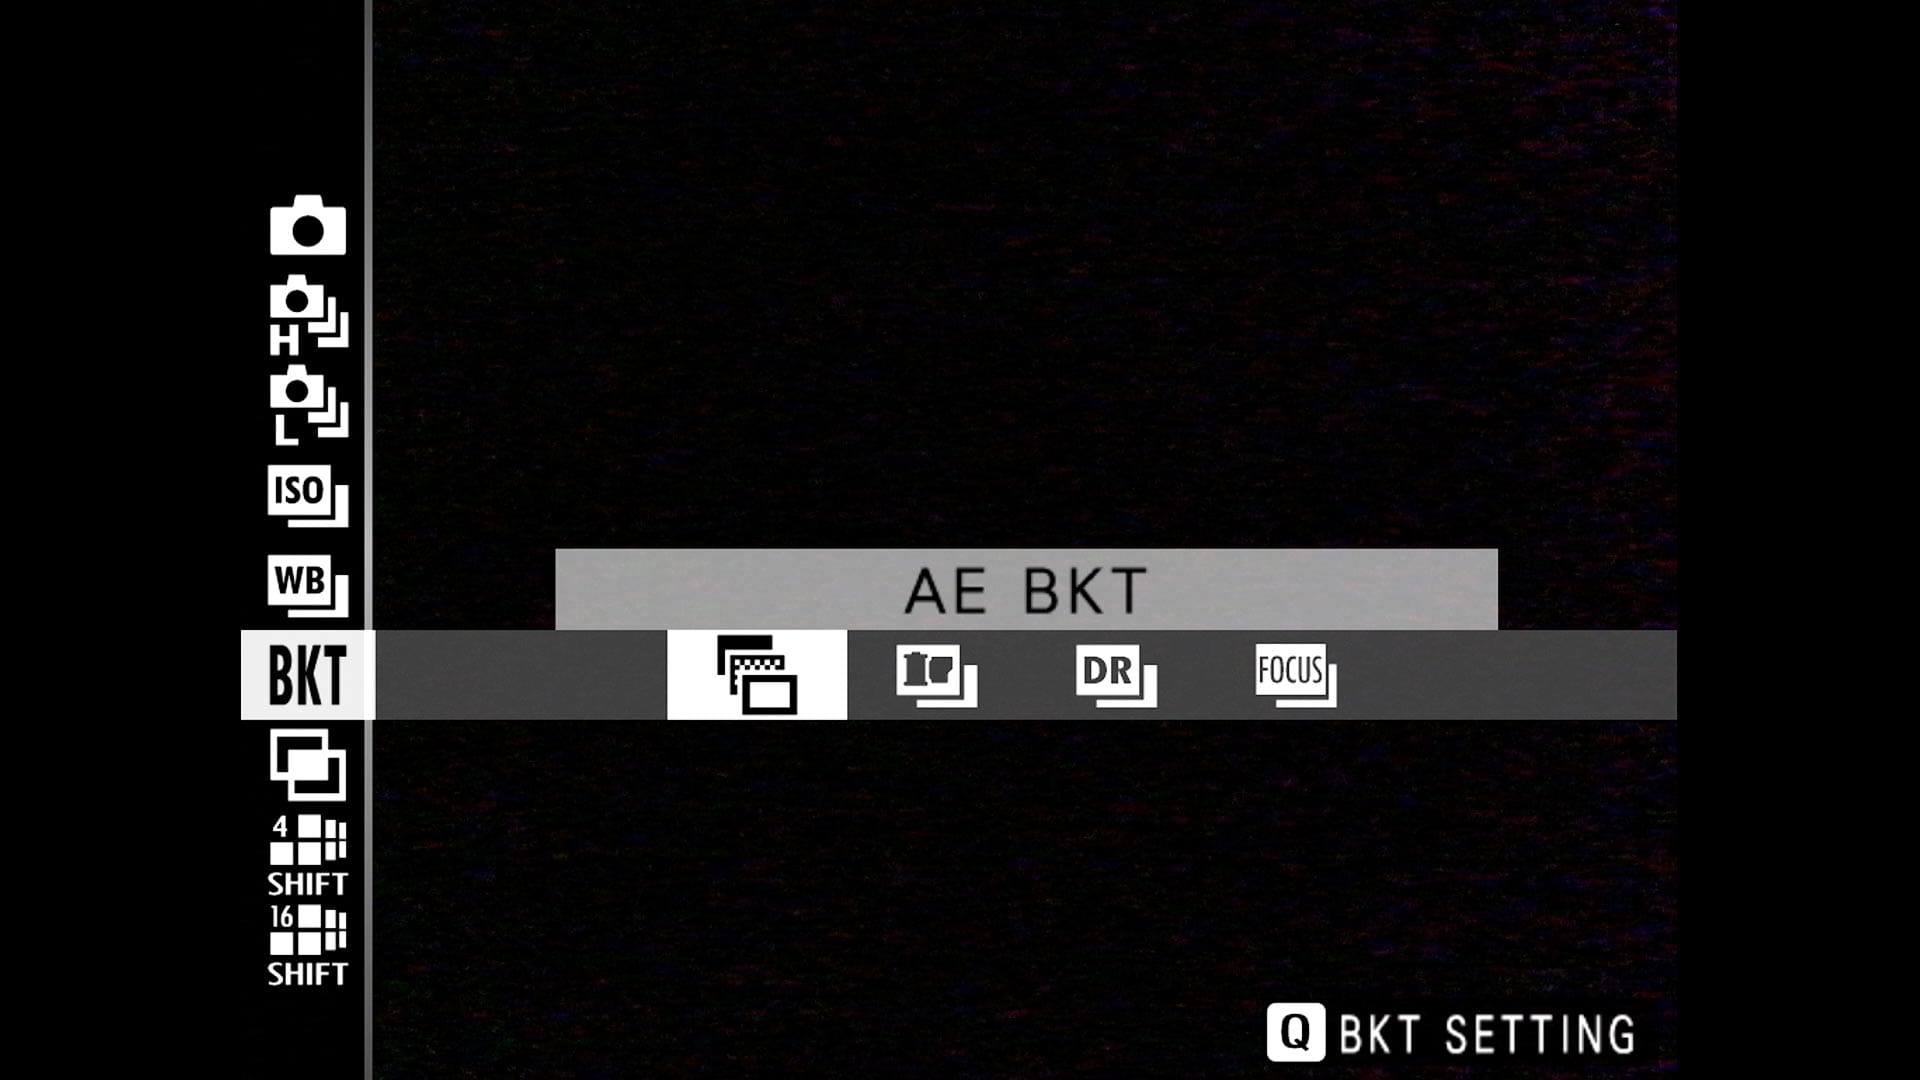
Next we change from single images to bracketed exposures. Press the Drive button on the back of the camera and select the following:
- Drive > BKT > AE BKT
The next step is assigning the number of extra images and exposure latitude steps for this AE BKT mode. Modify this however you like, but here are the settings I use.
- Menu > Shooting Settings > AE BKT Setting > Frames/Step Setting > ±3 frames, 2 step
- Menu > Shooting Settings > AE BKT Setting > 1 Frame/Continuous > Continuous
That's all that needs to be changed for this mode because everything else was copied from C1. At this point, I recommend giving C2 a custom name to remember what it's for.