Hahnemühle InkJet Photo Cards Review
30 printable fine art photography cards, each stored in its own metal tin
A few months ago, I reviewed four fine art inkjet photography papers made by Hahnemühle, a centuries-old German company known for producing some of the best archival photo papers on the market. Afterwards, a representative from the company contacted me and kindly asked if I'd like to try other papers from their product catalog. I looked around at various options, and decided to try something a different: Hahnemühle InkJet Photo Cards.
These cards are made from the same high-quality, boxed paper as the rest of their product line, but with rounded edges and packaged in a metal tin. They come in two size options: 10 x 15 cm (4" x 5.9") and DIN A5 (5.8" x 8.3"), both of which closely match the 3:2 full-frame aspect ratio. Each tin contains 30 sheets. For this review, the company provided me with four packs from their "Natural" paper line, which features environmentally sustainable paper that requires fewer pesticides and less water to produce compared to 100% cotton rag.
- Hahnemühle Bamboo Inkjet Photo Cards (B&H)
- Hahnemühle Hemp Inkjet Photo Cards (B&H)
- Hahnemühle Agave Inkjet Photo Cards (B&H)
- Hahnemühle Sugar Cane Inkjet Photo Cards (B&H)
On face value, these photo cards could be great for sharing mini-portfolios with prospective clients, gifts for friends and family, giveaways, or as for-sale collectibles. A photographer could remove the paper band around the tin and affix their own branded sticker or label to the front.
I'm excited to give them a try! Let's see how they work.
Print setup for the Hahnemühle photo cards
First, I need to download the appropriate ICC profiles so my computer knows how to print on Hahnemühle paper with my inkjet printer (Canon PRO-300). After opening the downloaded archive, I need to copy the ICC profiles to my operating system. Here is where they need to go:
macOS: ~/Library/ColorSync/Profiles/
Windows: %AppData%\Microsoft\Windows\DeviceMetadataStore\
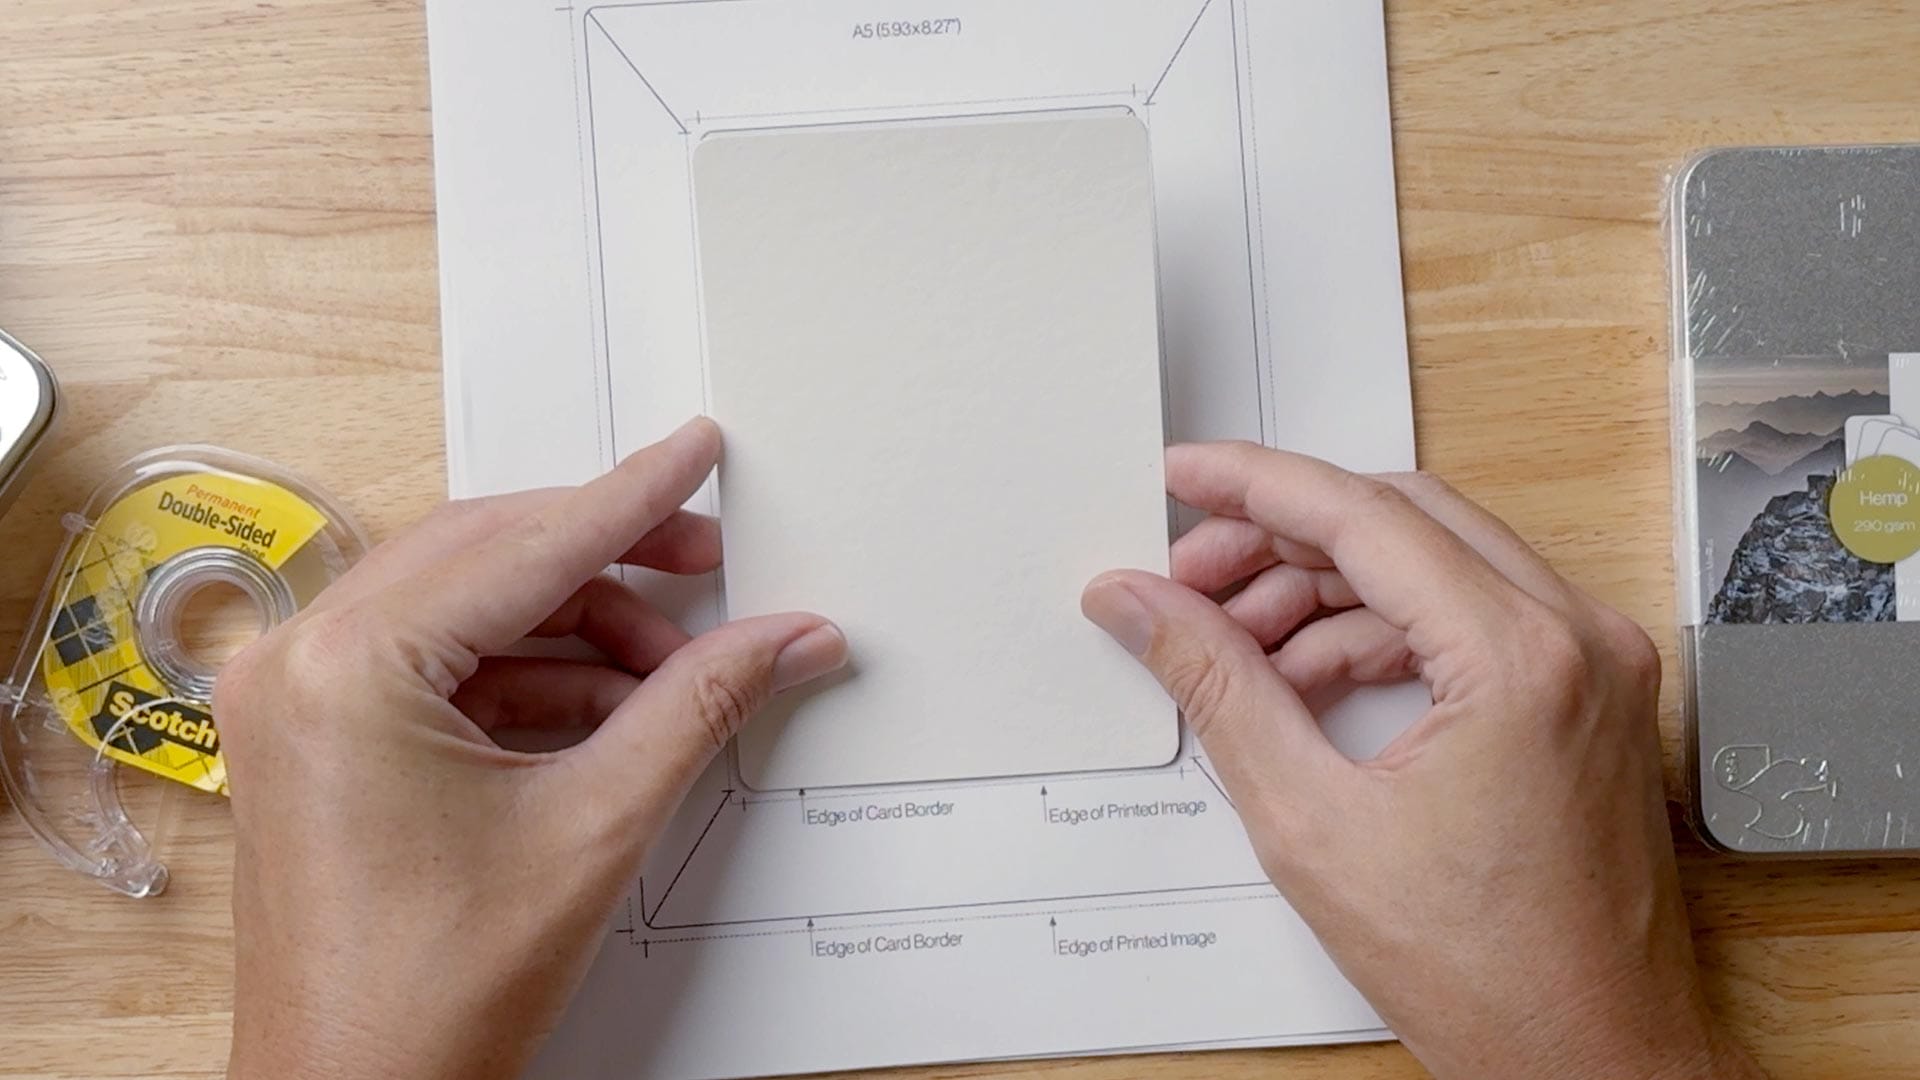
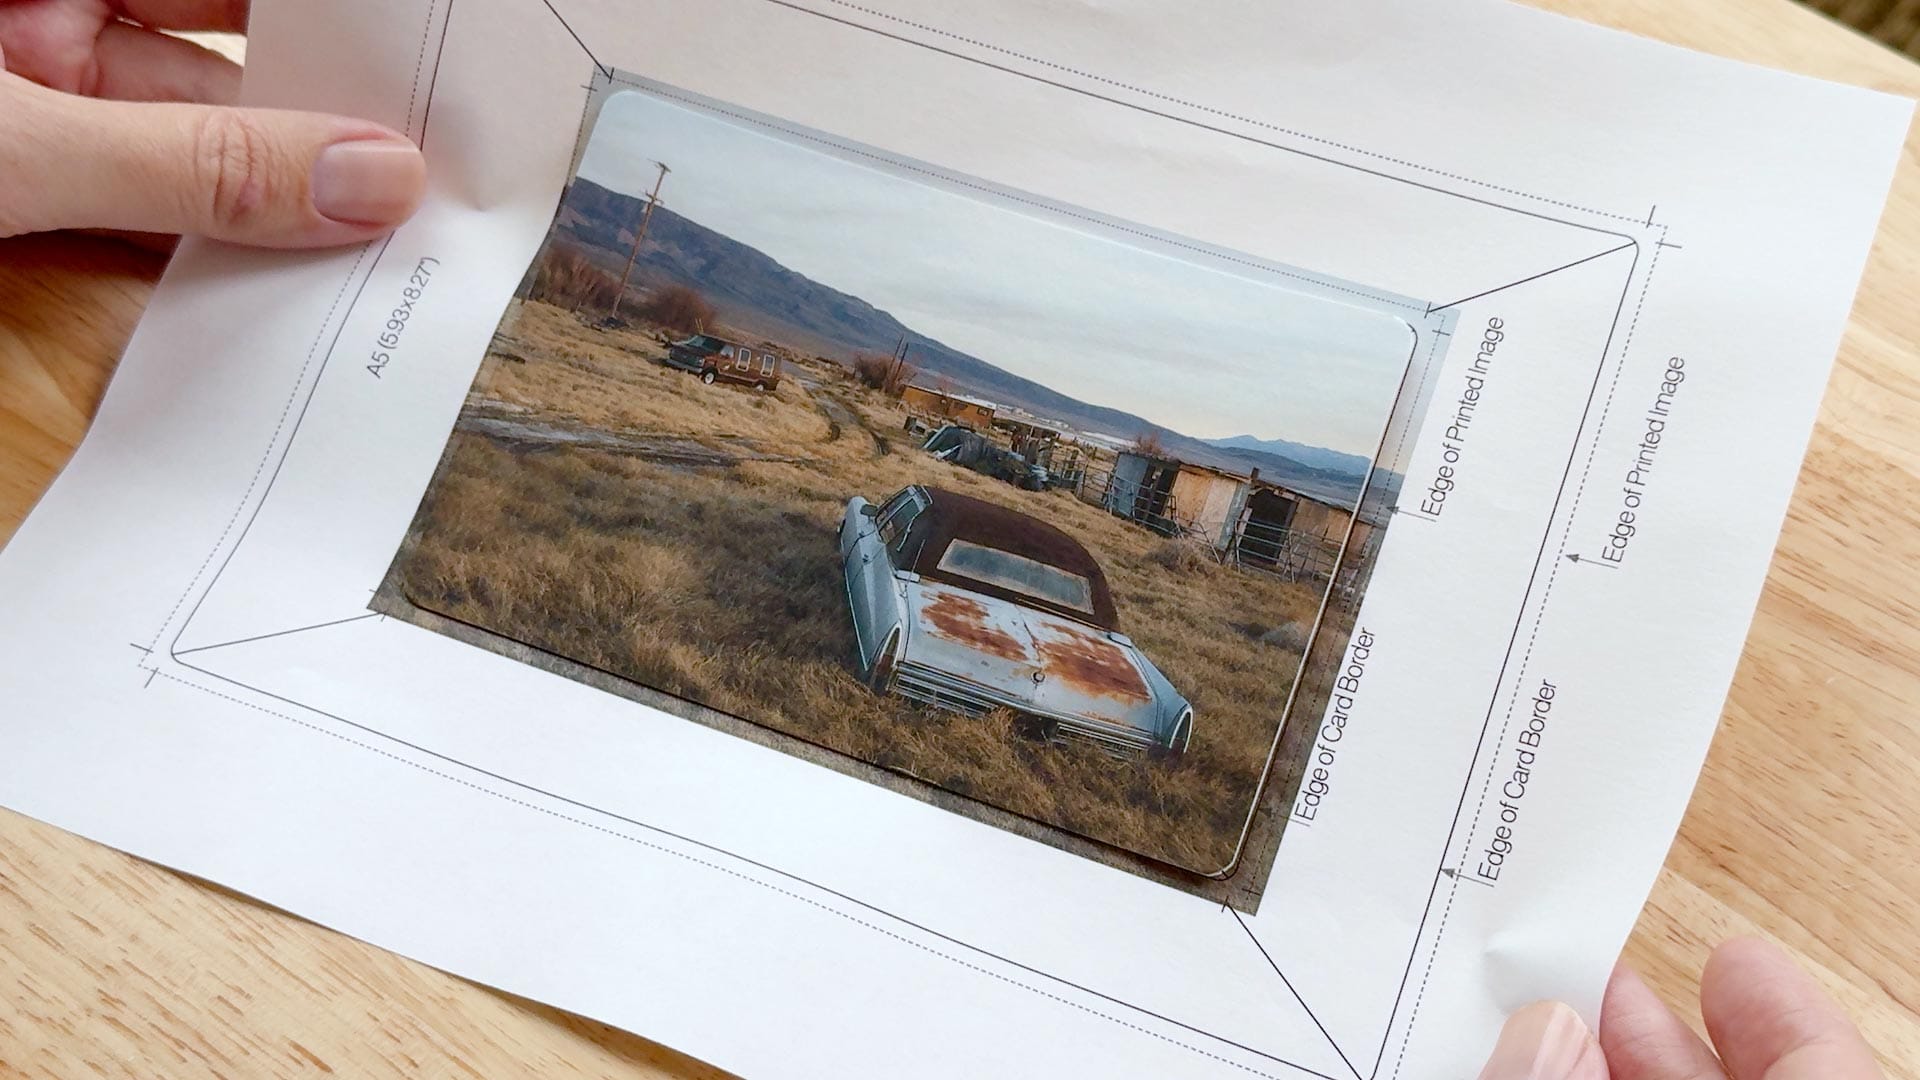
Next, Hahnemühle recommends mounting the photo cards to a sheet of paper using double-sided tape. To make this easy, the company provides a downloadable template (PDF) sized for A4/8.5 x 11" paper. Make sure to print this at 100% (actual size) to avoid scaling problems.
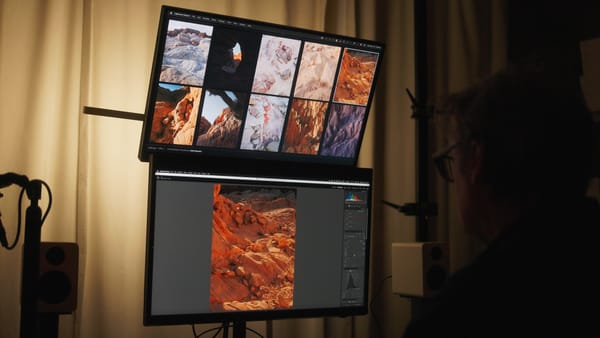
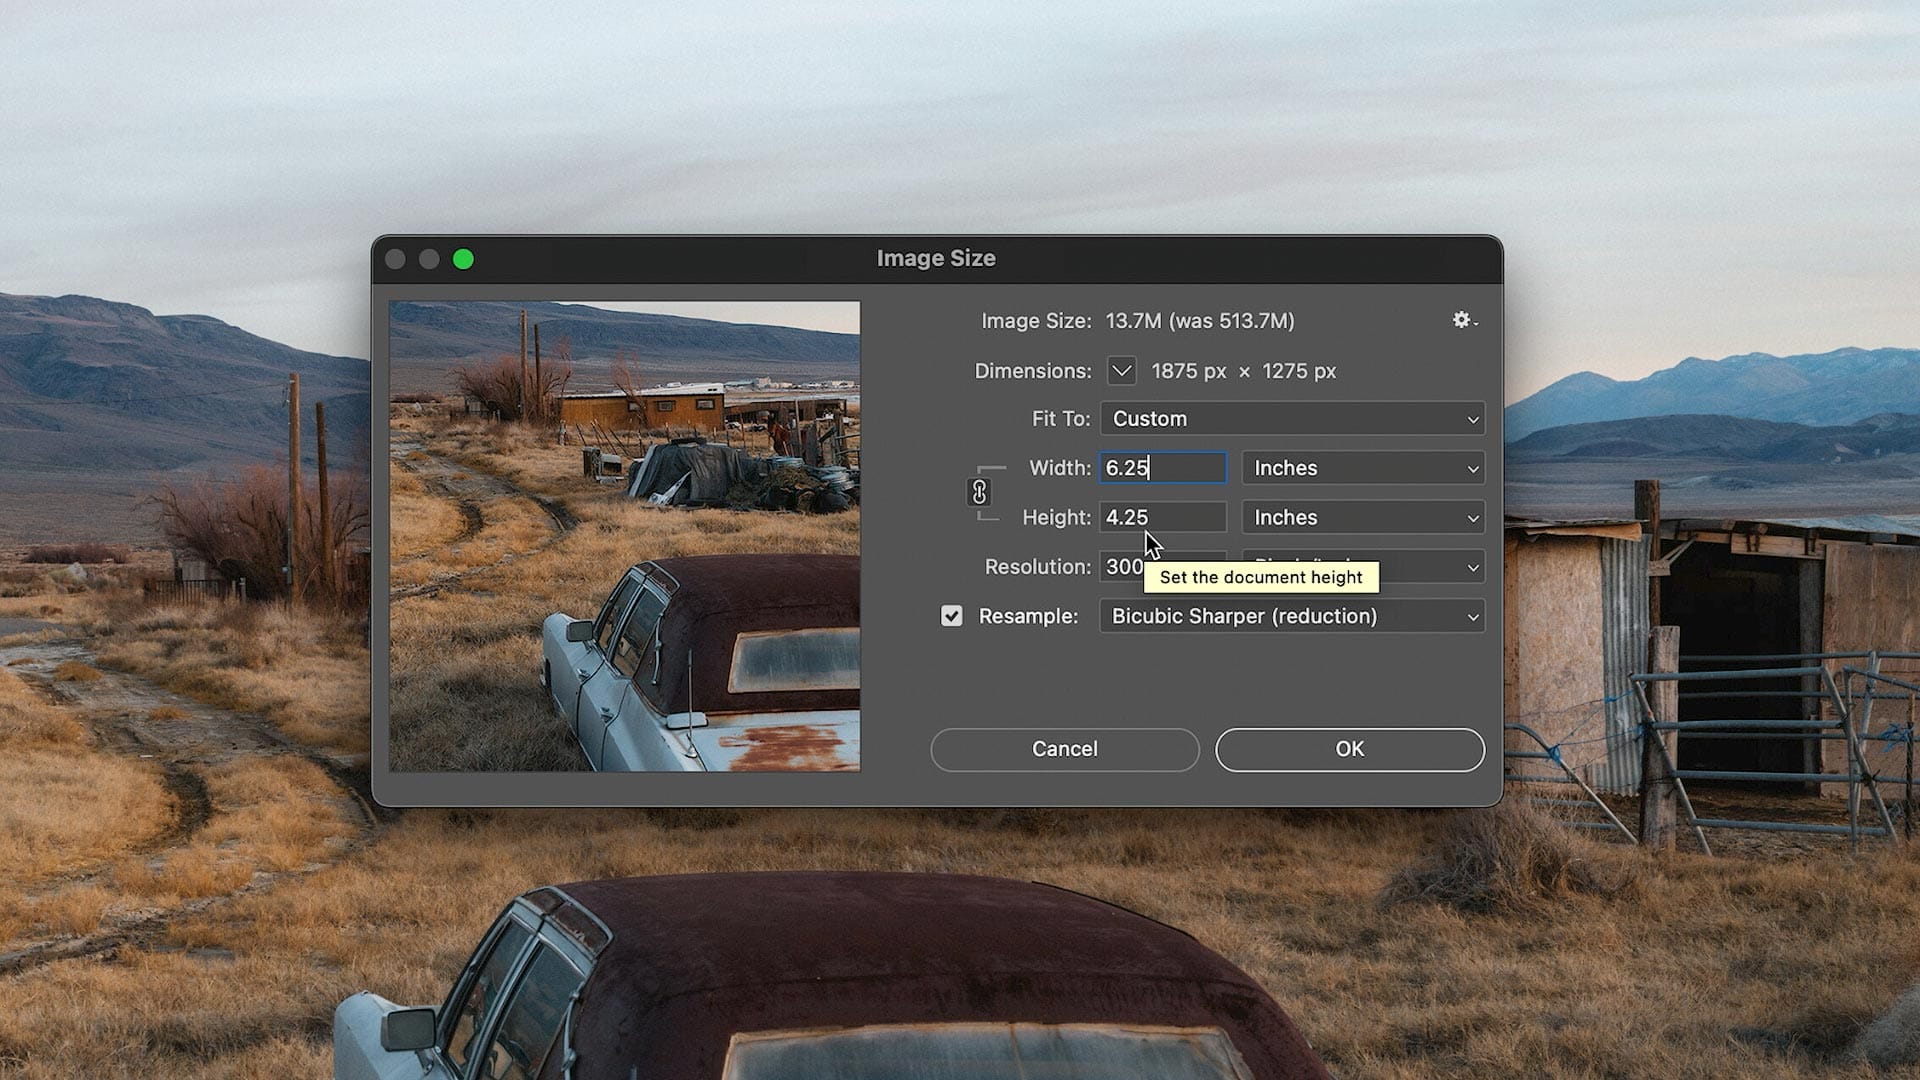
Now my images need to be resized in Photoshop. For the 4" x 5.9" cards the company provided me with, my images should be to 4.25" x 6.25" to print a 3mm (1/8") bleed around the outside. If I were printing to the larger DIN A5 cards, I would size them to 6.2" x 8.52".
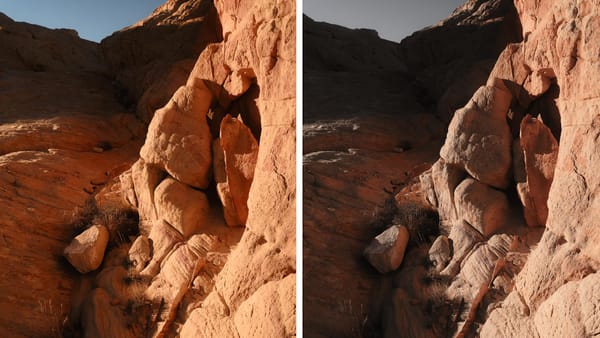
After downscaling, I enable Photoshop's print soft proofing view. You do this by selecting View > Proof Setup > Custom from the top Photoshop menu, then select the appropriate ICC profile for the photo card paper. Choose either "Perceptual" or "Relative" for rendering intent (whichever produces the best results), then ensure that "Simulate Paper" is enabled to see how the image will look when printed.
With Soft Proofing enabled, I can now more clearly see how the image needs to be modified for print (contrast, brightness, color saturation, black/shadow values, etc). As a finishing touch, I apply a little extra sharpening using Smart Sharpen filter to give the image a little more structure when printed.
Now that I'm done with all of the above, it's time to print!
Printing on the Hahnemühle photo cards
I insert the paper template with a mounted card through the top feed of my printer, then adjust my print settings in Canon's Professional Print & Layout software. I set paper type to "Heavyweight Fine Art Paper", paper size to 8.5 x 11", and image size to 100% (actual size) with no upscaling or downscaling to fit. I also check to make sure the appropriate printer/paper ICC profile (installed earlier) is selected so the software knows how to handle the paper.
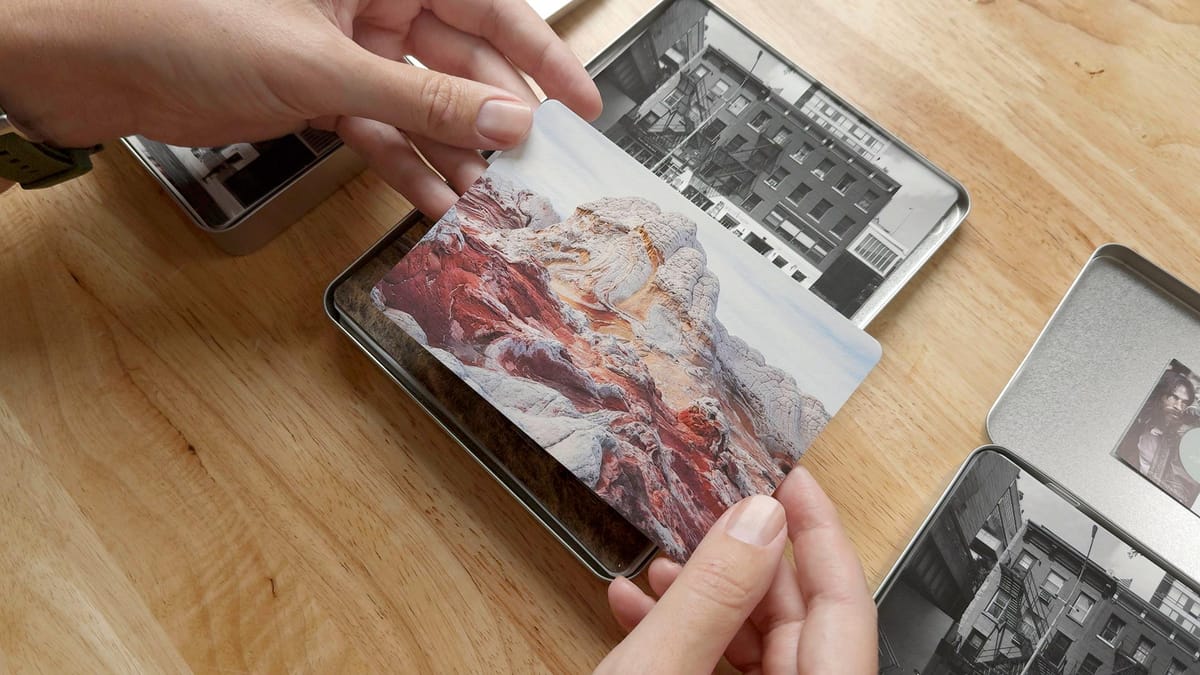
And...voila! My first printed image on a Hahnemühle photo card:
Unfortunately, I either used too much tape, my tape is too strong, or both, for the card is difficult to remove and causes damage to the back of the card. I'll try printing again with only a single, small piece of double-sided tape under the card.
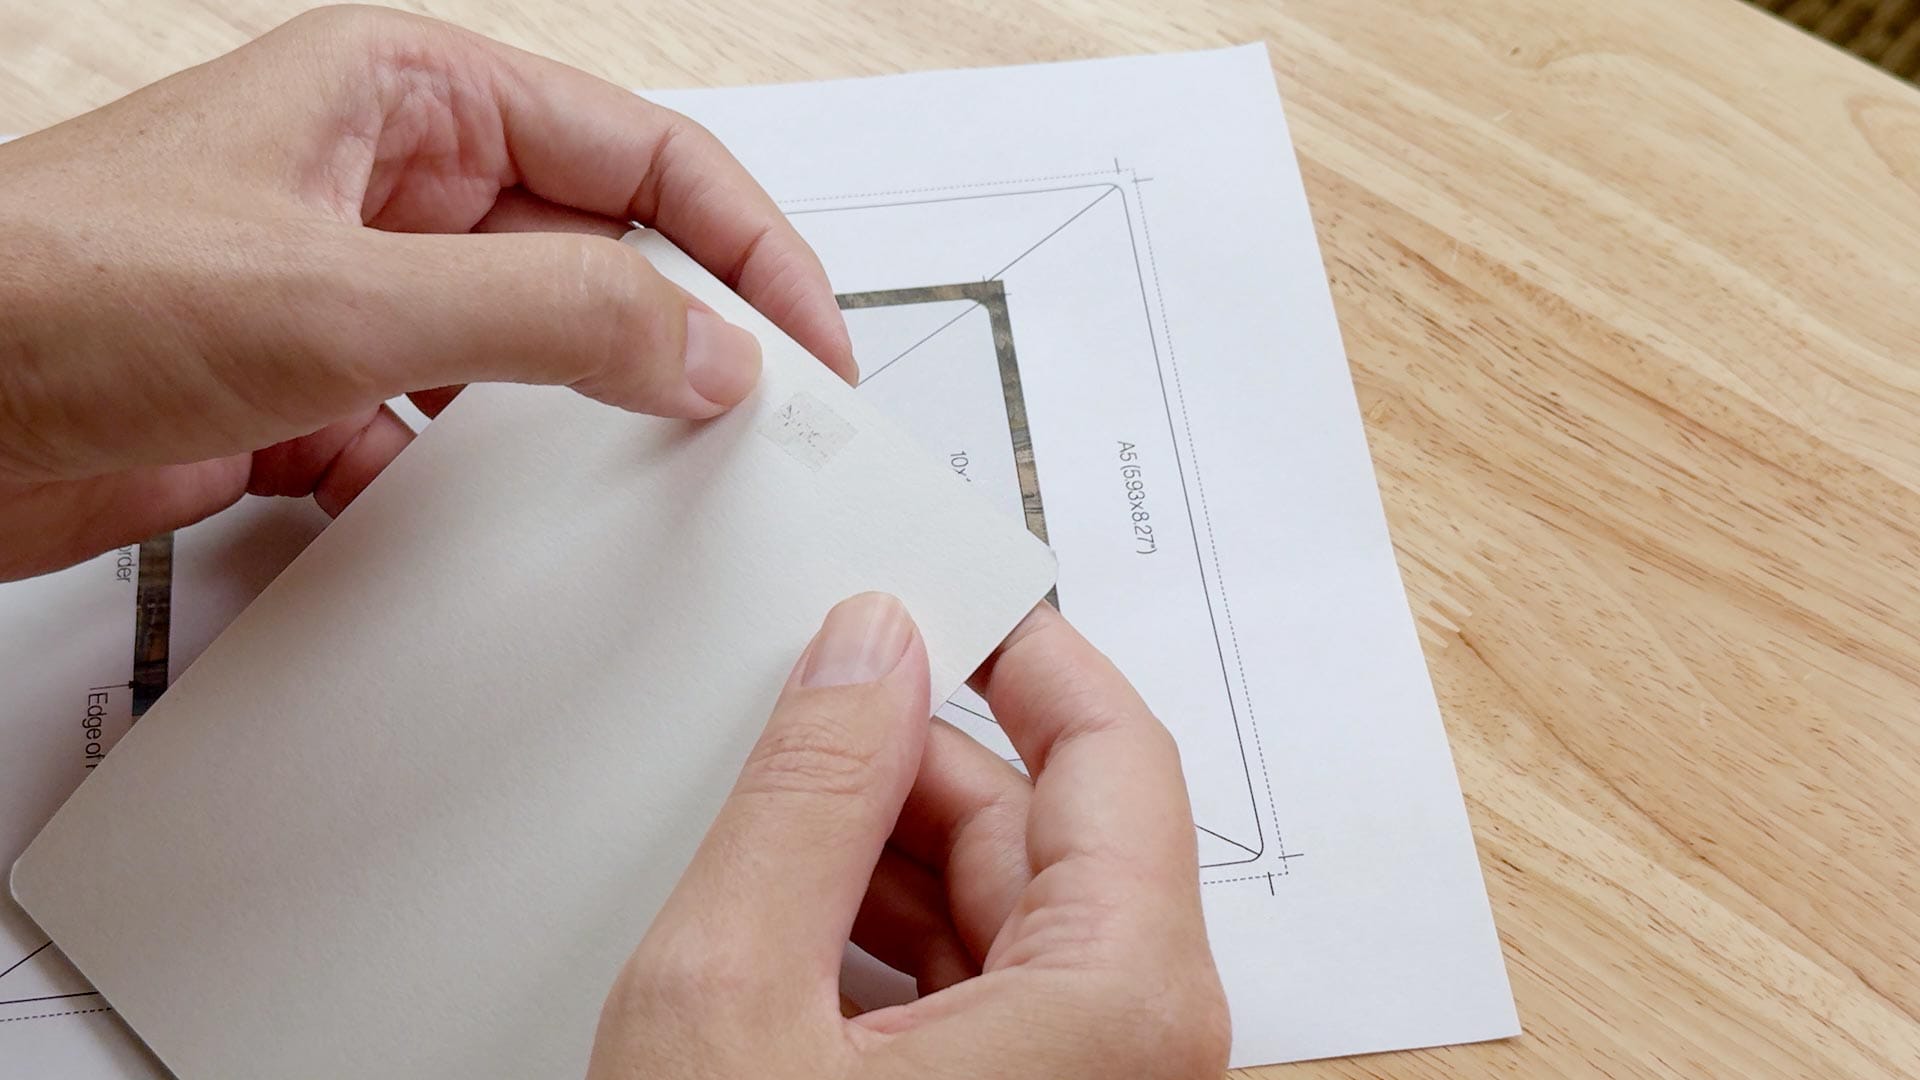
Less tape works much better. Had no trouble removing the card. Lesson learned, use less tape than you think you need, and remove the card soon after printing (don't let it sit for a while).
Printing with a white, radius border
Because these cards have rounded corners, I think it might be interesting to print images with a white border around the outside. Not only will this show more of my original image (because there's no bleed), but also provide a convenient place to hold cards from the edge. Also adds a extra bit of style.
So let's give this a shot. Returning to Photoshop, I resize my original image to be 0.2" smaller than the 4" x 5.9" dimensions of the card, which gives me 3.6" x 5.5". On a new layer I add a vector rectangle with 50px radius corners (color fill, no stroke), then drag the rectangle layer underneath my image. Hover over the dividing line between the two layers, hold down Option (macOS) or Alt (Windows), then click. This masks the image to the rectangle underneath, producing radius corners.
(FYI: If the instructions are hard to follow, check out my video).
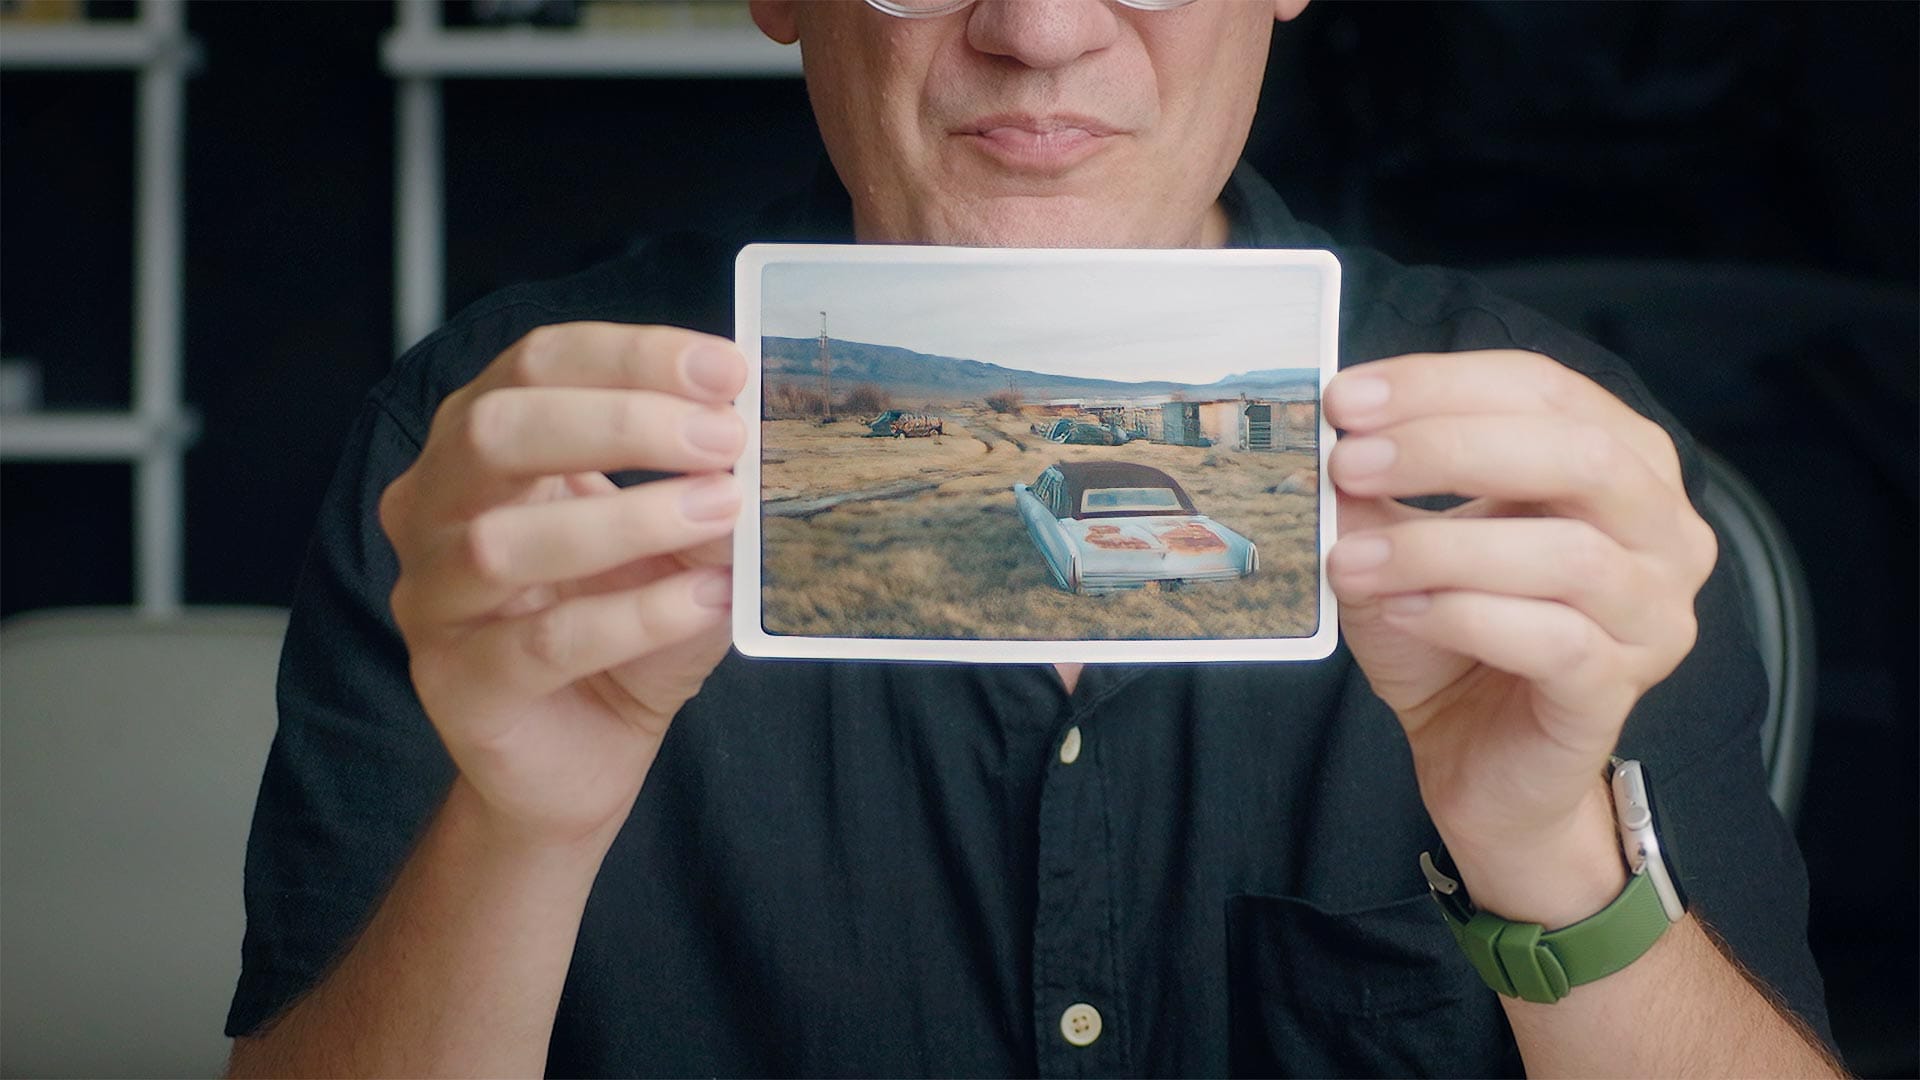
And...voila! My image is printed inside the card with a matching white radius border around the outside.
Printing borderless
Some photo printers have "borderless" modes that print outside a paper's edge. My Canon PRO-300 supports this, so I'll try skipping the paper template and feeding one card at a time through the top feed of my printer. Prior to printing, I set my print paper size to match the card (4x6"), and have enabled borderless printing in Canon's Professional Print & Layout software so the image is upscaled slightly to produce a bleed.
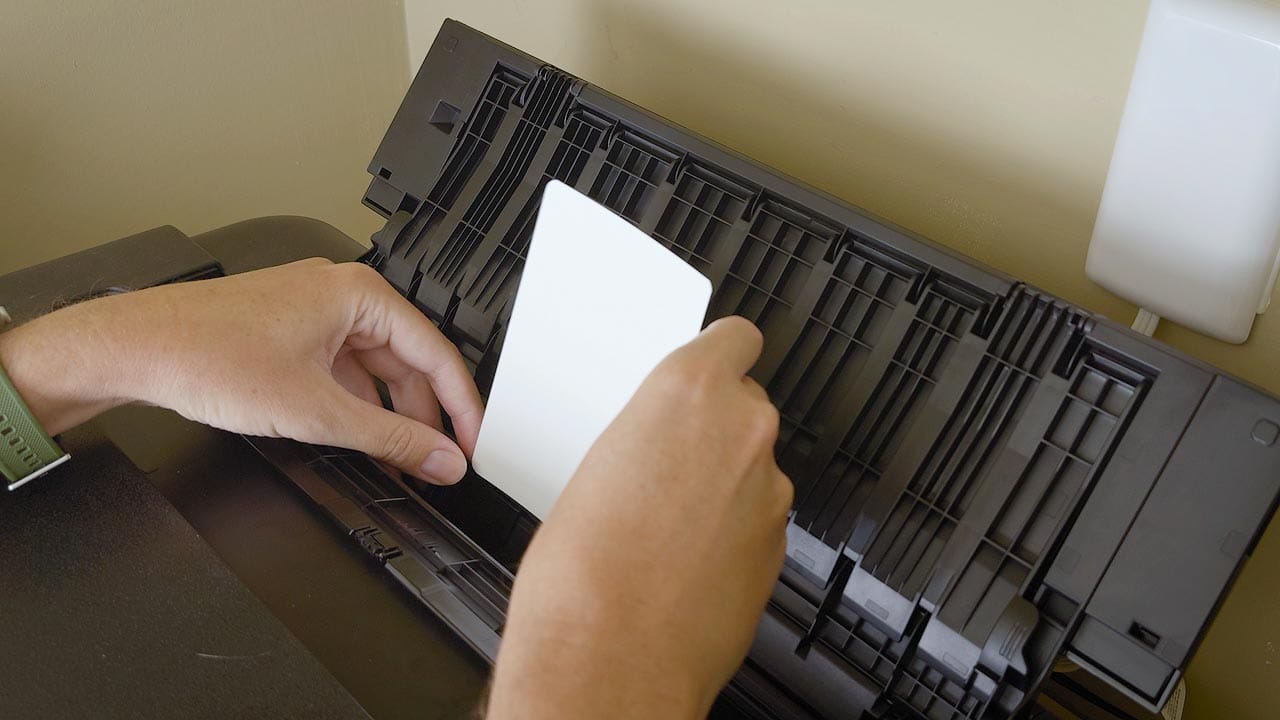
This worked great, no problems at all! I'm a little weary of overusing my printer's borderless mode (I don't like the idea of spraying ink outside the bounds of the paper), but it is easier and less time consuming than taping the cards to a sheet of paper and peeling them off.

Thoughts on Hemp, Sugar Cane, Bamboo and Agave "Natural" matte papers
Overall, all four matte papers look and feel great. When compared head to head however, there are some differences worth pointing out.
Temperature wise, all four papers are close to neutral, but Bamboo and Sugar Cane are just a touch warmer. They add more yellow to an image, which makes blue skies appear slightly more green. Hemp and Agave are more neutral and similar to the white point of a computer display.
Texture wise, Sugar Cane has the most noticeable paper fibers, which are visible in brighter areas of a photo. Bamboo and Agave are tied for second place, while Hemp is the cleanest with the least amount of texture.
Brightness wise, all four are more or less the same, with Sugar Cane being just a touch darker in comparison.
Overall, if I had to pick one pack of cards to buy multiple packs of, I'd buy Hemp. It has the cleanest texture, and I like its more neutral, less biased temperature. If however you want a paper that adds a touch of warmth to make warm hues a little more vibrant and less gray neutrals, then Bamboo would be a good choice.
Summary
Though it did take some trial and error to figure out how to mount the cards properly and experiment with other options, eventually I got the swing of things and was able to print cards more quickly and easily. As usual, Hahnemühle's fine art paper is top notch, and looks and feels great when held. I like their size and form factor, and how convenient the metal tin is for storing and sharing the cards. And the designer in me really likes the soft, radius corners around each card.
After experimenting with these Natural paper cards, I'm definitely curious to give their more traditional 100% cotton rag cards a try, most notably their Baryta and Satin/Pearl papers.
Here are links to all four photo cards over at B&H. (Note that these are affiliate links, so I'll receive a small monetary credit in return for your purchase).
- Hahnemühle Bamboo Inkjet Photo Cards (B&H)
- Hahnemühle Hemp Inkjet Photo Cards (B&H)
- Hahnemühle Agave Inkjet Photo Cards (B&H)
- Hahnemühle Sugar Cane Inkjet Photo Cards (B&H)
Also check out their complete line of photo cards, if interested.