How to properly clean a tripod
Tips for protecting and cleaning tripods when used for landscape, wildlife, and all types of outdoor photography
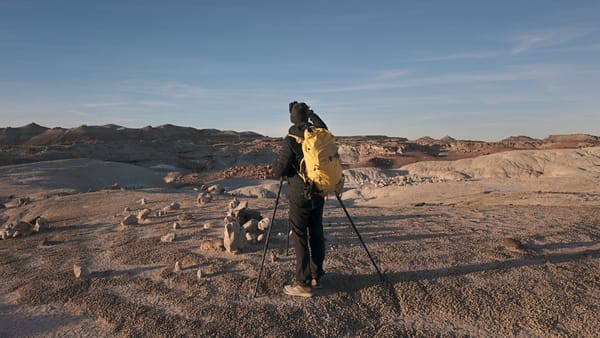
If your once-smooth tripod legs have lost their graceful glide, you may be tempted to invest in a costly replacement. But before parting with hundreds of dollars, consider this: the solution might be as simple as a thorough cleaning. In this guide, I’ll walk you through the cleaning process I follow upon returning from my landscape photography trips.
Protecting a tripod in the field
The best way to keep a tripod clean and functioning well is to avoid getting it dirty in the first place. This is obviously easier said than done, but there are a few things you can do to better protect your tripod.
First, use the protective case that came with your tripod when packing it in your checked luggage. This will protect it against scrapes and scratches from other items in your carry-on luggage. If you don't have a case, you can try wrapping the tripod in a towel or with clothes.
Second, when shooting in sand dunes, on a beach, or in soft mud, always keep the tripod's first leg extended a few inches. That way, only the feet are touching the dirt and sand, not the twist locks. Feet are much easier to clean and maintain while in the field.
Third, whenever possible while traveling, give your tripod a rinse in fresh water (hose, shower, etc). This helps prevent sand, dirt, and corrosive salt water from building up. This is however only a temporary fix until you can get home and give it a proper cleaning, which is what we'll now do.
Cleaning a tripod
Even when being careful with a tripod when traveling, it will still attract sand, dust, and grit. Over time, these elements will build up in the twist locks of the legs and cause friction when extended and collapsed. Or worse, leave scratches on the outer finish. Thankfully, with just a few products we can remedy this problem and bring a tripod back to its former glory.
For this walkthrough, I'll be cleaning my ProMediaGear TR344L carbon fiber tripod, but the steps will be applicable to similar tripods made by other companies.
Here are the cleaning items I recommend:
- Household liquid dish detergent
- Dish gloves (Amazon)
- OXO Good Grips Brush (Amazon)
- KH-7 Heavy Duty Degreaser (Amazon)
- White Lithium Grease (Amazon)
- Microfiber Cleaning Towels (Amazon)
Step one: Wash each individual part
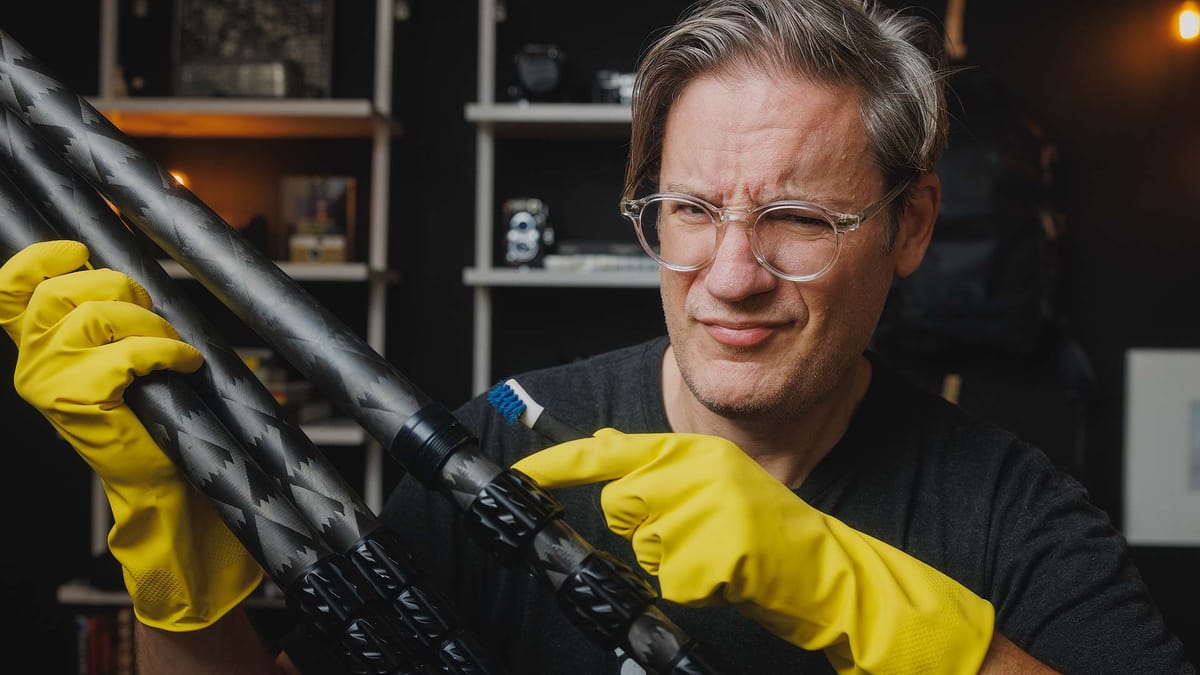
If you don't mind getting your hands dirty, dive right in. But if you'd rather avoid black gunk getting under your nails (like mine in the video), I recommend wearing basic kitchen dish gloves.
Next, unscrew the feet from the bottom of each leg, as well as the spike inside if one is there. Unscrew all twist locks, then pull each leg extension out. At the end of each leg you will likely see a white plastic end cap. This little bit of plastic is important, for it is what stops each leg when fully extended. Remove these from all leg sections by gently prying them apart.
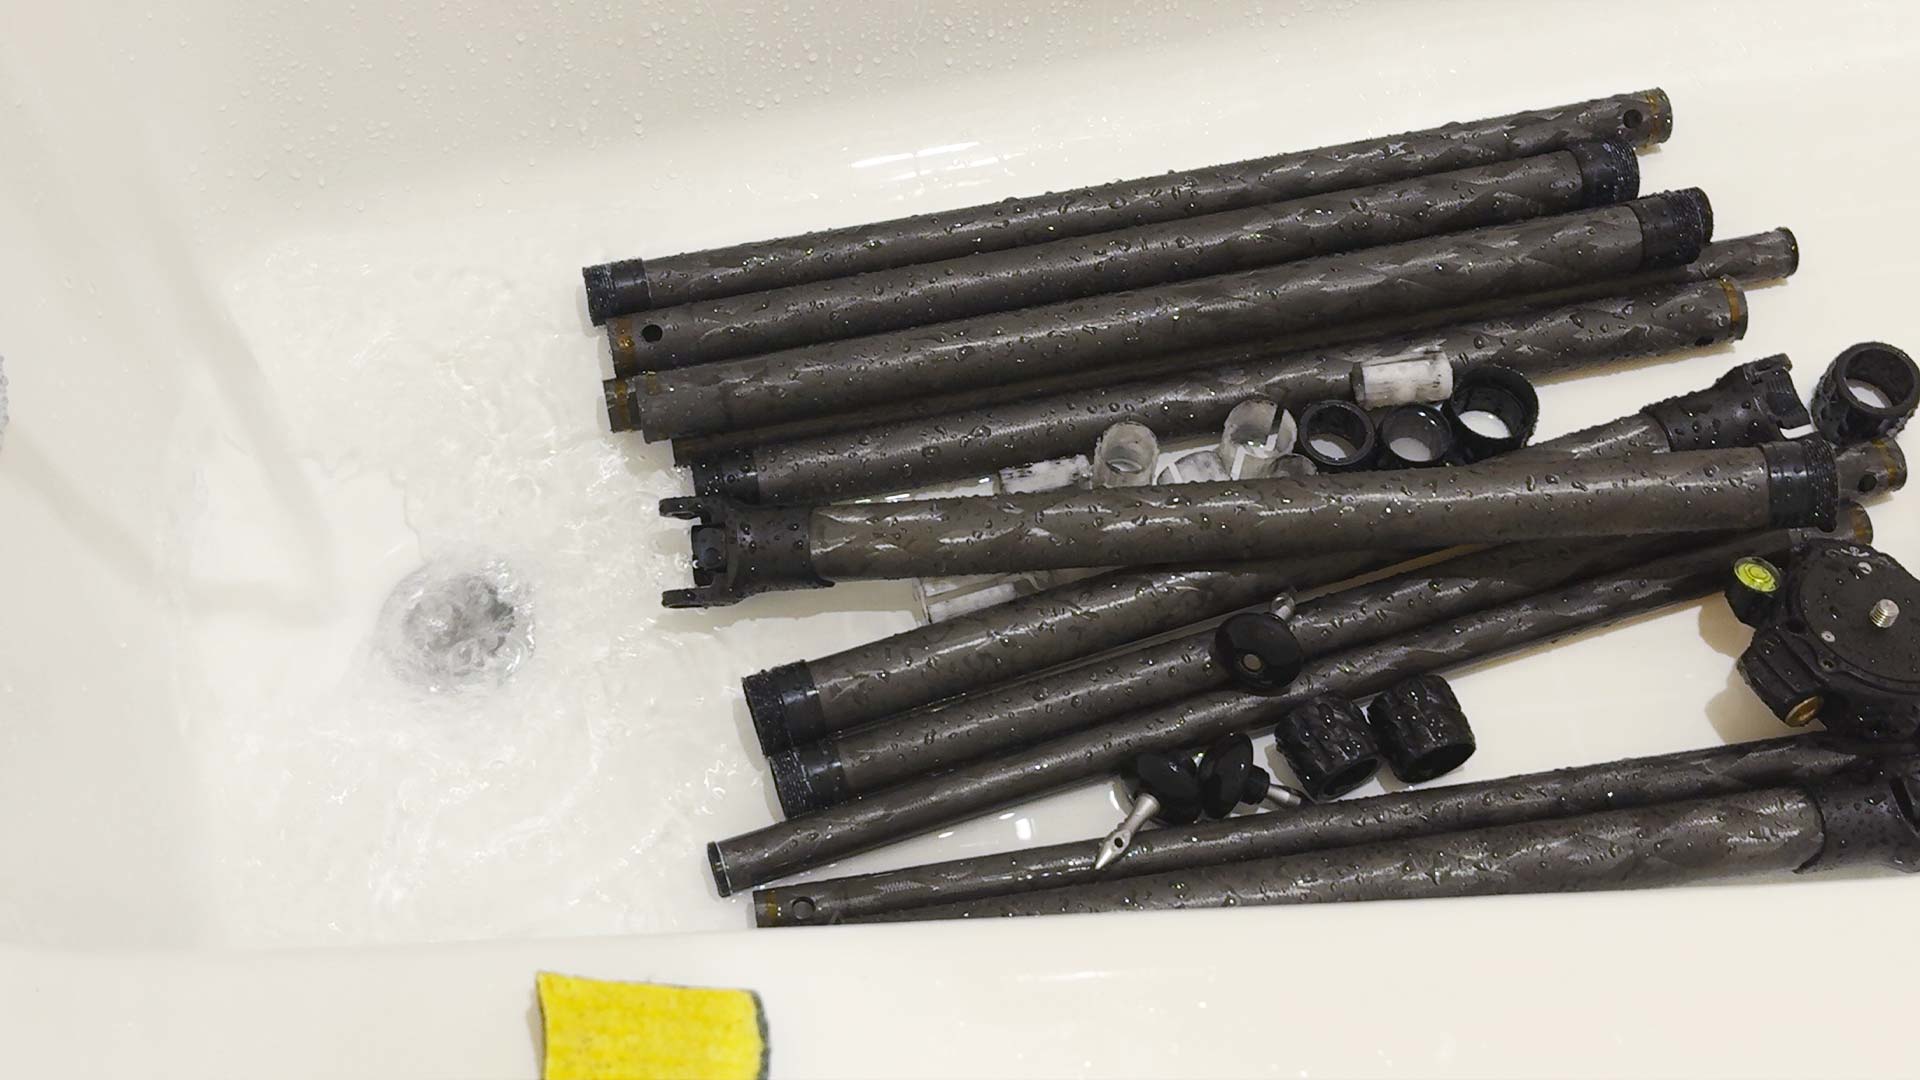
If you are able to remove the upper leg extension connected to the top mount, remove that as well. In general, try to remove as many pieces of the tripod as you possibly can. I recommend placing any small screws or bolts in small cup or container, then soaking them in household distilled white vinegar. This will break down grit and gunk, and prevent them from accidentally getting lost. All remaining pieces should go into a soapy sink or bathtub, as shown below.
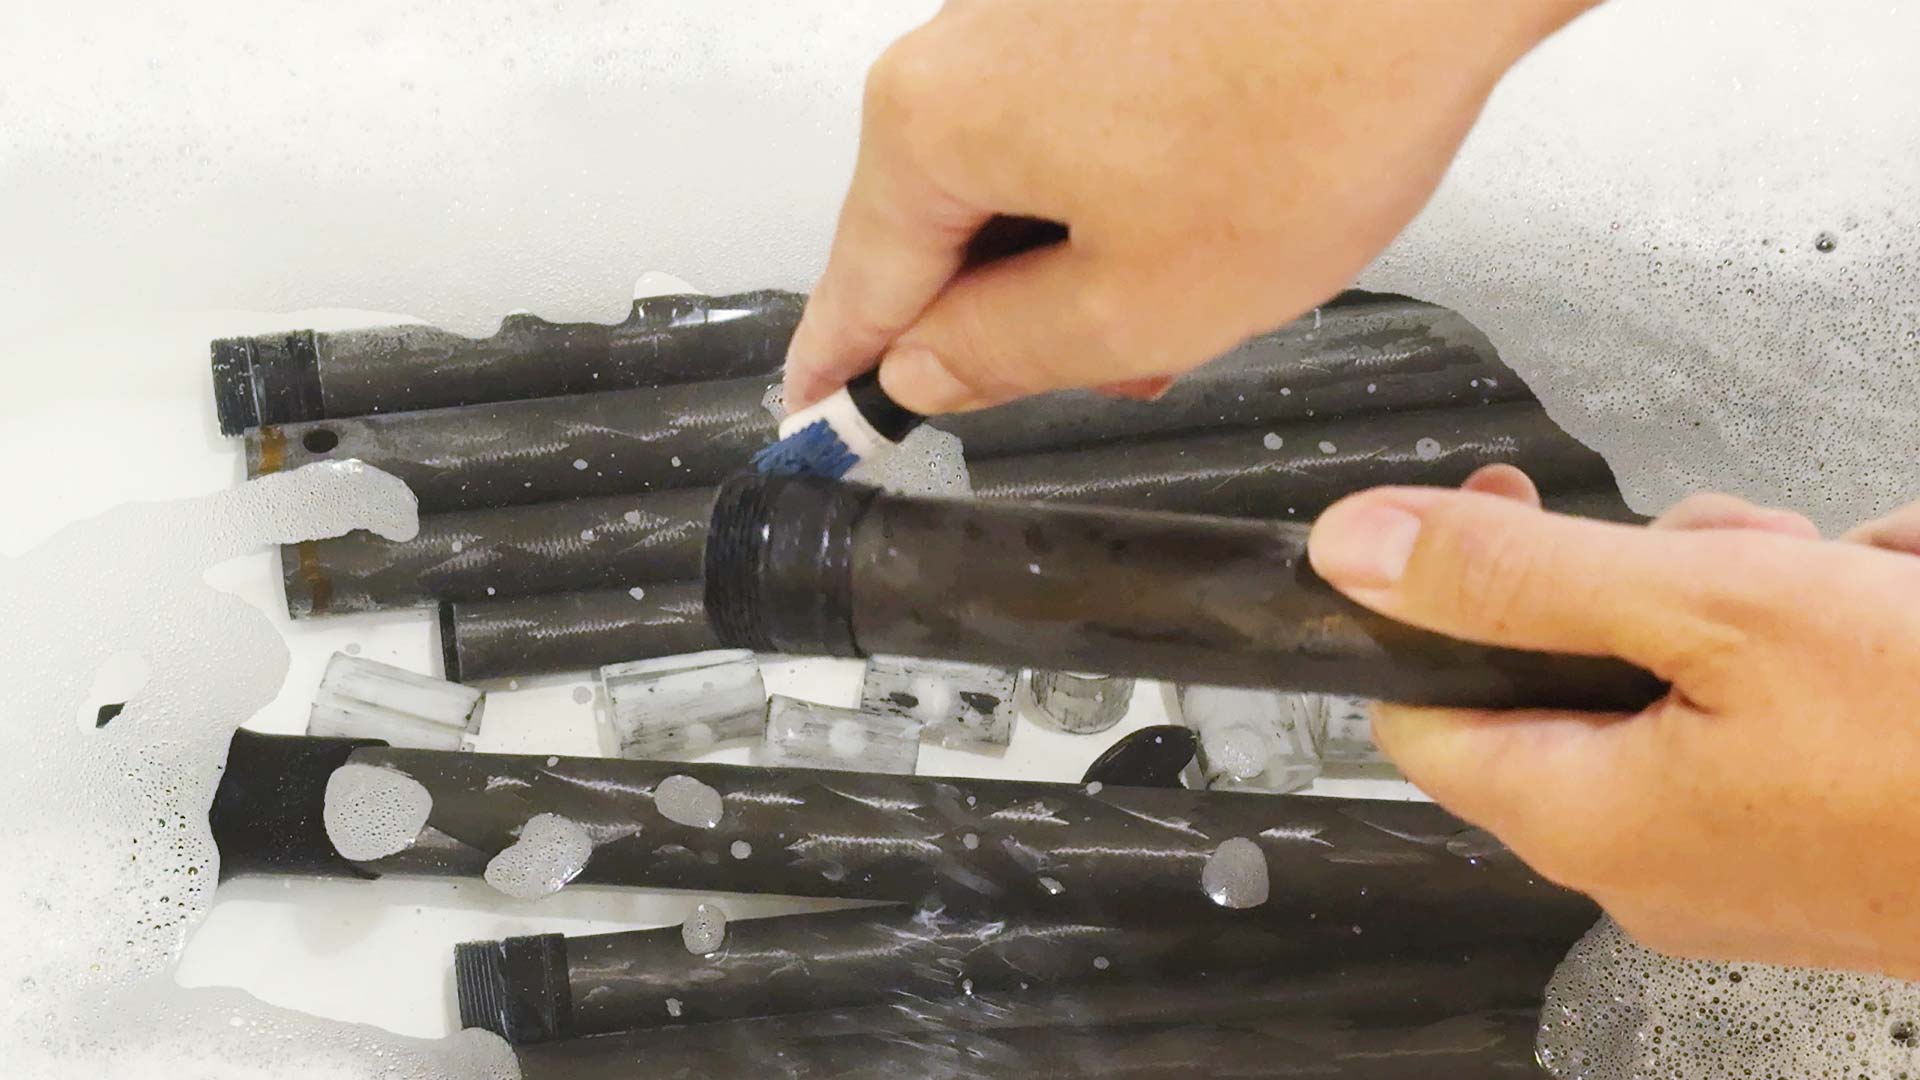
Using a sponge or rag, wash the legs and each individual part. When cleaning twist lock threads, use a small brush like this OXO Good Grips Brush to loosen and remove bits of grit and dirt inside the threads. Remember to do this to the threads inside each twist lock as well, in addition to the feet at the bottom. Basically anything with a thread, brush it.
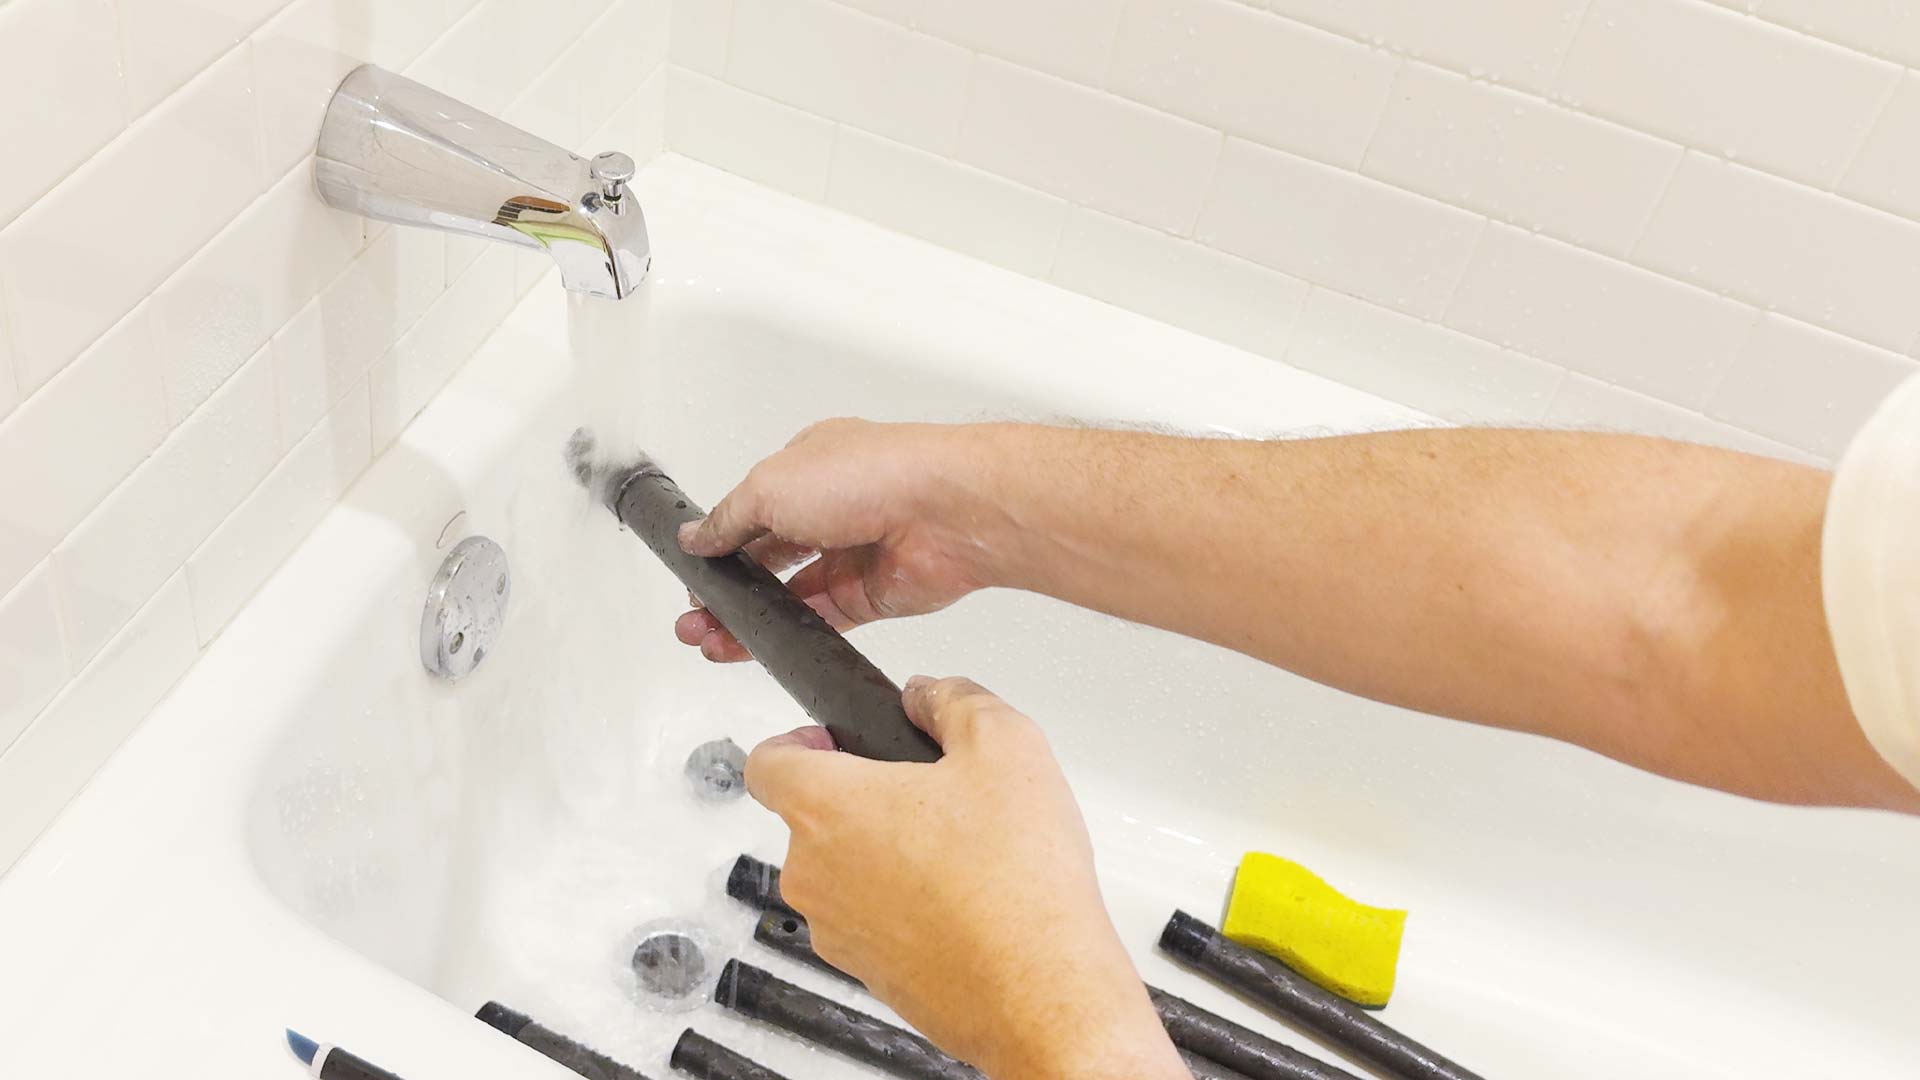
When finished washing everything with soap and water, lay a large bath towel on the ground next to the tub, then thoroughly rinse and drain each tripod piece with fresh water.
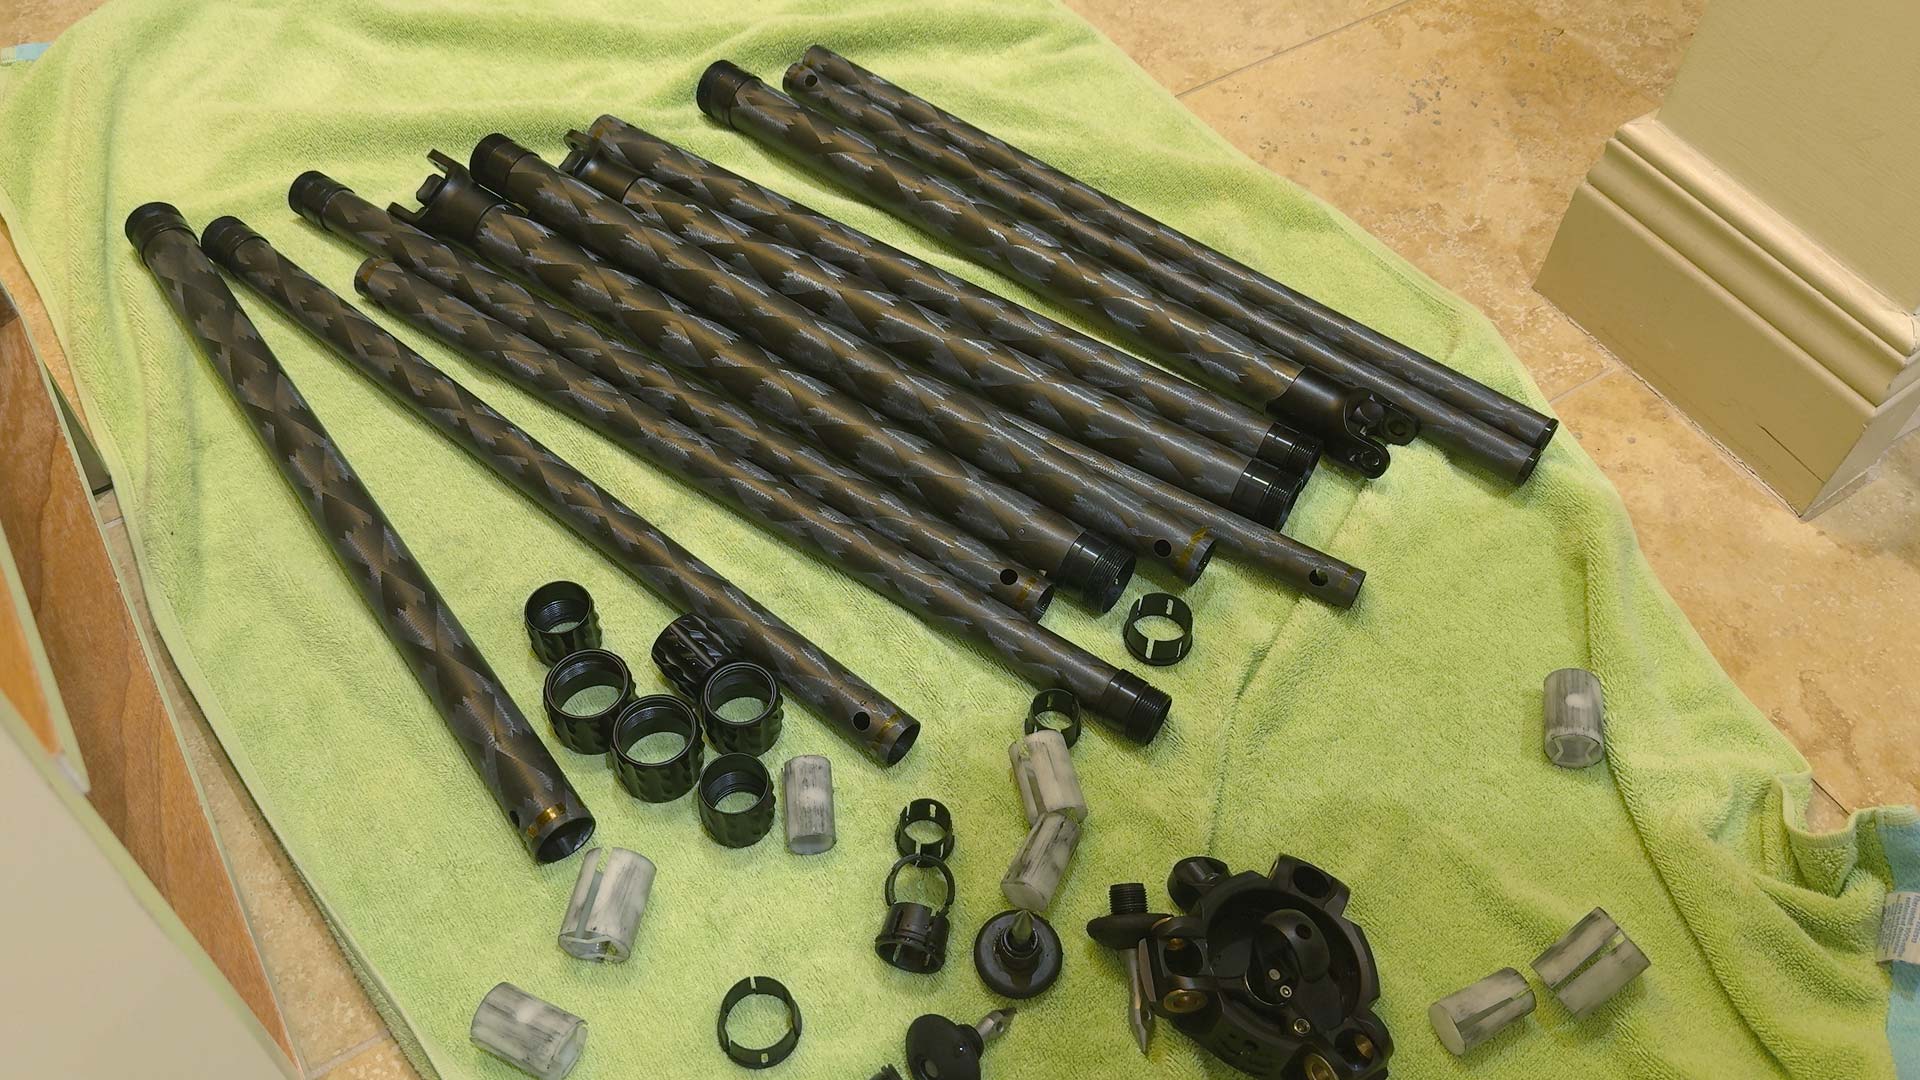
Do your best to dry each piece with a microfiber towel, then lay everything out on the towel. It will likely take a few hours for all remaining moisture to evaporate and dry. If the white plastic end caps are stained with black streaks and marks (as mine do in the image below), that's okay. What's important is removing any grit or gunk sticking to the plastic's outer surface.
Step two: De-grease the twist lock threads
If the threads still feel sticky or greasy after washing with soap and water, they were likely coated with a moisture-resistant lubricant at the factory. Small bits of grit may cling to the lubricant, so to fully clean the tripod, the lubricant should be removed.
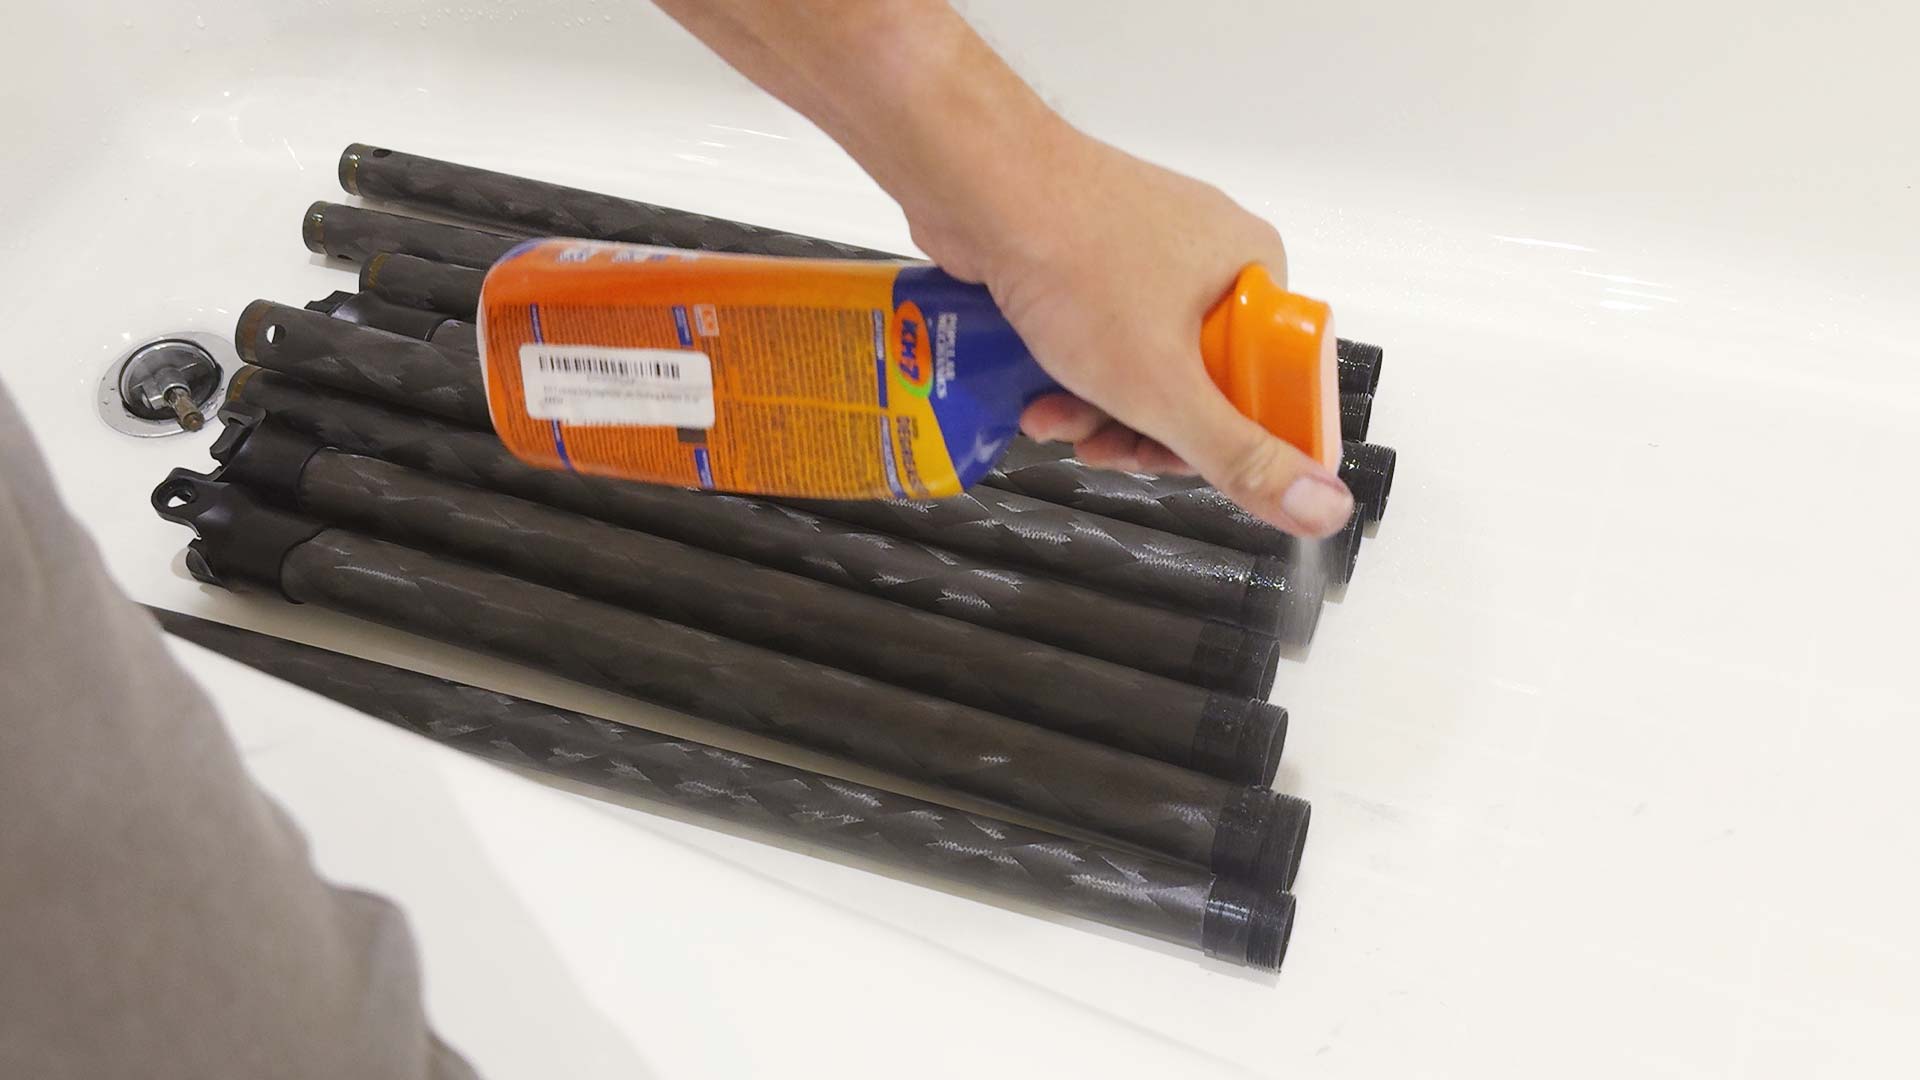
The best solution I've found for this is KH-7 Heavy Duty Degreaser. I owned some already from cleaning a range hood in my kitchen, and as luck would have it it works perfectly for this as well. Spray anything that feels lubricated or greasy with the degreaser, and again use the OXO brush to work the solution into the threads. After a few minutes you should be able to rinse and dry the threads, which should now be lubricant (and grit) free.
Step three: Lubricate all moving parts
With the twist lock threads successfully cleaned and degreased, it's time to get them greasy again. There are many types of automotive and marine lubricants on the market that repel salt water, corrosion, humidity, etc, but what works for me is white lithium grease (Amazon). I own and use this WD-40 white lithium spray, and it absolutely does the job, but if I had to purchase again I'd likely go with a tube instead of a spray.
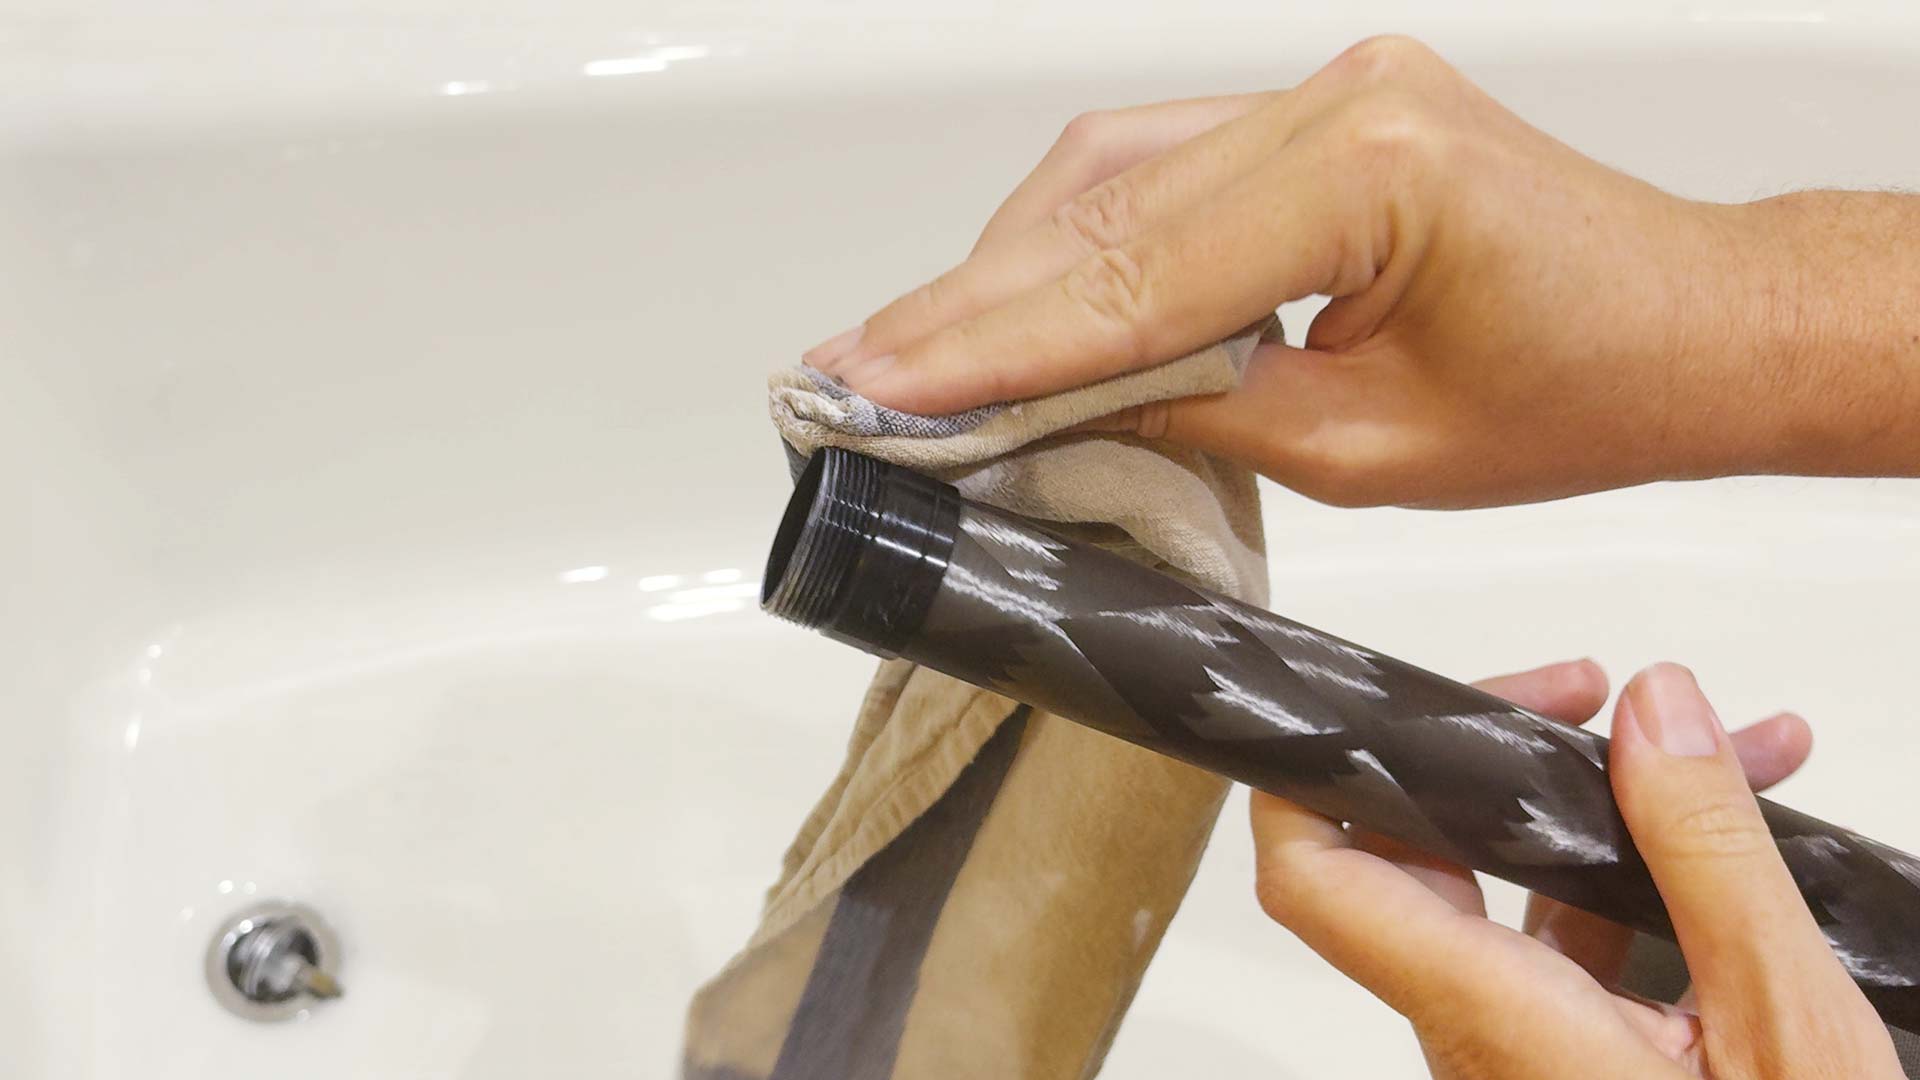
Whatever type of grease you choose, apply just enough to the threads so they're no longer bare and dry, but not too much. You don't need a lot. You might also try spraying the grease into a rag or towel, then wiping it across the threads, as I'm doing in the image below.
If there are other moving parts with your tripod (eg, where the legs connect to the base plate), add some lubricant to those parts as well. Doesn't hurt to add a little lubricant to the white plastic end caps as well so they slide a little smoother inside each leg section.
Step four: Reassemble the tripod
With everything clean, dry and re-lubricated, it's time to reassemble the tripod! If your tripod is like mine, pay attention to the size of each white end cap, twist lock and leg section. The larger/thicker ones should be reassembled first, followed by the medium sizes, then the smallest.
When sliding the twist locks back over the threads, rotate them back and forth a few times to spread and work the lubrication into the mechanism for smoother operability. If you see any excess lubricant, wipe it off with a rag.
At this point, your tripod should be clean and functioning nearly the same as it did when you first bought it!