Gigapixel 8: Image upscaling from the future
Reviewing the latest version of the popular image upscaling app from Topaz Labs, now with new Generative AI models and Cloud Rendering
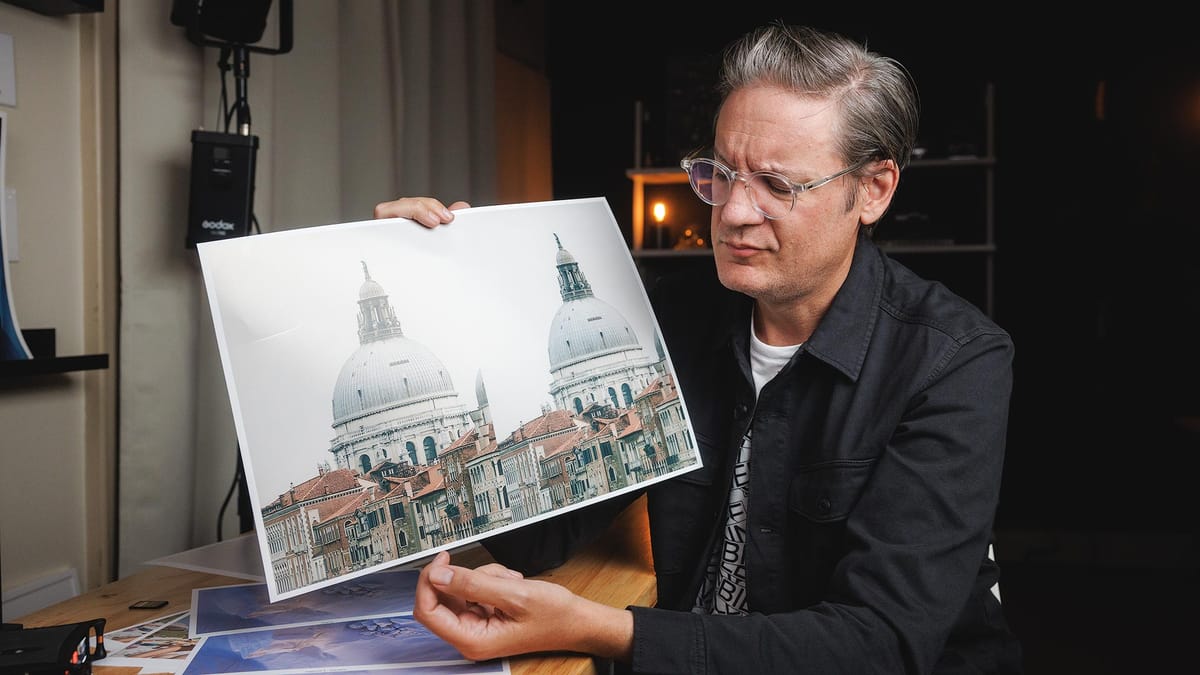
Topaz Labs has introduced Gigapixel 8, the latest version of their image upscaling desktop application for macOS and Windows. The app can be used by itself, or as a plugin for Adobe Photoshop and Adobe Lightroom Classic.
Put simply, Gigapixel creates larger, higher resolution images from smaller ones. It includes advanced AI tools to remove noise, boost sharpness and clarity, rebuild detail and texture, and reconstruct facial features. The software is ideal for upscaling all types of images, from high quality shots captured using the latest digital cameras, to small, low res images, as well as illustrations and artwork.
The latest version of the app, version 8, goes further into generative AI with two new upscaling models: "Recovery" (introduced in version 7.1), and "Redefine". These models use sophisticated machine learning to generate new images from smaller ones, with options to dial up or down creative interpretation. Topaz is also introducing in this version their new "Cloud Rendering" service that allows users to offload processing from their local computers to Topaz's faster cloud-based rendering hardware.
In this review, I'll share with you my experience using Gigapixel 8, and whether I think the software is worth buying. If you'd like to go ahead and download a free trial of Gigapixel 8 while reading this, click the button below.
Gigapixel 8 interface
Over the past few years, the product design team at Topaz Labs has done a fantastic job implementing a consistent user interface/design system across all Topaz products. The app is polished, well designed, and intuitive. I did experience the occasional crash using the macOS version, but overall, the app was stable and functioned without issue.
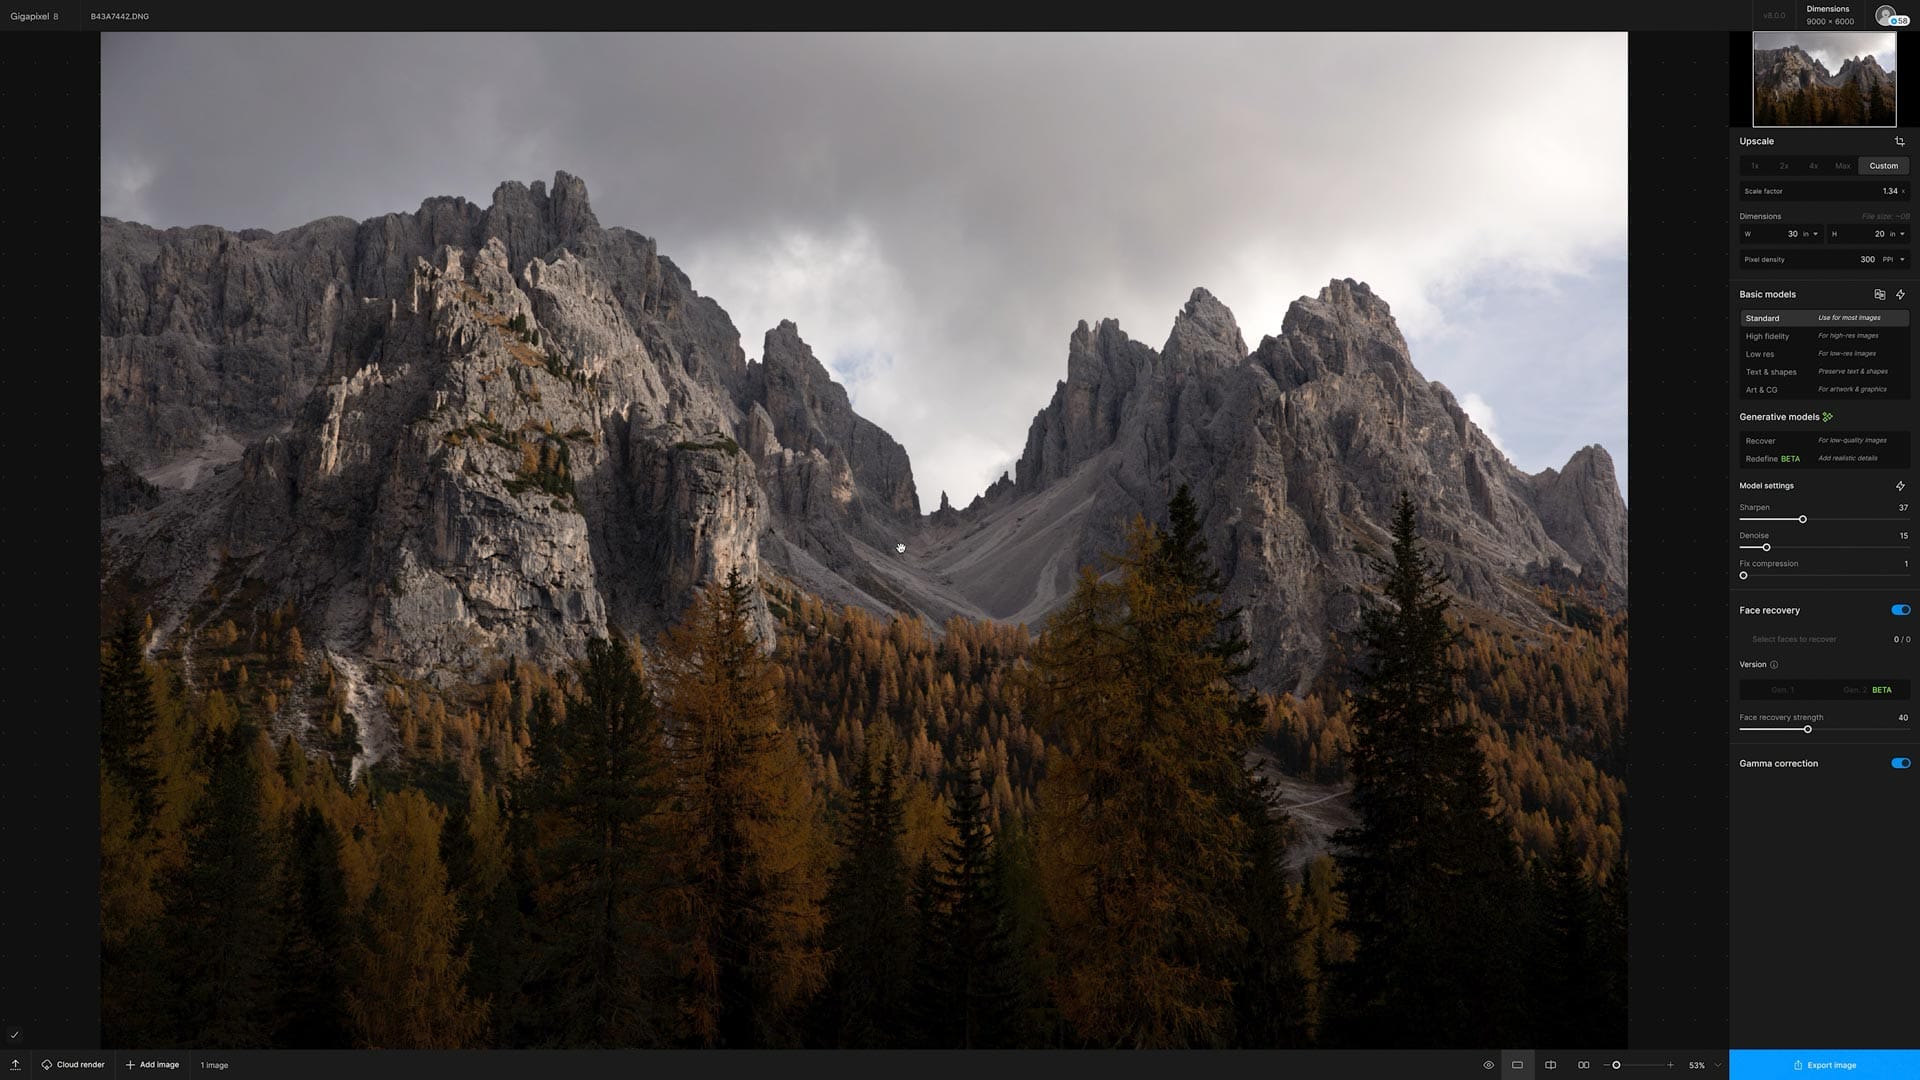
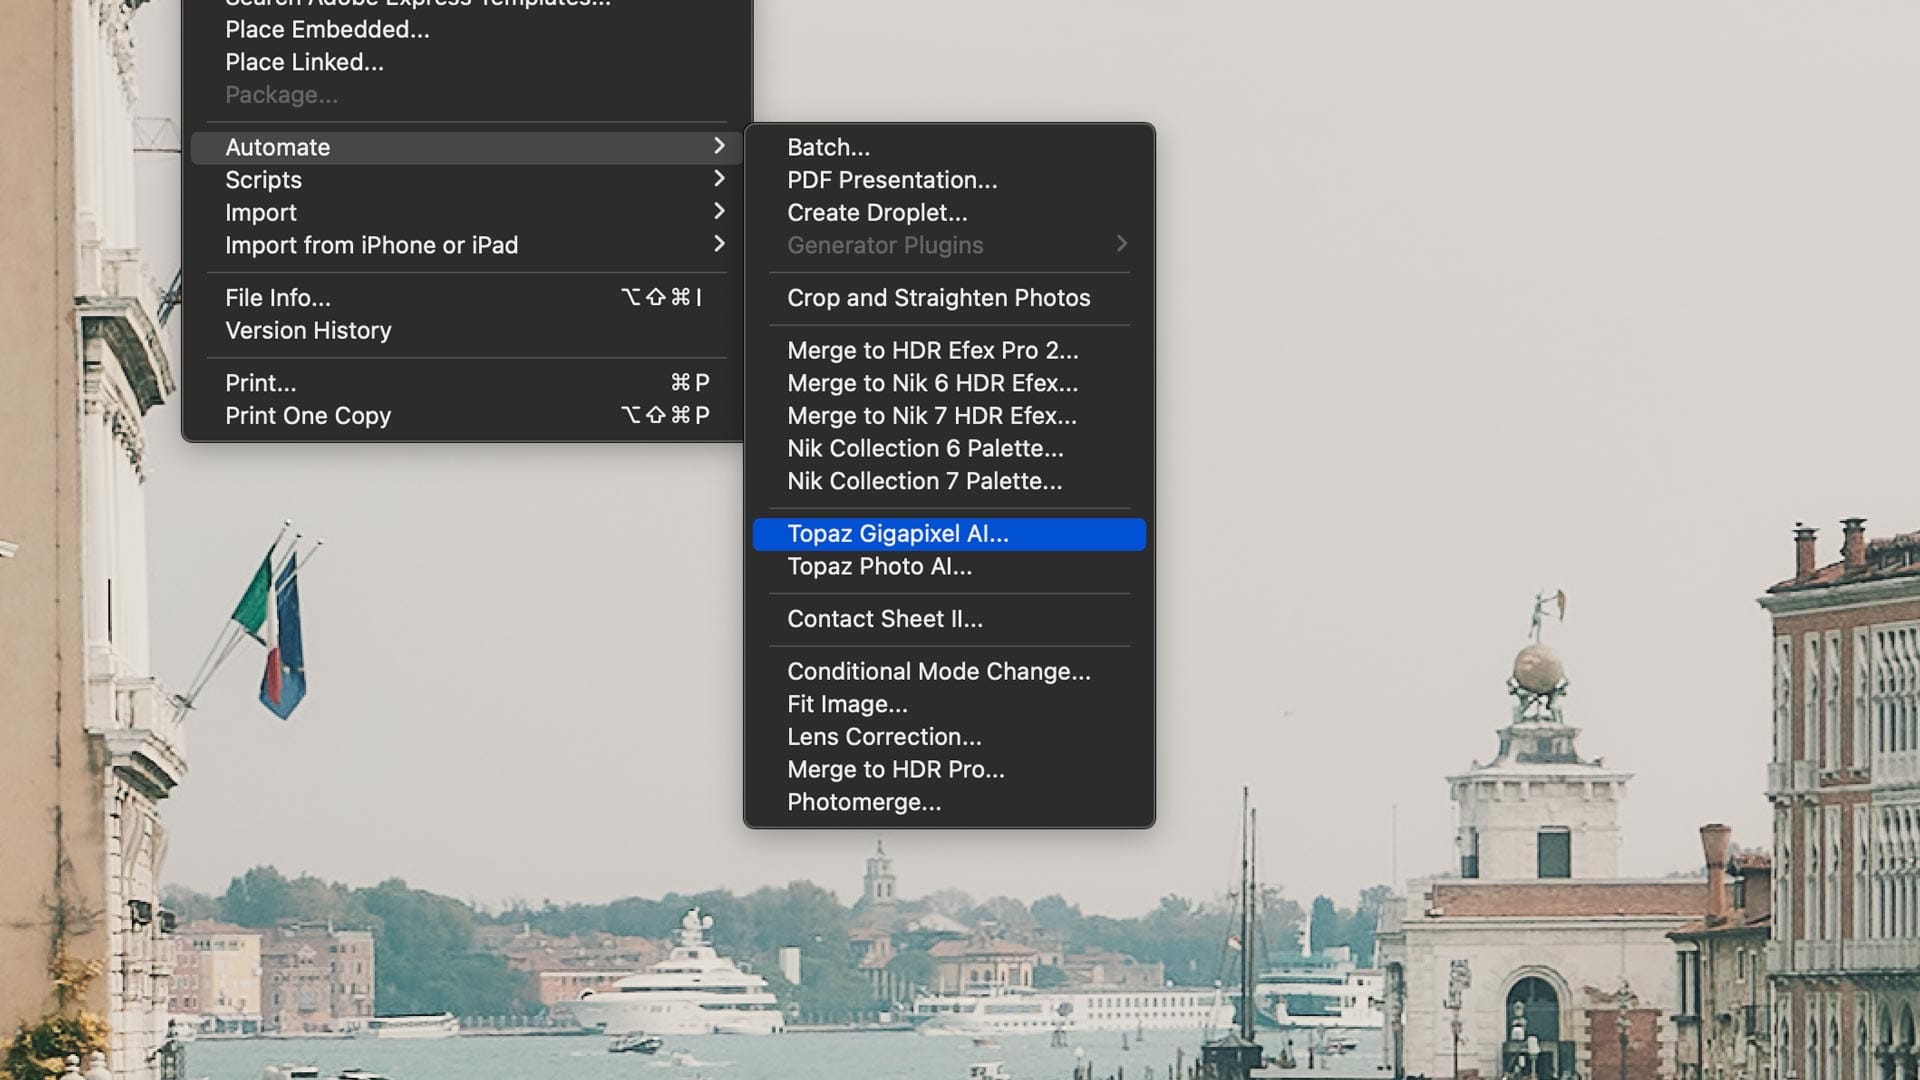
Adding images to Gigapixel 8 works just like previous versions. You can drag and drop files from your local hard drive, open images from within Photoshop (File > Automate > Open in Topaz Gigapixel AI), or open images from Adobe Lightroom Classic (right click on an image, select Edit in > Topaz Gigapixel AI). When editing raw images from Lightroom Classic, the app will create a rasterized copy for you with options for bit depth, color space, and DPI (dots per inch). For this reason, it's a good idea to process raw images before upscaling them in Gigapixel.
Once an image is open, the user interface of Gigapixel 8 is mostly self explanatory. Image preview on the left, tools on the right. The large preview area provides a number of view options to preview changes, zoom in/out, etc. There's also a clever image capture button to create before/after screenshots.
Size is handled through the Upscale module at top right, with inputs to enter new dimensions in pixels, inches or centimeters. Scale Factor displays how much larger the newly upscaled image will be compared to the original, while Pixel Density controls resolution. 72 dpi is fine for images viewed on screen, 300 is typically adequate when upscaling for prints.
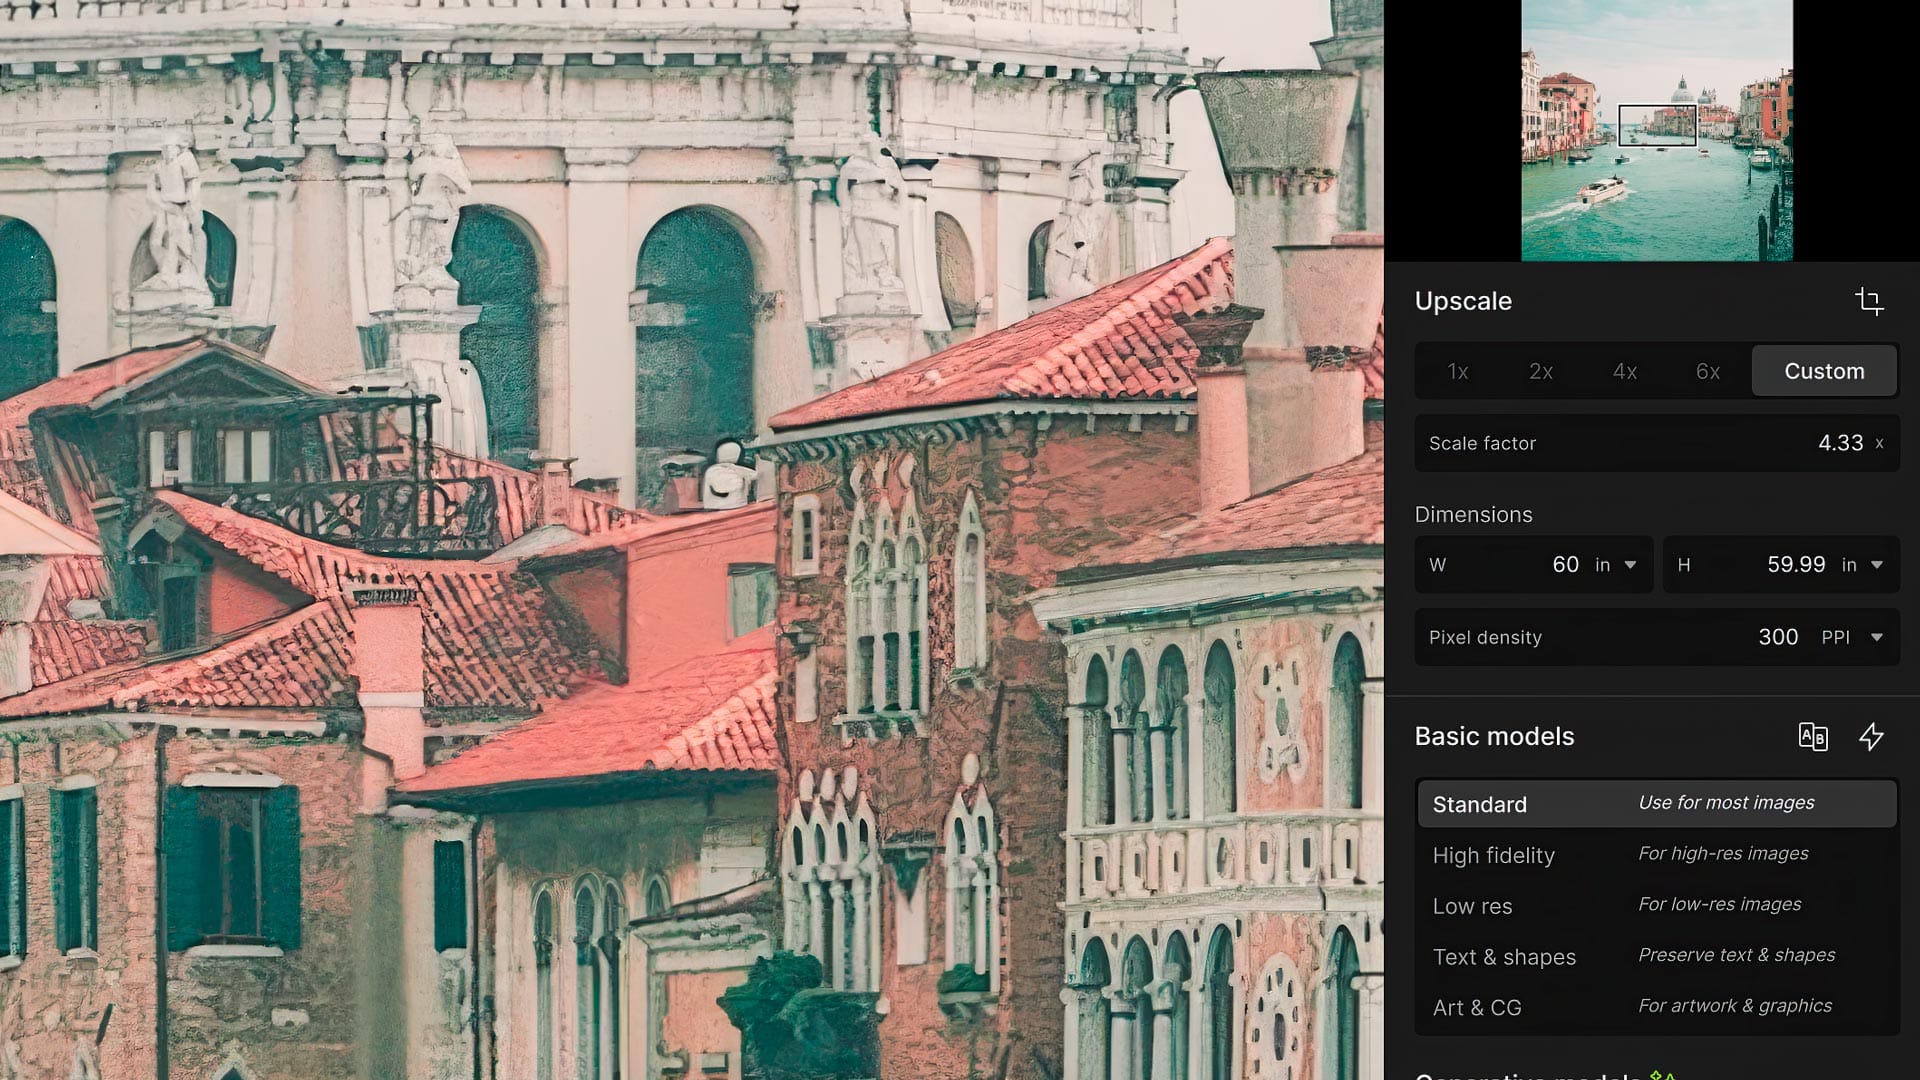
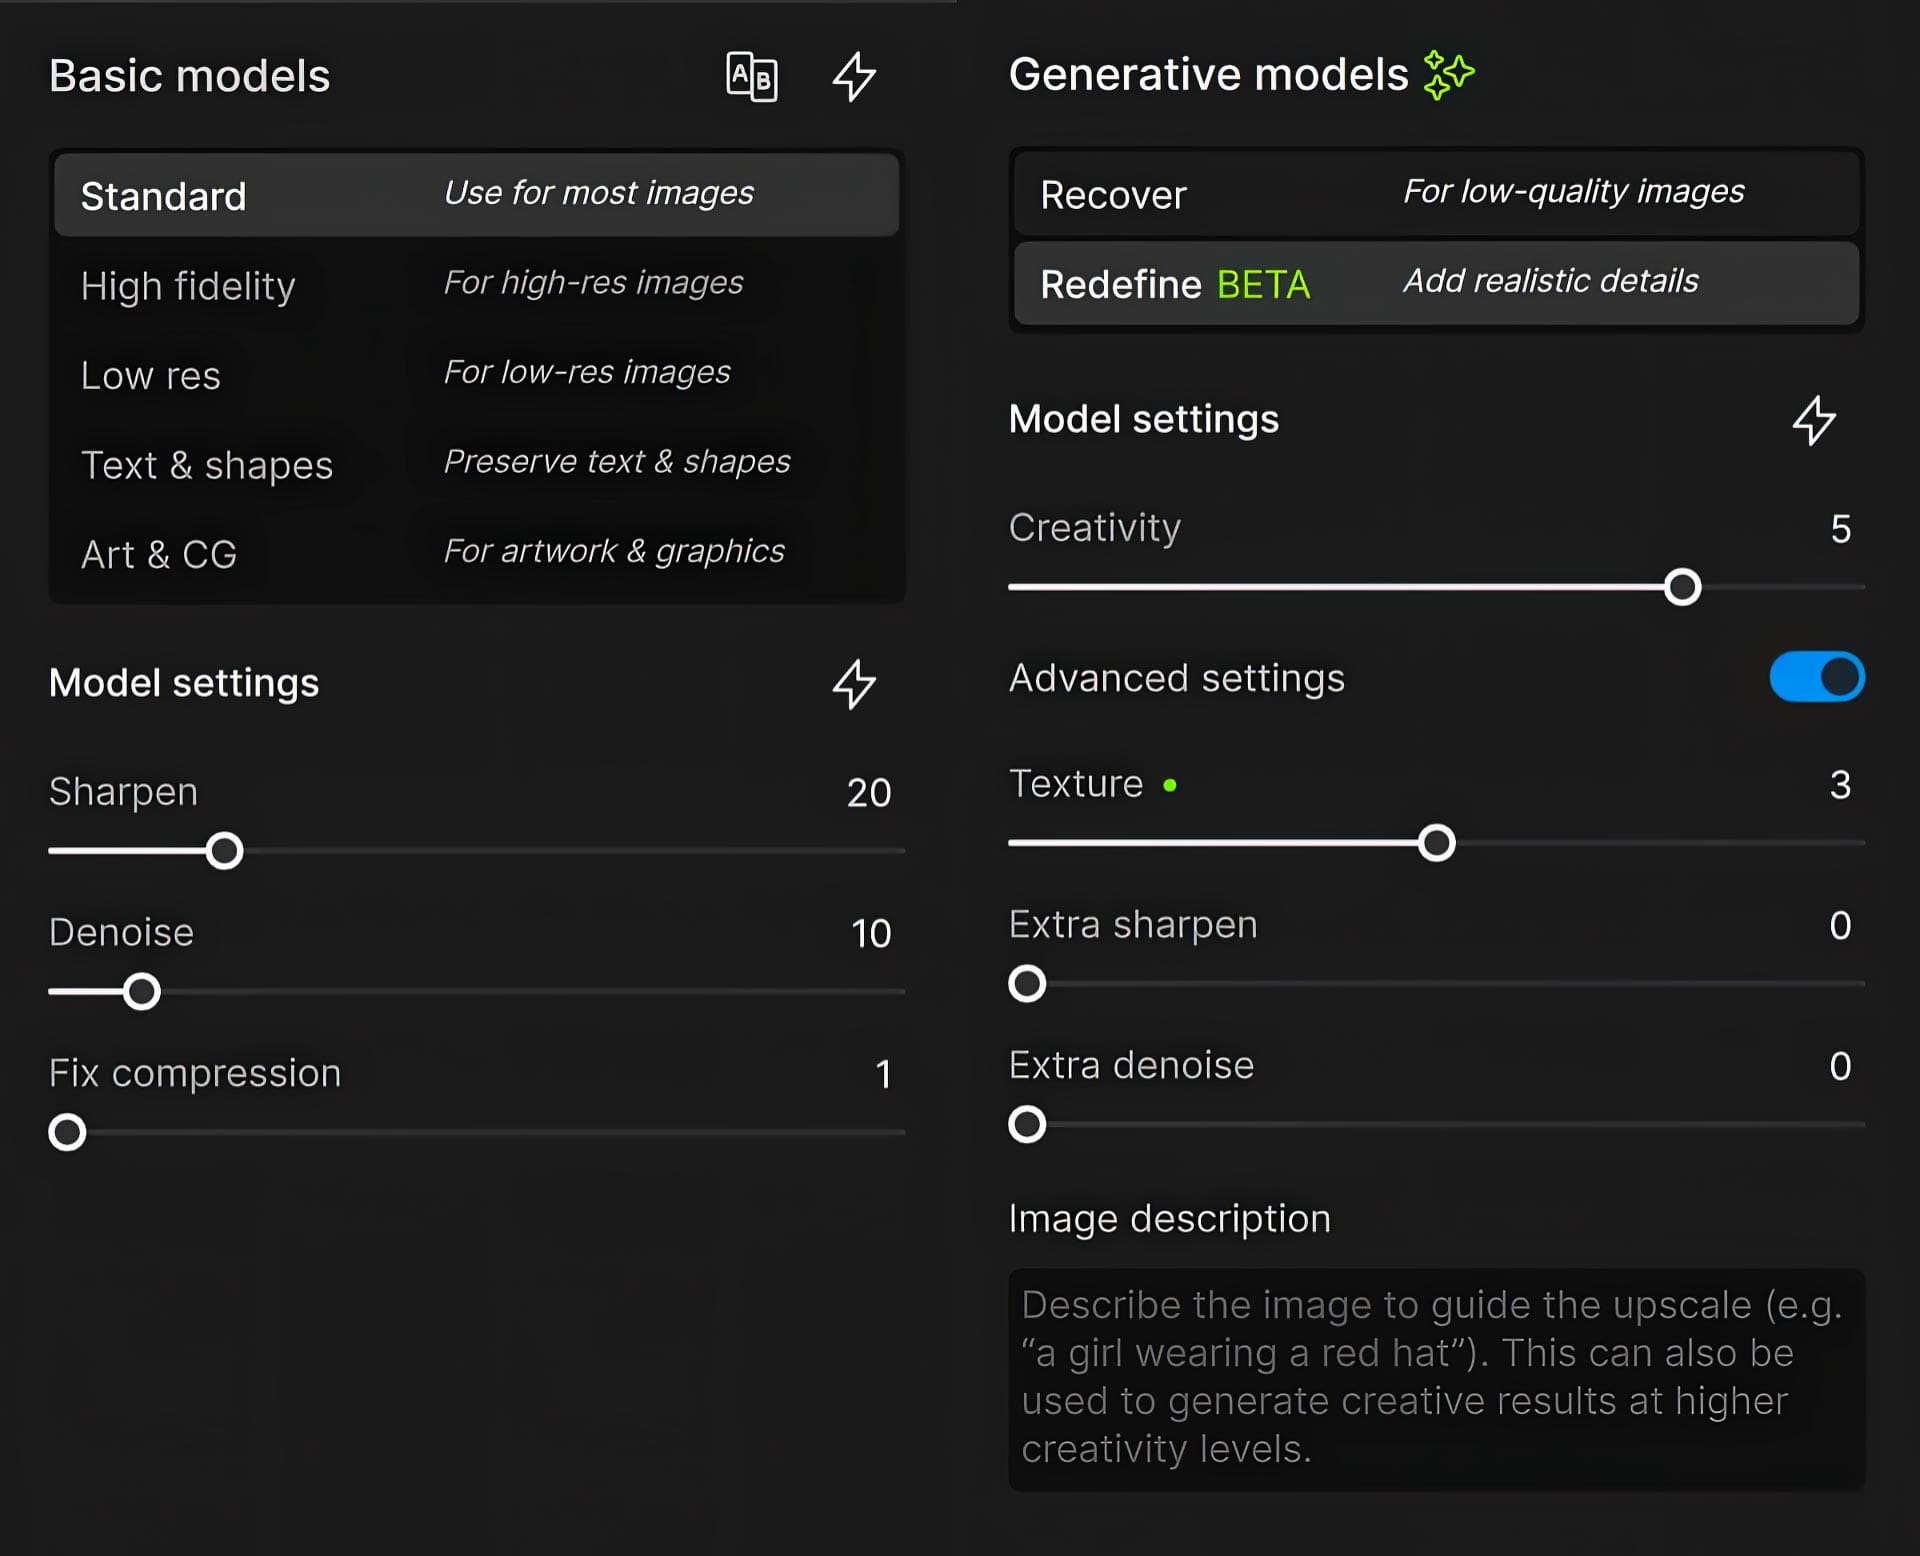
The next area down is where you choose an appropriate upscaling model for your image. Two boxes are displayed: "Basic models" and "Generative models". Basic models are the tried-and-true upscaling filters that have been part of Gigapixel for a while (though they have been continually updated and improved over time). Click the "Compare" button, and Gigapixel 8 will divide the preview space into smaller previews, one for each model. For general purpose upscaling, Topaz recommends "Standard", but you may get better results with other models depending on the type of image being upscaled.
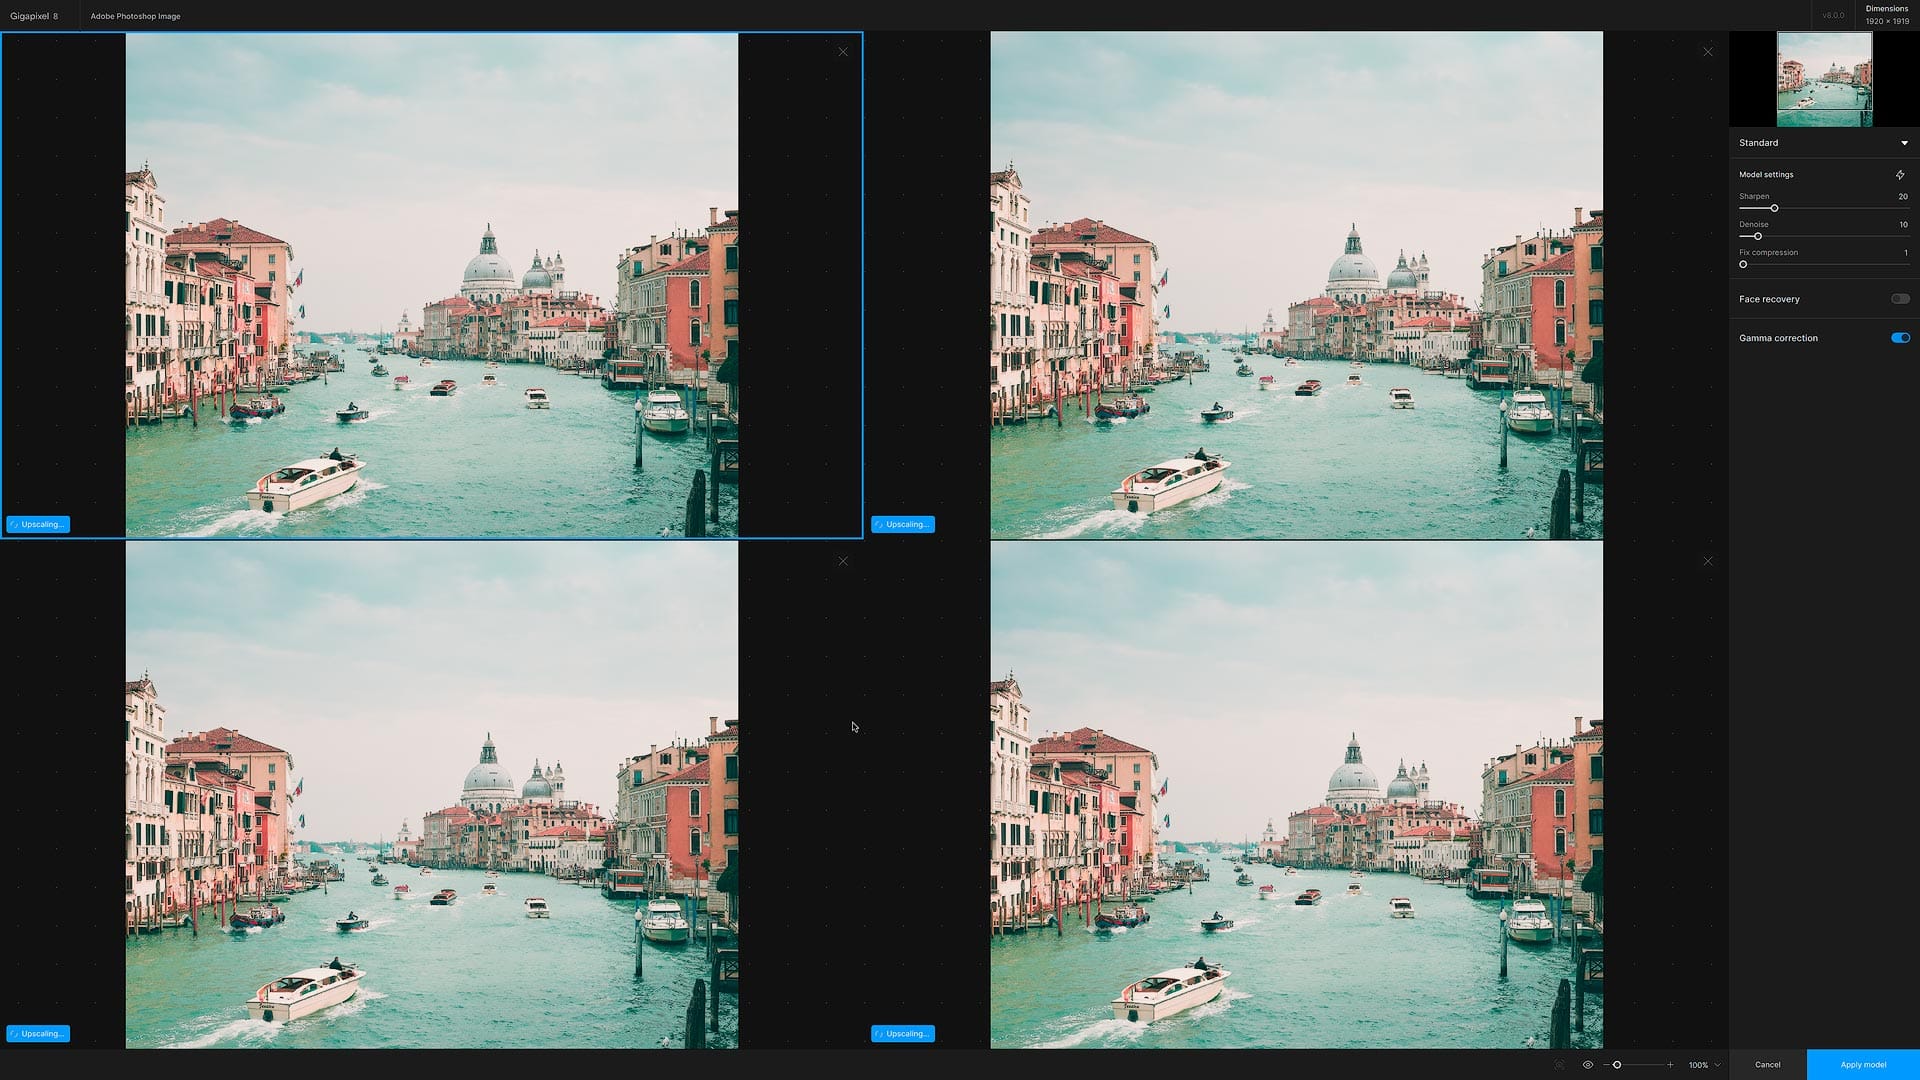
Generative models use the latest artificial intelligence to "generate" (hence the name) entirely new images using your original images as guides. Options include "Recover" and "Redefine". The former is designed for rebuilding details in low resolution images (and sticks more closely to the original image), while the latter takes much broader creative liberties. Similar to other AI-based image generation software, you may provide written descriptive prompts to help guide the creative process.
All models provide additional controls to fine-tune sharpness, noise, compression, and other characteristics. There is also a "Face Recovery" tool that intelligently rebuilds soft facial features in people (the software auto-detects faces for you, but you can select your own if need be). "Gamma Correction" helps resolve color bleed in brightly saturated images and noise issues in darker images.
Comparative image upscaling results
I tested a variety of image types using Gigapixel 8 and viewed the results on-screen and on-paper. For my first test, I upscaled a low resolution, Canon Powershot JPG (from 15 years ago) to make a 300dpi 8x10 print. One image was upscaled using the "Standard" model in Gigapixel 8, the other Photoshop's native Image Size tool (set to "Automatic" sampling, per Adobe's recommendation). No additional edits or changes were made to the resultant images, as compared below.


Both images were downscaled to view here, but you can still see a difference. The Gigapixel 8 image looks more natural, with smoother tonality, better detail, and fewer artifacts compared to Photoshop. Notice how much cleaner and well defined her hair is, and how much sharper and clearer the butterflies are on the front of her swimsuit. Face Recovery also helped improve the clarity of her eyes and smooth/denoise her skin.
Next, I tried upscaling a couple of tiny, low resolution, public domain JPGs downloaded from the web. This time, I used the new Generative models, for the originals were so small and poorly scanned they needed all the help they could get. Below is a comparison of two upscales: Photoshop Image Size (left), Gigapixel 8 Recover model (right)
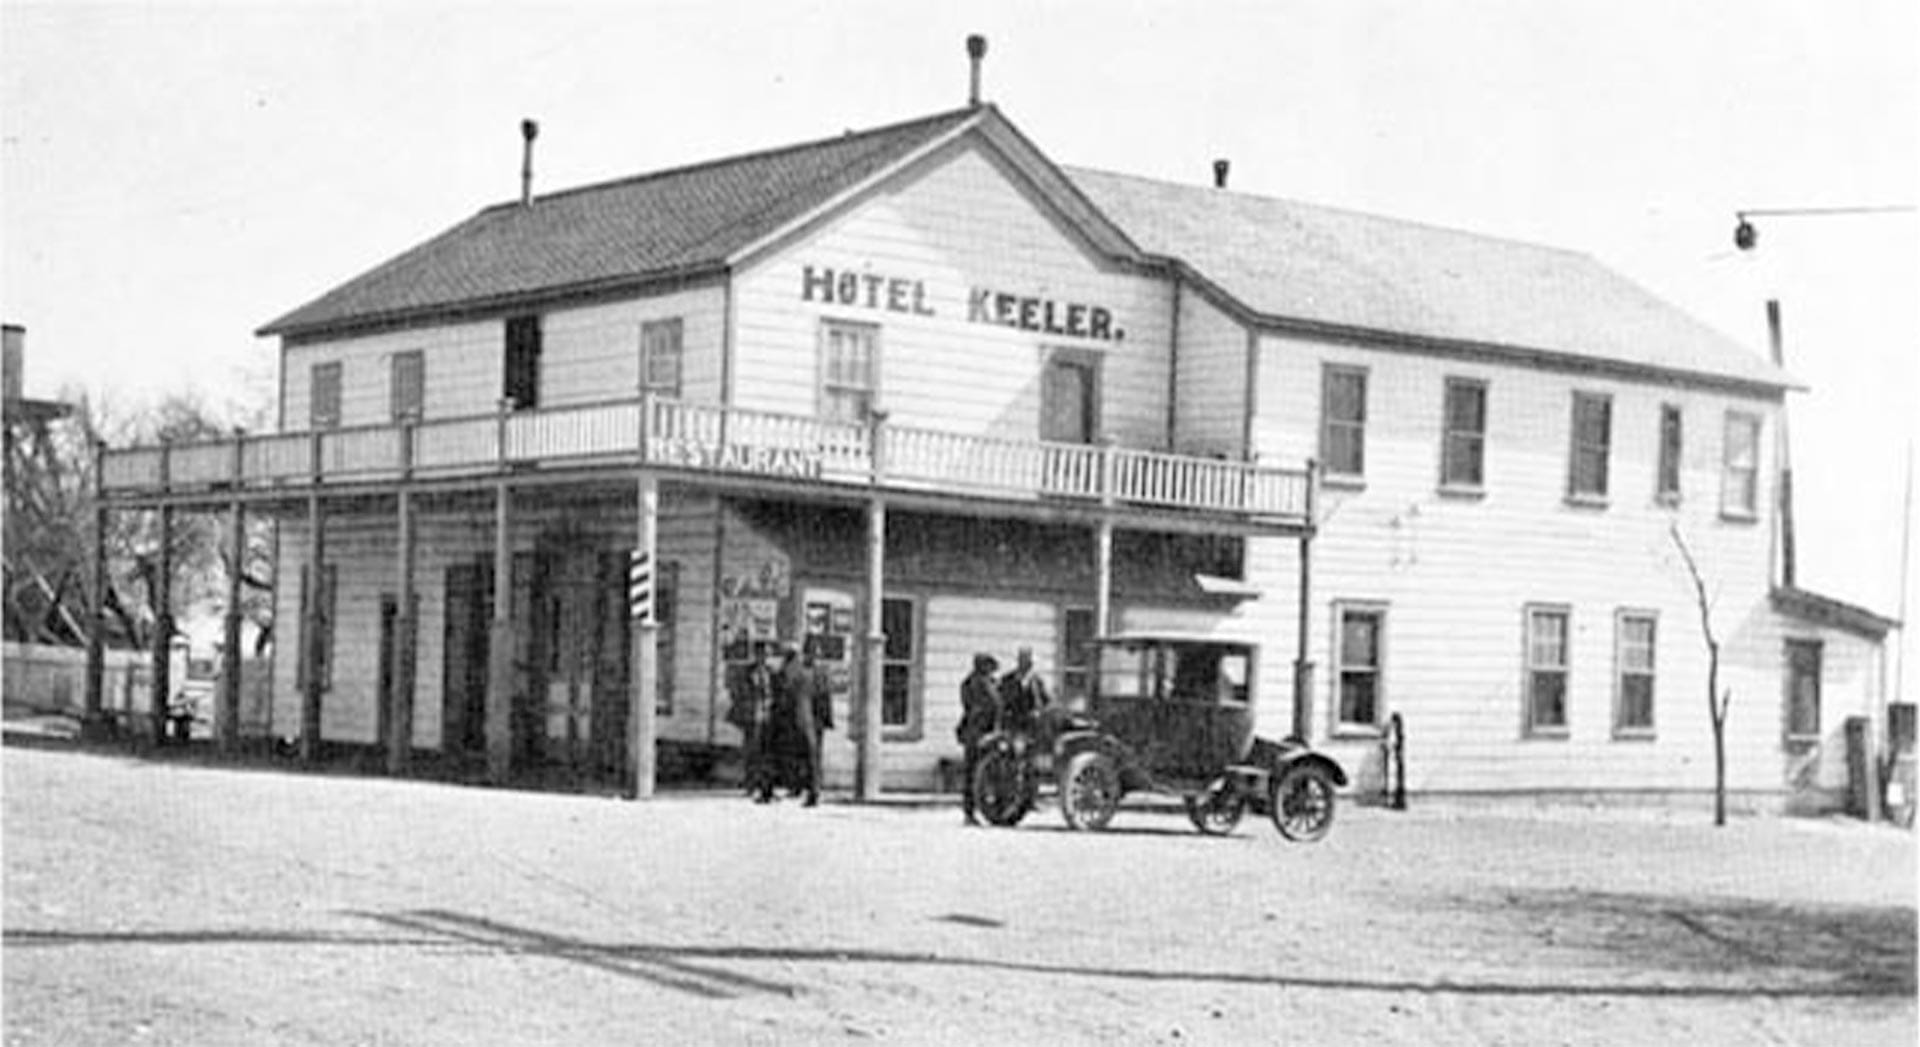
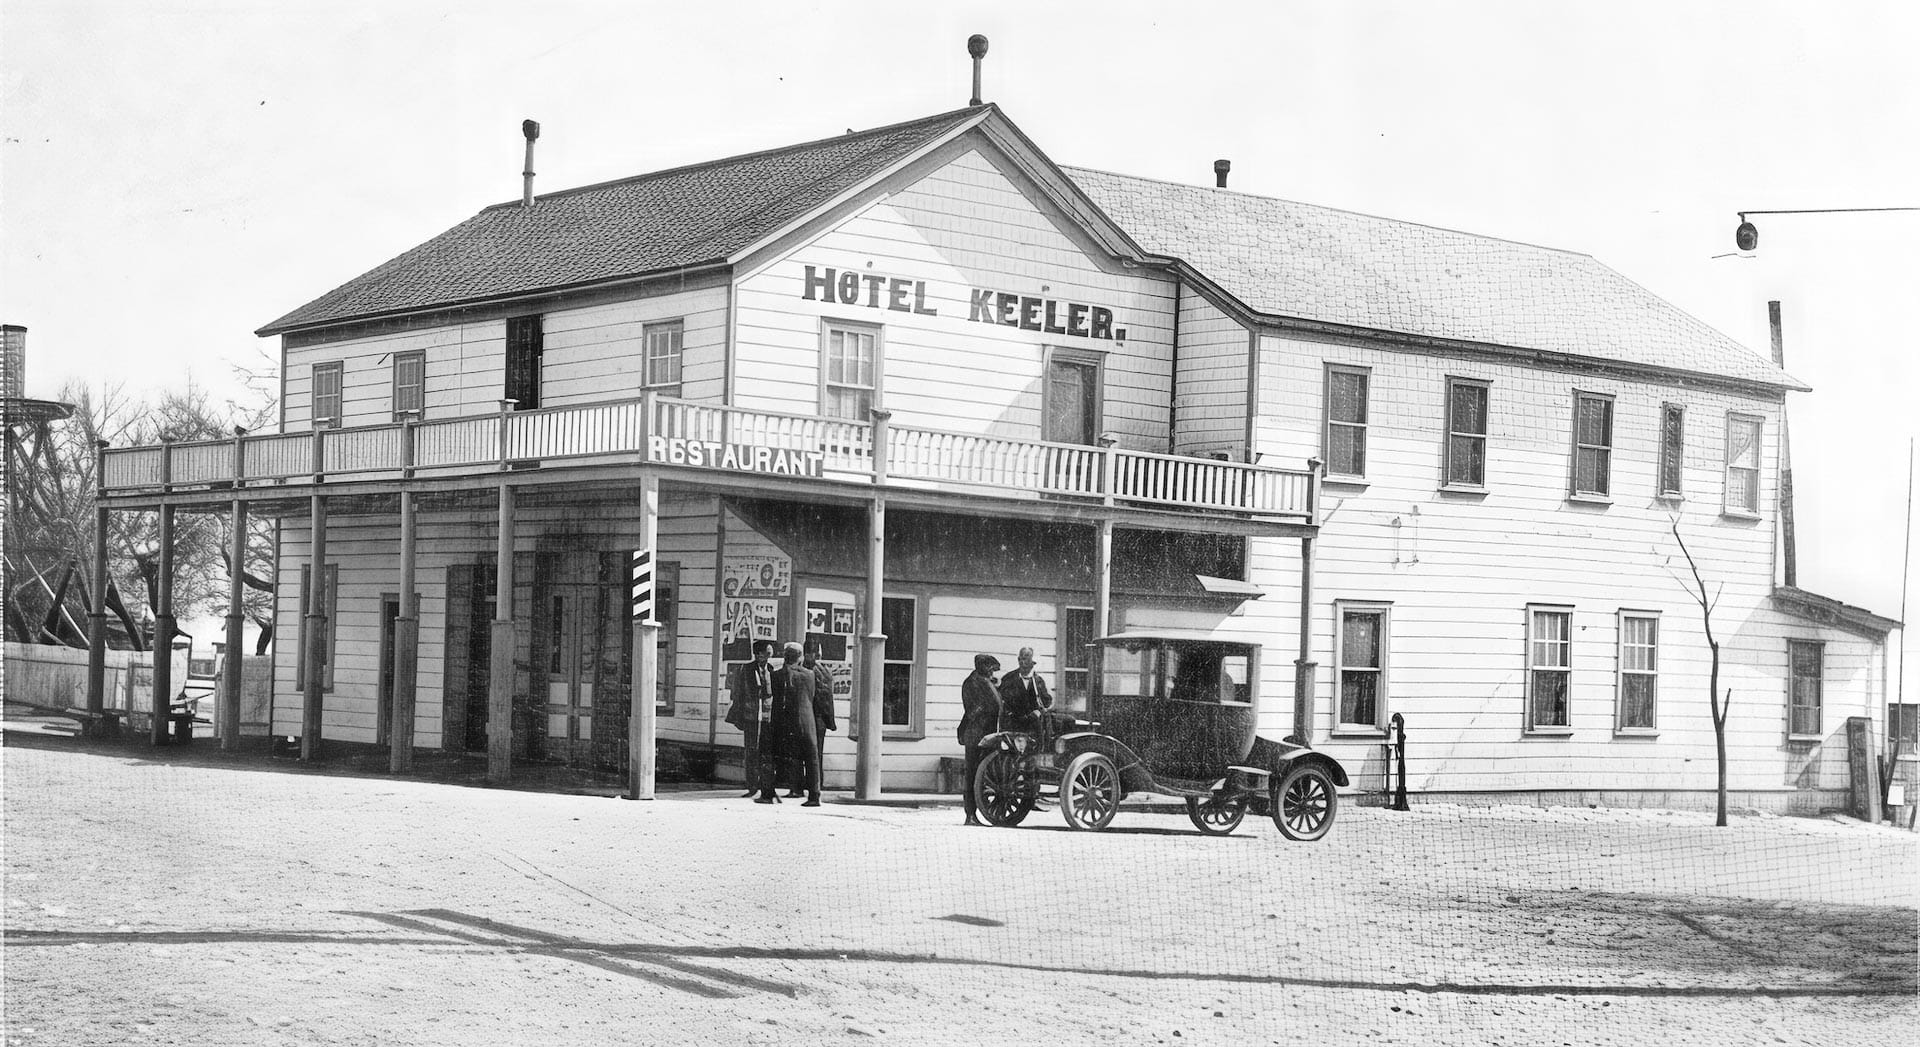
As you can see, Gigapixel 8 did a phenomenal job reconstituting image structure, clarity, detail, and even took some creative liberties with recognizable subjects, including the "Restaurant" sign (which was barely legible in the original), the hotel sign lettering, the railings and windows on the building, as well as the people and car on the street.
Next, I tested the new "Redefine" generative model. This model deviates from authenticity and takes much broader creative license when upscaling (with adjustable thresholds to control how aggressive the changes should be). The results can be quite dramatic, as illustrated below with another small, low-resolution JPG (left) upscaled and reimagined by Gigapixel 8 (right).
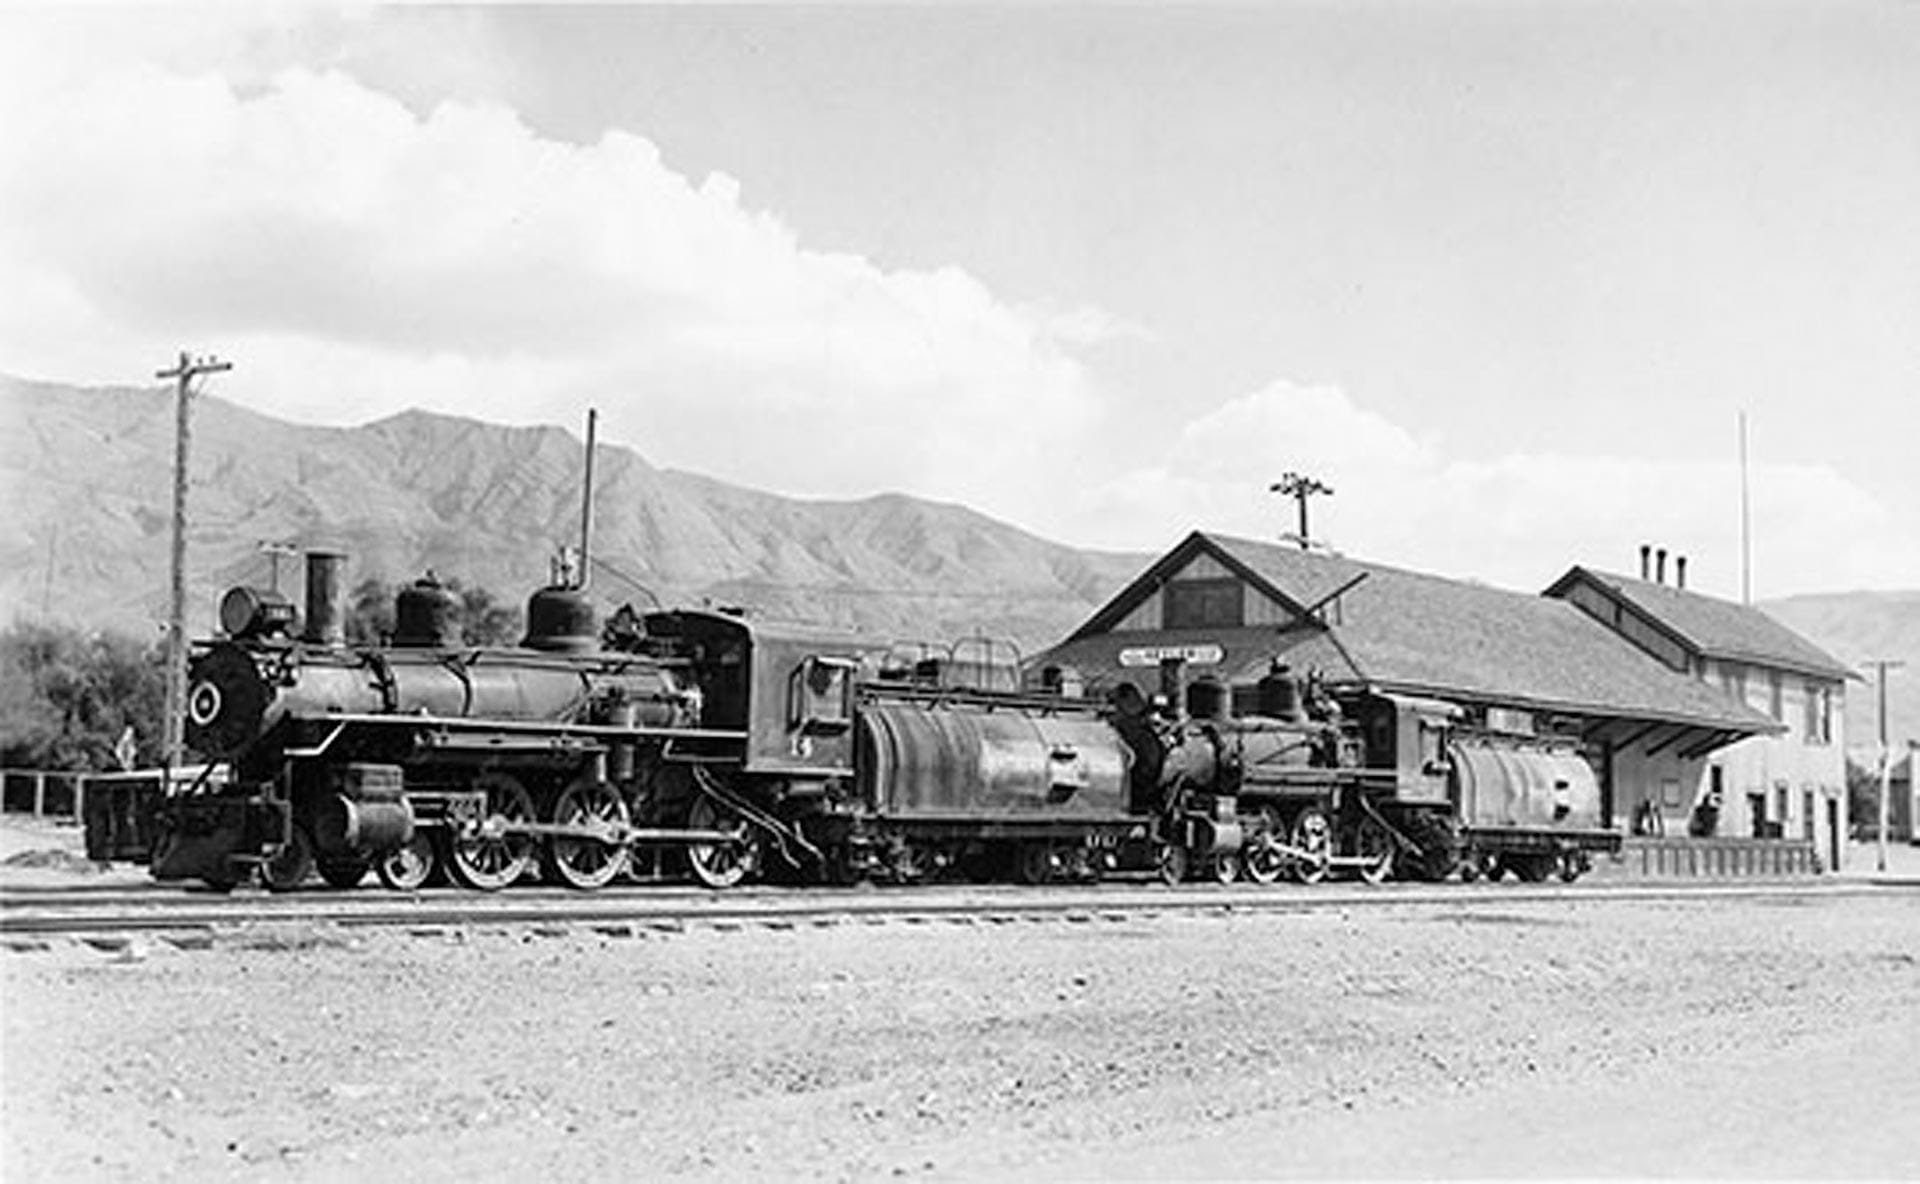
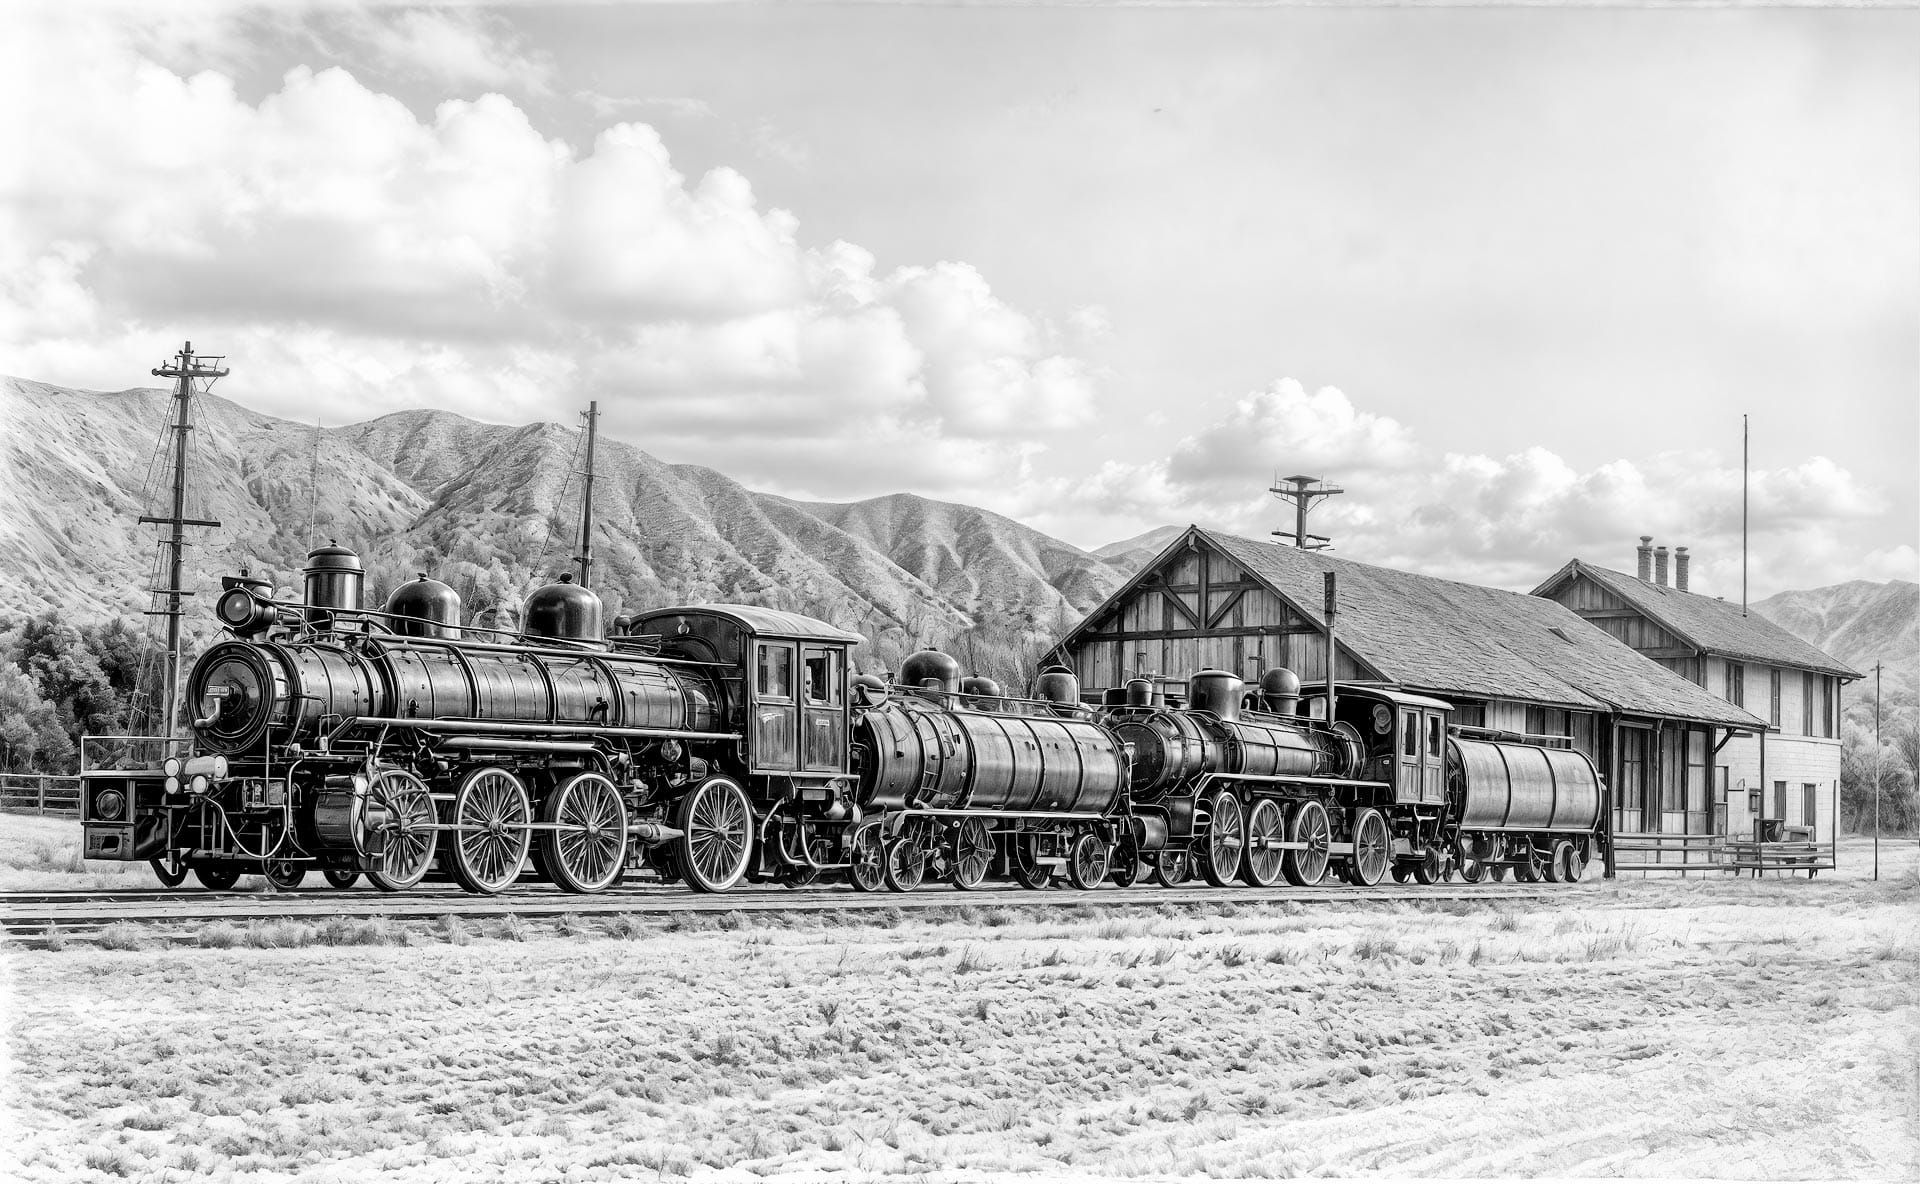
Based on my experience, both Generative models can perform wonders on small, low-resolution images that need significant improvement—those with "bad DNA," so to speak. However, these models can be extremely slow and time-consuming to process, even on a newer, high-performance computer like my M2 Ultra Mac Studio. For example, an image upscaled using the Basic "Standard" model took less than a minute, while the Generative "Recover" model took over fifteen minutes.
To push Gigapixel even further, I tried upscaling a DSLR image of mine to 60x40" (a very large print) using the Standard and Recover generative models. Standard generated a new, upscaled image in a handful of minutes. The Recover model took hours. So long in fact, I had to leave my computer running overnight.
The comparison image below is a cropped area of the much larger 60x40" print to better visualize detail and clarity. Image on the left was upscaled using Photoshop, while the image on the right was upscaled using the Standard model in Gigapixel 8. The Photoshop upscale is overly compressed and jagged. The Gigapixel upscale is smoother and more natural looking.
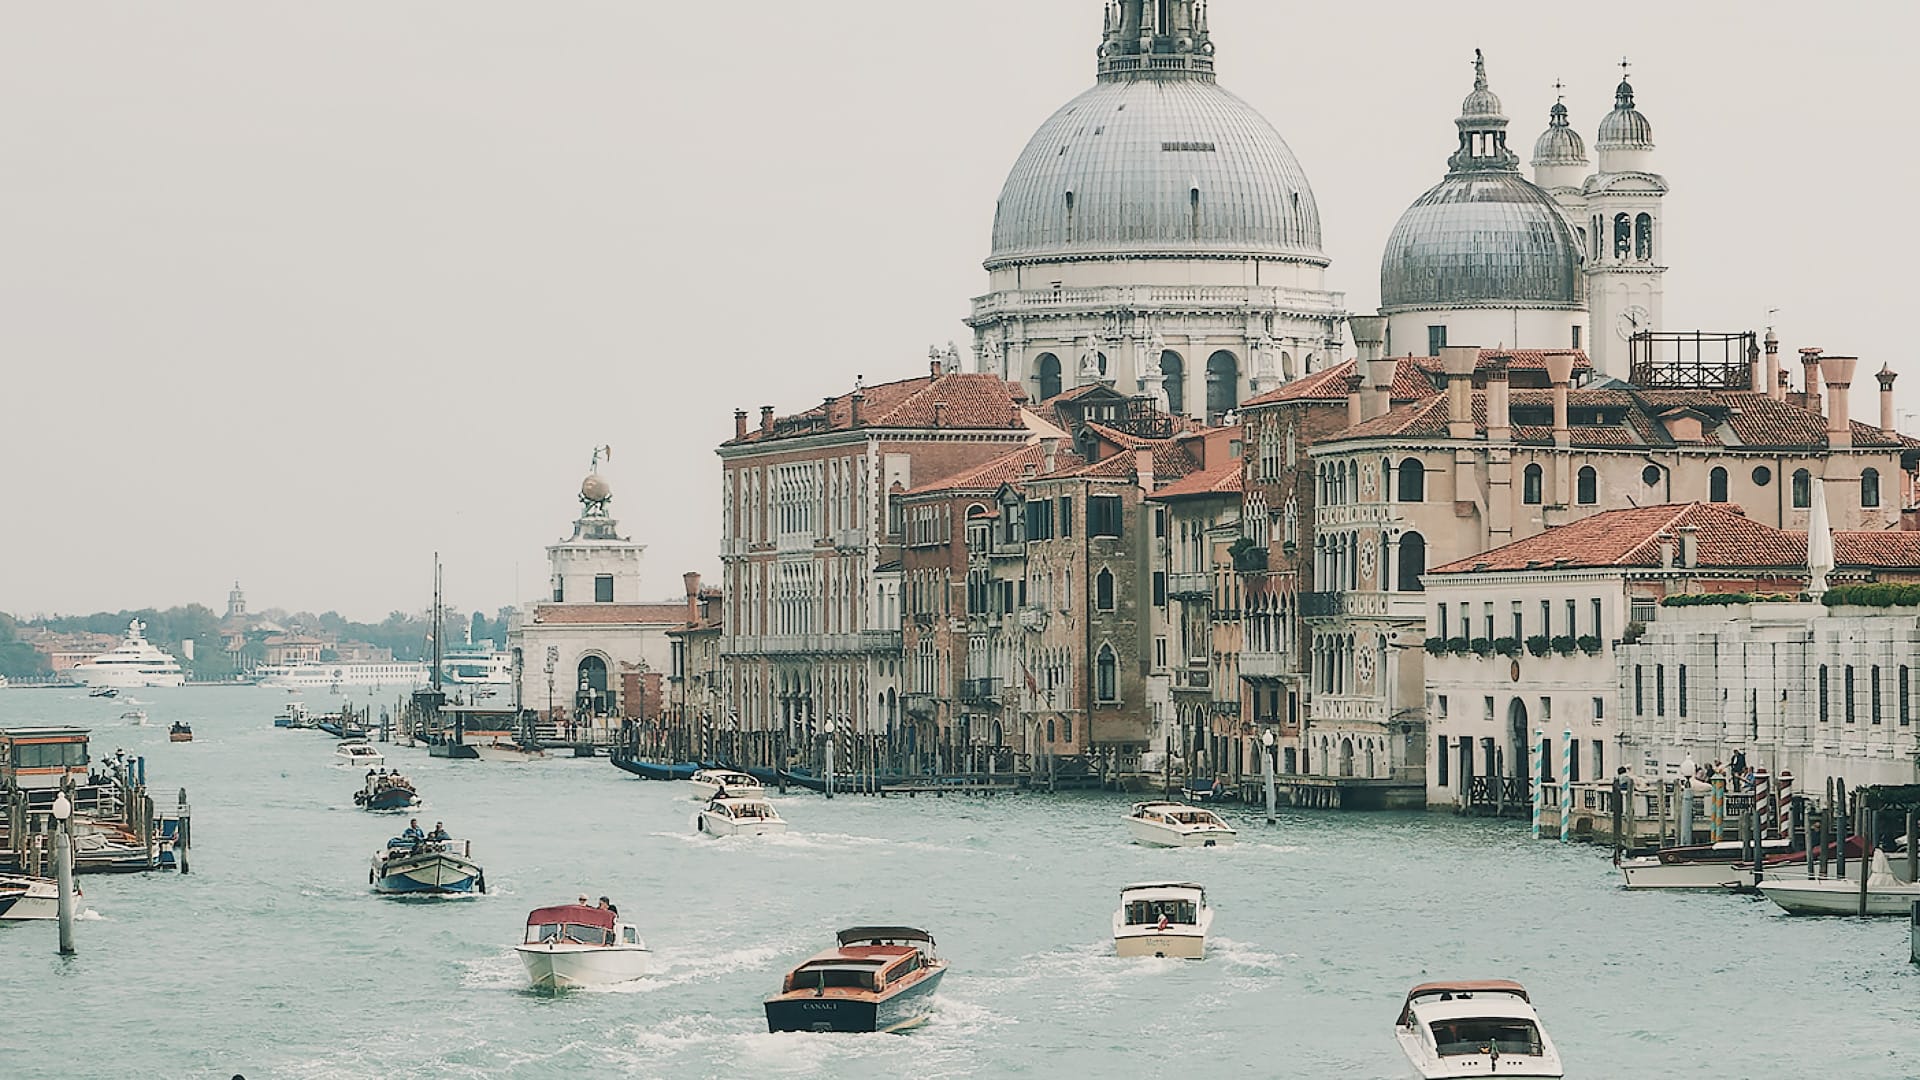
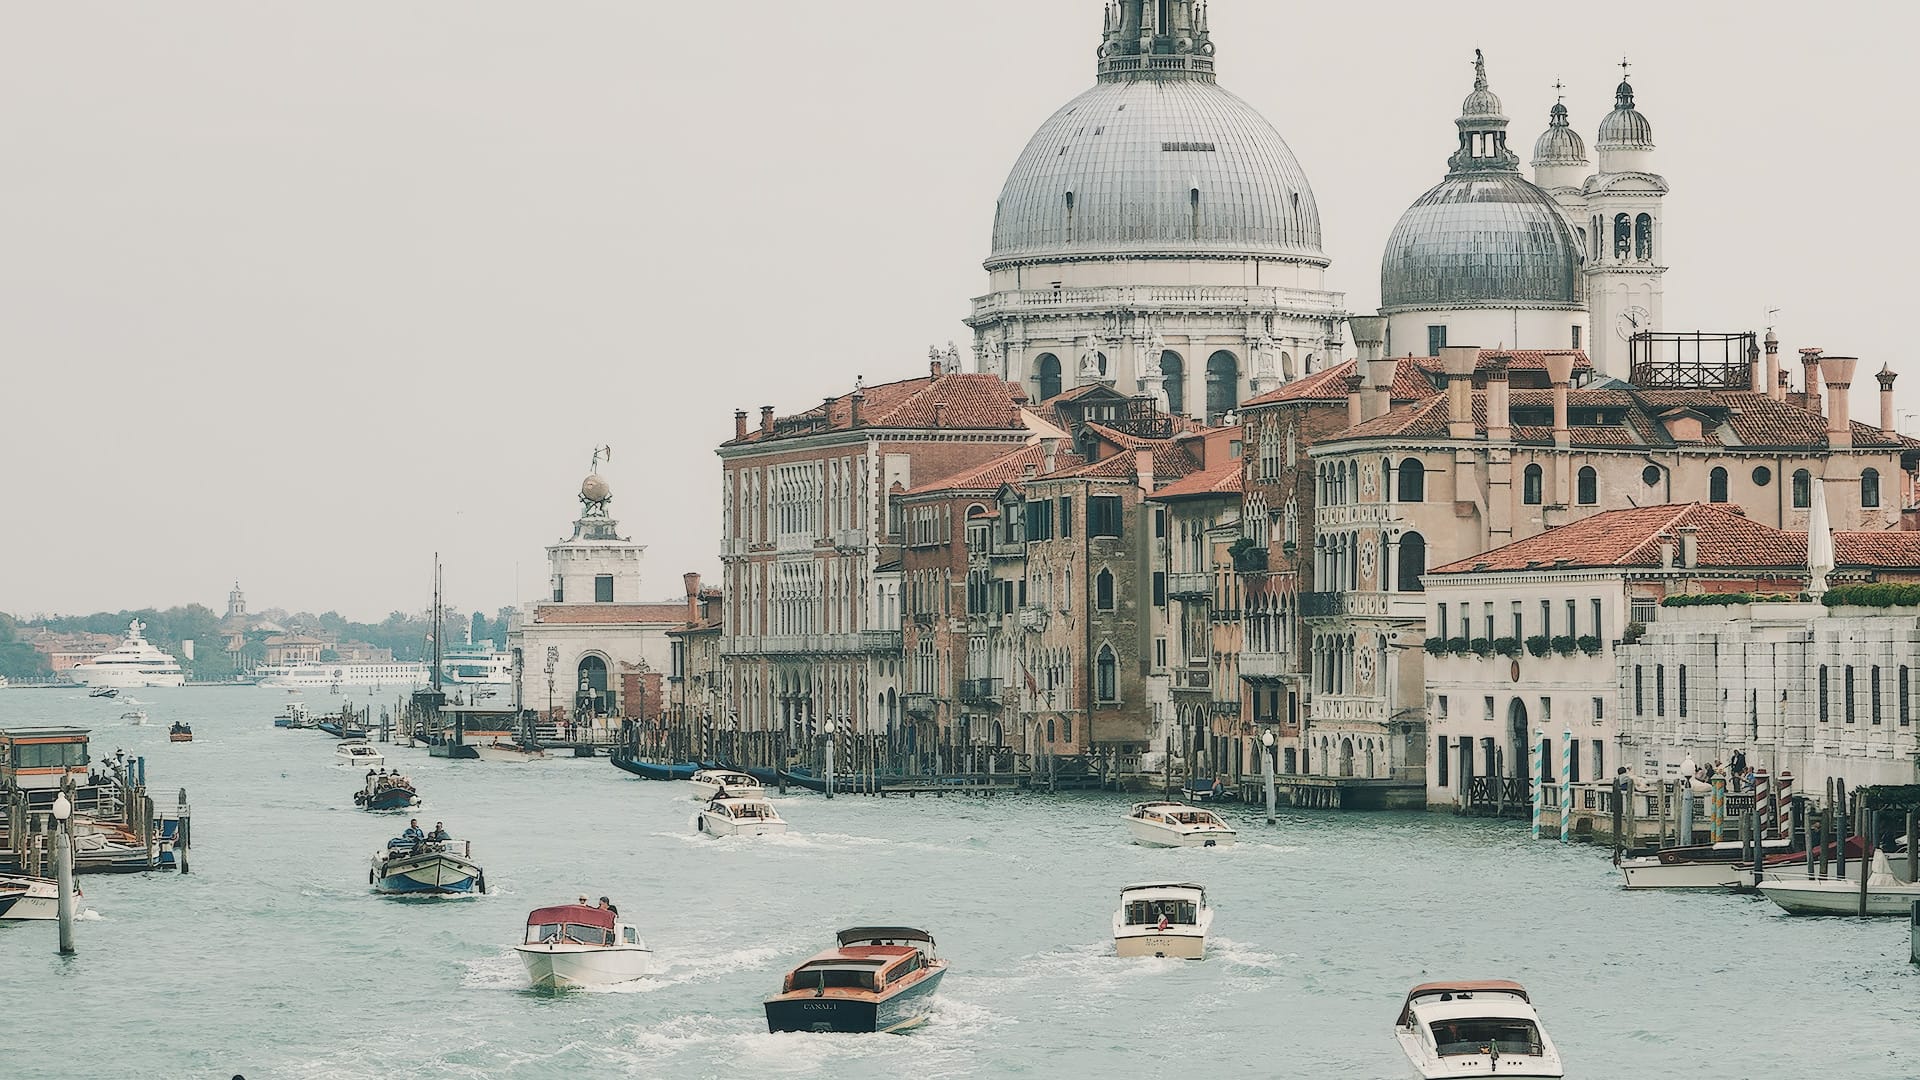
As for the Recover model image that took hours to generate on my Mac Studio, the final image was very similar to the Standard model image. The pattern-based AI did reform and rebuild architectural details with similar shapes and dimensions, which some could see as an improvement, but I'd rather keep the historical inconsistencies and retain as much of the image's original authenticity as I can possibly can.
Overall, there was little tangible benefit using Recover to upscale a high quality image. The Basic model took far less time to complete, and was perfectly adequate for the job.
Cloud rendering and credits
Cloud Rendering is displayed as an option alongside "Export" at the bottom of the right column. The button displays a processing time estimate, and how many credits the upscale will cost. Gigapixel 8 comes with 100 free credits to test the service, but costs money afterwards using paid credit "packs" and monthly subscriptions. The larger an image upscale, the more credits it costs. Cloud rendered images are saved for 7 days before they're automatically deleted.
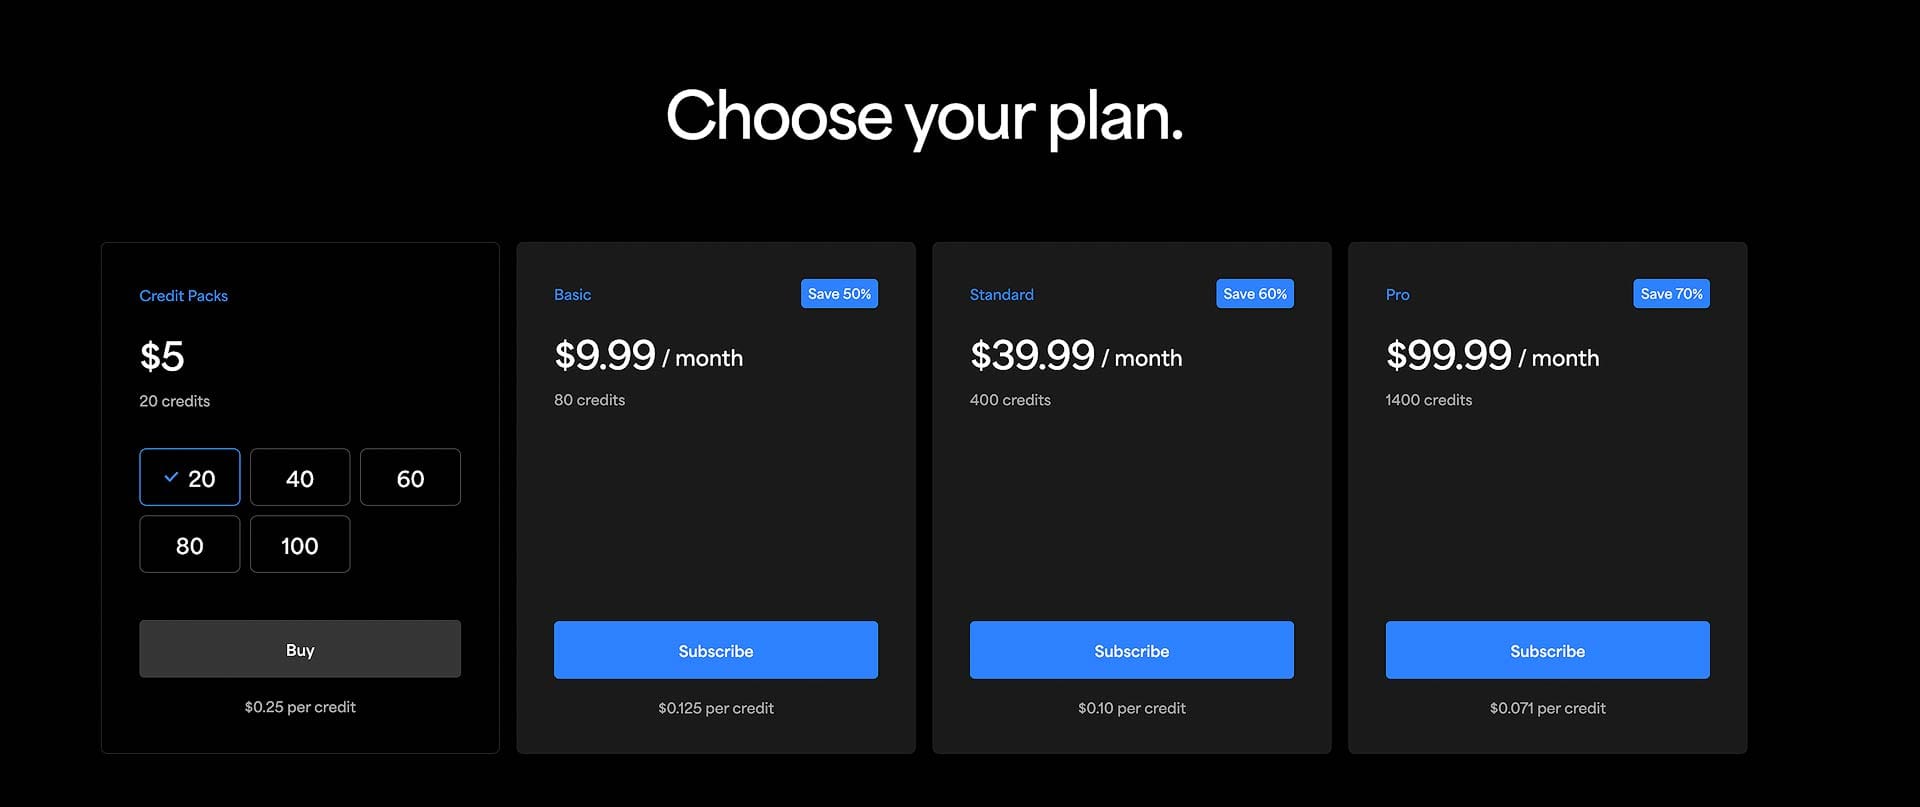
I'm certain that Cloud Rendering will stir some debate among Gigapixel users. After all, no one enjoys additional fees for software they already own. However, it's worth noting that Topaz isn't gating features behind a paywall. They are simply providing a faster, more convenient service delivering the same quality as the desktop version. Expecting a costly, cloud-based infrastructure to be available for free, especially for demanding tasks like image and video processing isn't realistic.
If you have a somewhat recent desktop computer with decent hardware for photo editing and other tasks, Gigapixel's Basic models should upscale images in a reasonable amount of time. Previews are quickly generated, and you can intuitively experiment with different options prior to export. If you don't like the results, you can quickly delete an upscaled image and try again.
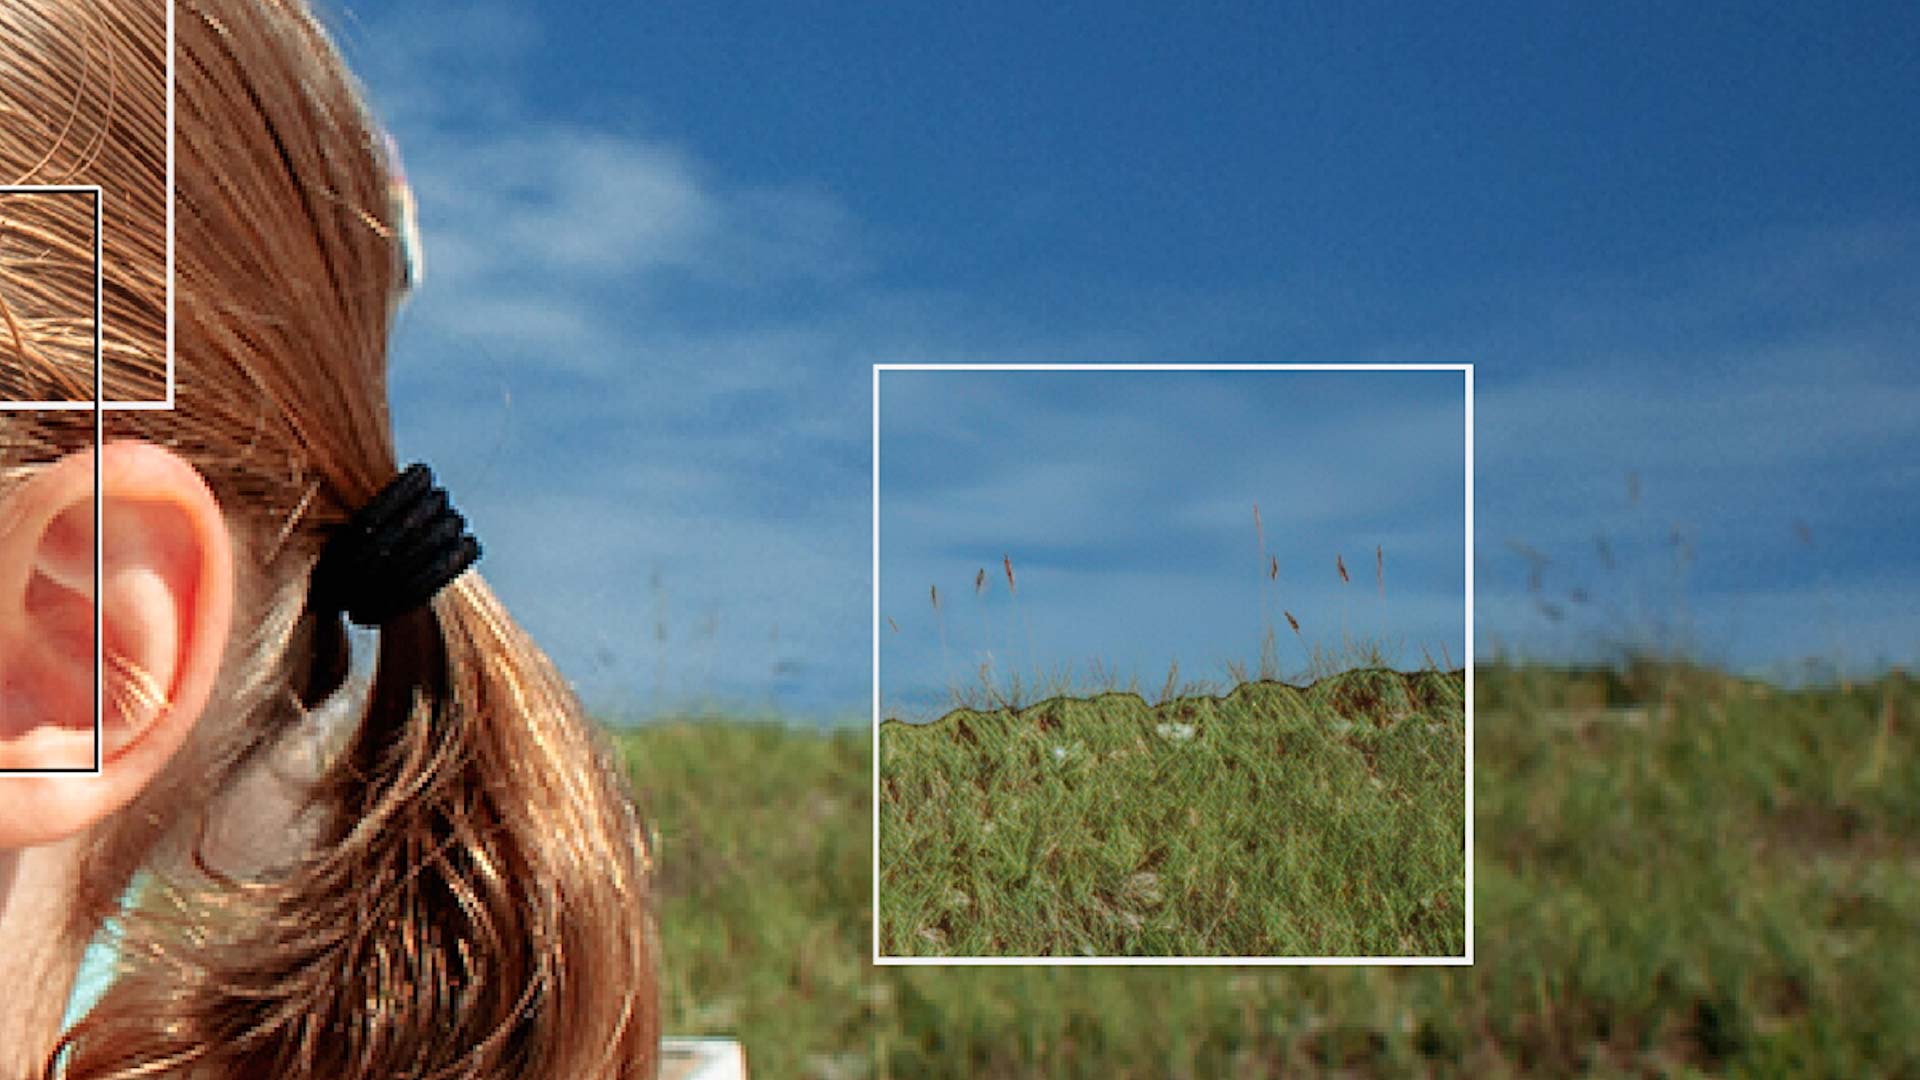
The Generative models, however, are a different animal. Previews are painfully slow to process (a full image preview can take 10 minutes and longer), and the results can be unpredictable. Sometimes the AI does a good job reforming and rebuilding detail, sometimes it doesn't, as illustrated in the image below, where Gigapixel added clarity and sharpness to bokeh; an area that should remain soft, photographically speaking. This could lead to generating the same image multiple times through Cloud Rendering to get the results you're looking for within a reasonable amount of time. And once a credit is spent, it's spent. There are no refunds or returns.
Final thoughts
Overall, Gigapixel is still the best utility for upscaling images. The results truly do speak for themselves. If I were upscaling one of my own images to create a large print, I wouldn't think twice about using Gigapixel or Photo AI, also from Topaz Labs (more on that in a minute).
For me, the Basic models in Gigapixel 8 do just about everything I would ever need or want when upscaling my own photography. The results are consistently great, and process quickly on my desktop. I would use the Generative models for unique, one-off creative projects, but in practical use with my own photography, they'd be overkill and too time intensive to generate (with potentially the same qualitative results). This could change down the road when AI models are smarter and more heavily trained, but for now, I'd stick with Basic models for general use.
As for Photo AI users, is Gigapixel 8 worth buying? In my view, probably not. The upscaling capabilities in Photo AI are equally powerful, so for most photographers, owning both is unnecessary. If you don't own either app, and upscaling is all you're really interested in, Gigapixel 8 is a better value.
The best way to test Gigapixel 8 is by downloading a free, 30 day trial for macOS and Windows by clicking the button below. Kick the tires, and see if you like the results as much as I do.
