Simple yet powerful Photoshop blend mode tricks everyone should know
Using layer blend modes to add contrast, soften tonality, split tone, add highlight glow, and more.
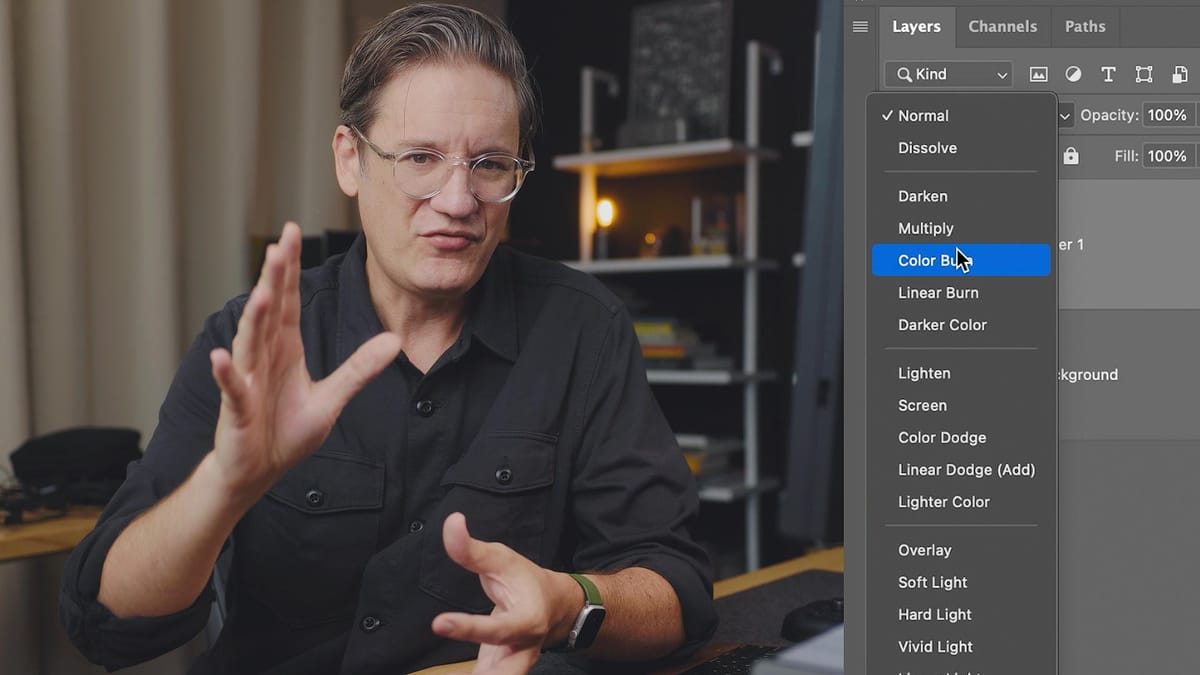
Layer blend modes have been a feature of Adobe Photoshop since nearly the beginning, though it's hard to imagine using Photoshop today without them. There was a time when stacking and blending edits wasn’t even possible! I’m a big fan of blend modes for their simplicity and power, for they can accomplish many technical and creative tasks without creating complex luminosity masks and/or selections (though they can of course be masked after-the-fact). There are countless ways to achieve similar results using other tools in Photoshop, but blend modes are straightforward and easy to use.
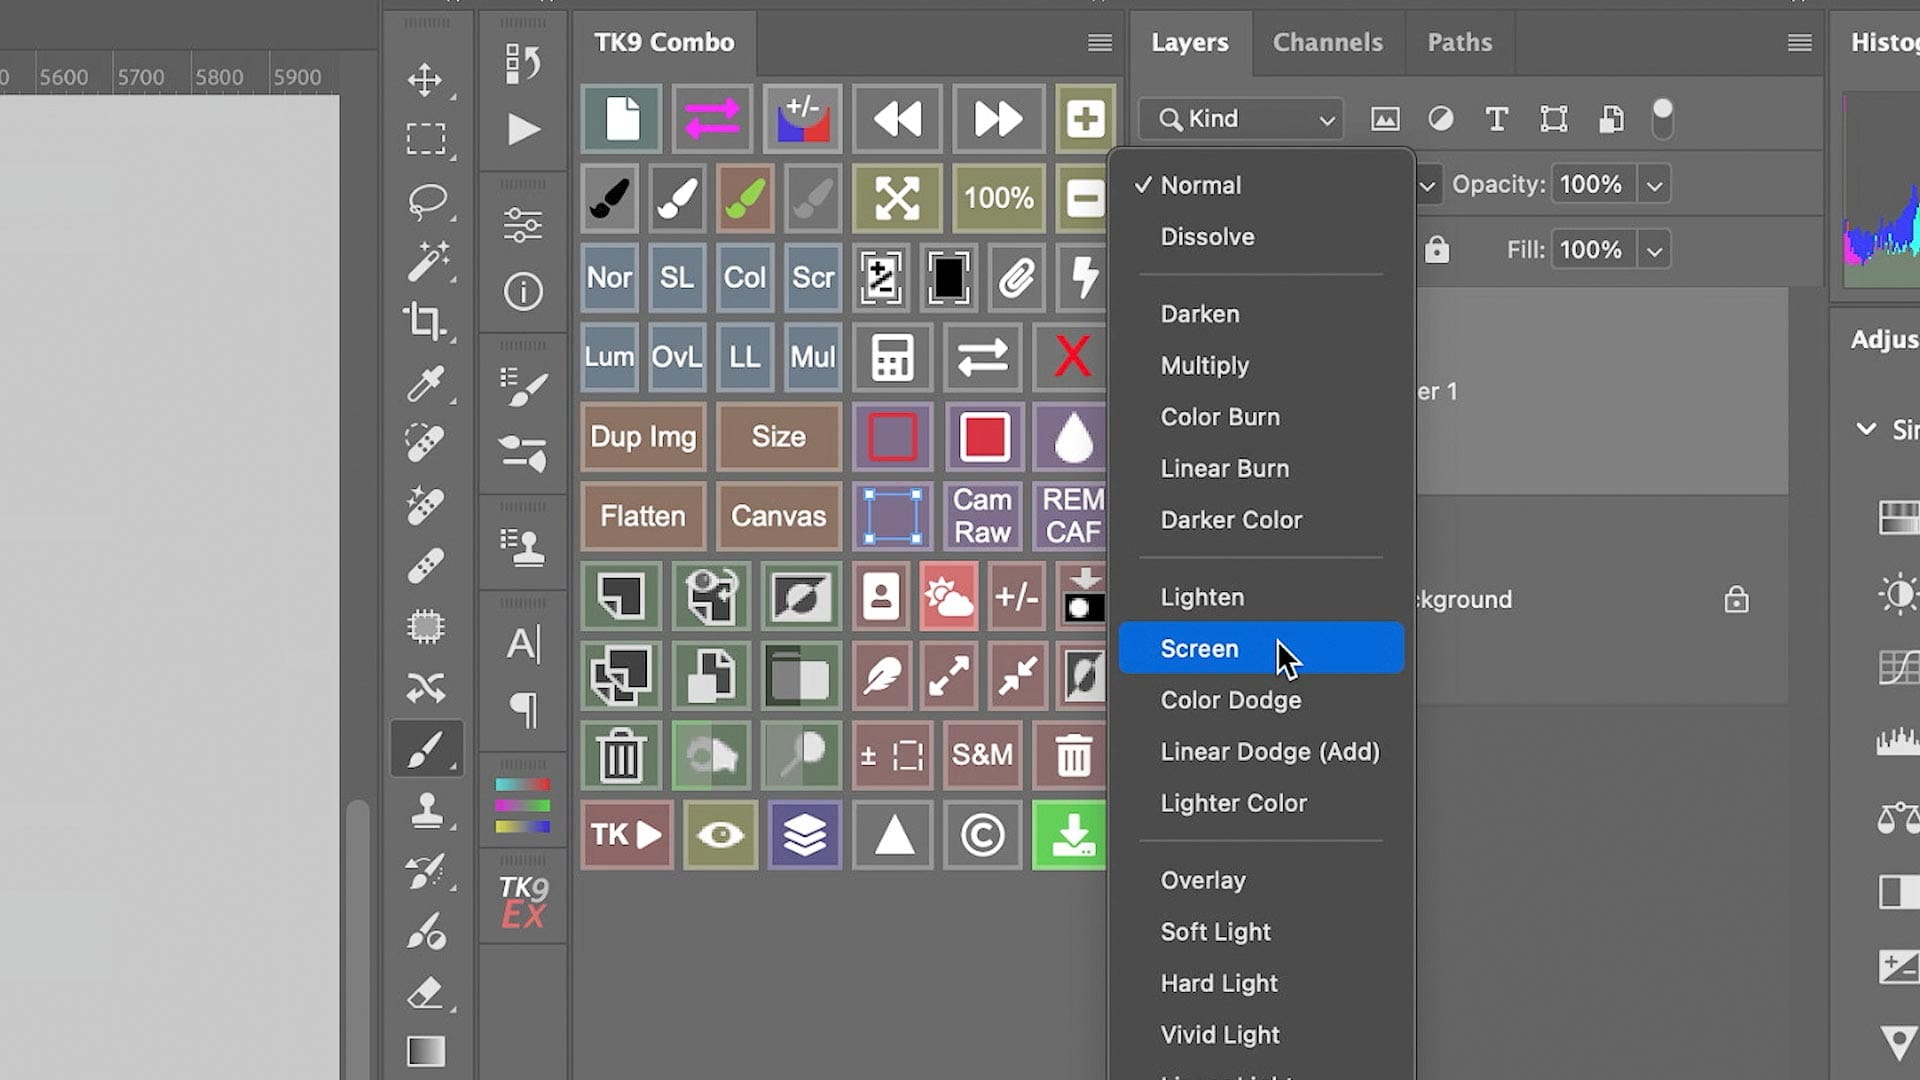
Before we dive in, some quick terminology. I'll be using the terms "blend layer" and "base layer" throughout this article. "Blend layer" is the layer that is being blended using a blend mode. "Base layer" is the layer (or layers) underneath. Also, "dodge" and "burn" are traditional photography darkroom terminology for "brighten" and "darken", respectively.
Alright, let's dive in.
Blend mode types
Open the Blend Mode drop-down at the top of the Layers panel, and you'll find a variety of options, divided into groups by lines. Each group has a similar impact on the image, with each mode providing slightly different results.
Normal blend modes — These modes are...well, normal. Blend layers assigned "Normal" or "Dissolve" sit on top of base layers without blending or bias, and only affect the image when adjusting Opacity and/or Fill.
Darken blend modes — These modes darken the base layer using the luminance of the blend layer. Options include "Darken", "Multiply", "Color Burn" and "Linear Burn" and "Darker Color".
Lighten blend modes — These modes are the exact opposite of the "Darken" group. Each mode behaves the same, but lightens instead of darkens. Options include "Lighten", "Screen", "Color Dodge", "Linear Dodge (Add)" and "Lighten Color".
Contrast blend modes — These modes increase contrast of the base layer using the luminance of the blend layer. Options include "Overlay", "Soft Light", "Hard Light", "Vivid Light", "Linear Light", "Pin Light" and "Hard Mix".
Inversion blend modes — These modes create effects by inverting colors in the base layer using the blend layer, resulting in high-contrast or surreal color shifts. Options include "Difference", "Exclusion", "Subtract" and "Divide".
Composite blend modes — These target the individual components of color, saturation and brightness in the base layer; allowing you to alter one property without affecting another. Options include "Hue", "Saturation", "Color" and "Luminosity".
Opacity and Fill settings with blend modes
"Opacity" adjusts the transparency of a layer, while "Fill" adjusts the transparency of content within the layer. Either can be used to adjust the transparency and impact of a layer, and can be used interchangeably with most modes (eg, 50% Opacity and 50% Fill produce the same result). That said, there are eight blend modes within this list where "Fill" behaves differently (and oftentimes better) than "Opacity". Here are the "Special 8" blend modes:
- Color Burn
- Linear Burn
- Color Dodge
- Linear Dodge (Add)
- Vivid Light
- Linear Light
- Hard Mix
- Difference
With these "Special 8" modes, "Fill" creates more nuanced, subtle and natural looking blends than "Opacity". I'll include a couple of examples using "Fill" with "Special 8" blends below.
Practical examples using blend modes
Blend modes can be incredibly powerful and useful once you understand how they work and how to use them effectively. I enjoy incorporating them into my workflow because they’re often faster and simpler than masks or selections, and they can create unique effects and adjustments that are challenging—or even impossible—to achieve when editing raw images in Lightroom. Here are a few of my favorite ways to use blend modes.
Add contrast to flat images
If your image is looking flat and could use extra punch in the shadows and highlights, there's a quick and easy solution to fix that:
- Add a "Curves" Adjustment layer from the Adjustments panel
- Select the "Curves" blend layer and set its blend mode to "Soft Light"
- Suit to taste with "Opacity"
This applies even, proportional contrast that looks natural and authentic, similar to a diffused spotlight. Another blend mode you can experiment with is "Linear Light". This blend mode combines "Linear Burn" and "Linear Dodge (Add)" to both darken and lighten the image. And because this is a "Special 8" blend mode, it's better to adjust the affect's strength by lowering "Fill".
Soften contrast and tonality
For high contrast images with bright whites and dark shadows, we can use blend modes to pull tonal values closer together. We can also use this to soften the tones in any image.
- Add a new "Curves" adjustment layer from the Adjustments panel
- In the "Properties" panel, select "Negative" from the "Preset" dropdown. This will flip the linear curve to 100% black and 0% white.
- Set the Curves adjustment layer to "Soft Light"
- Suit to taste by lowering "Opacity"
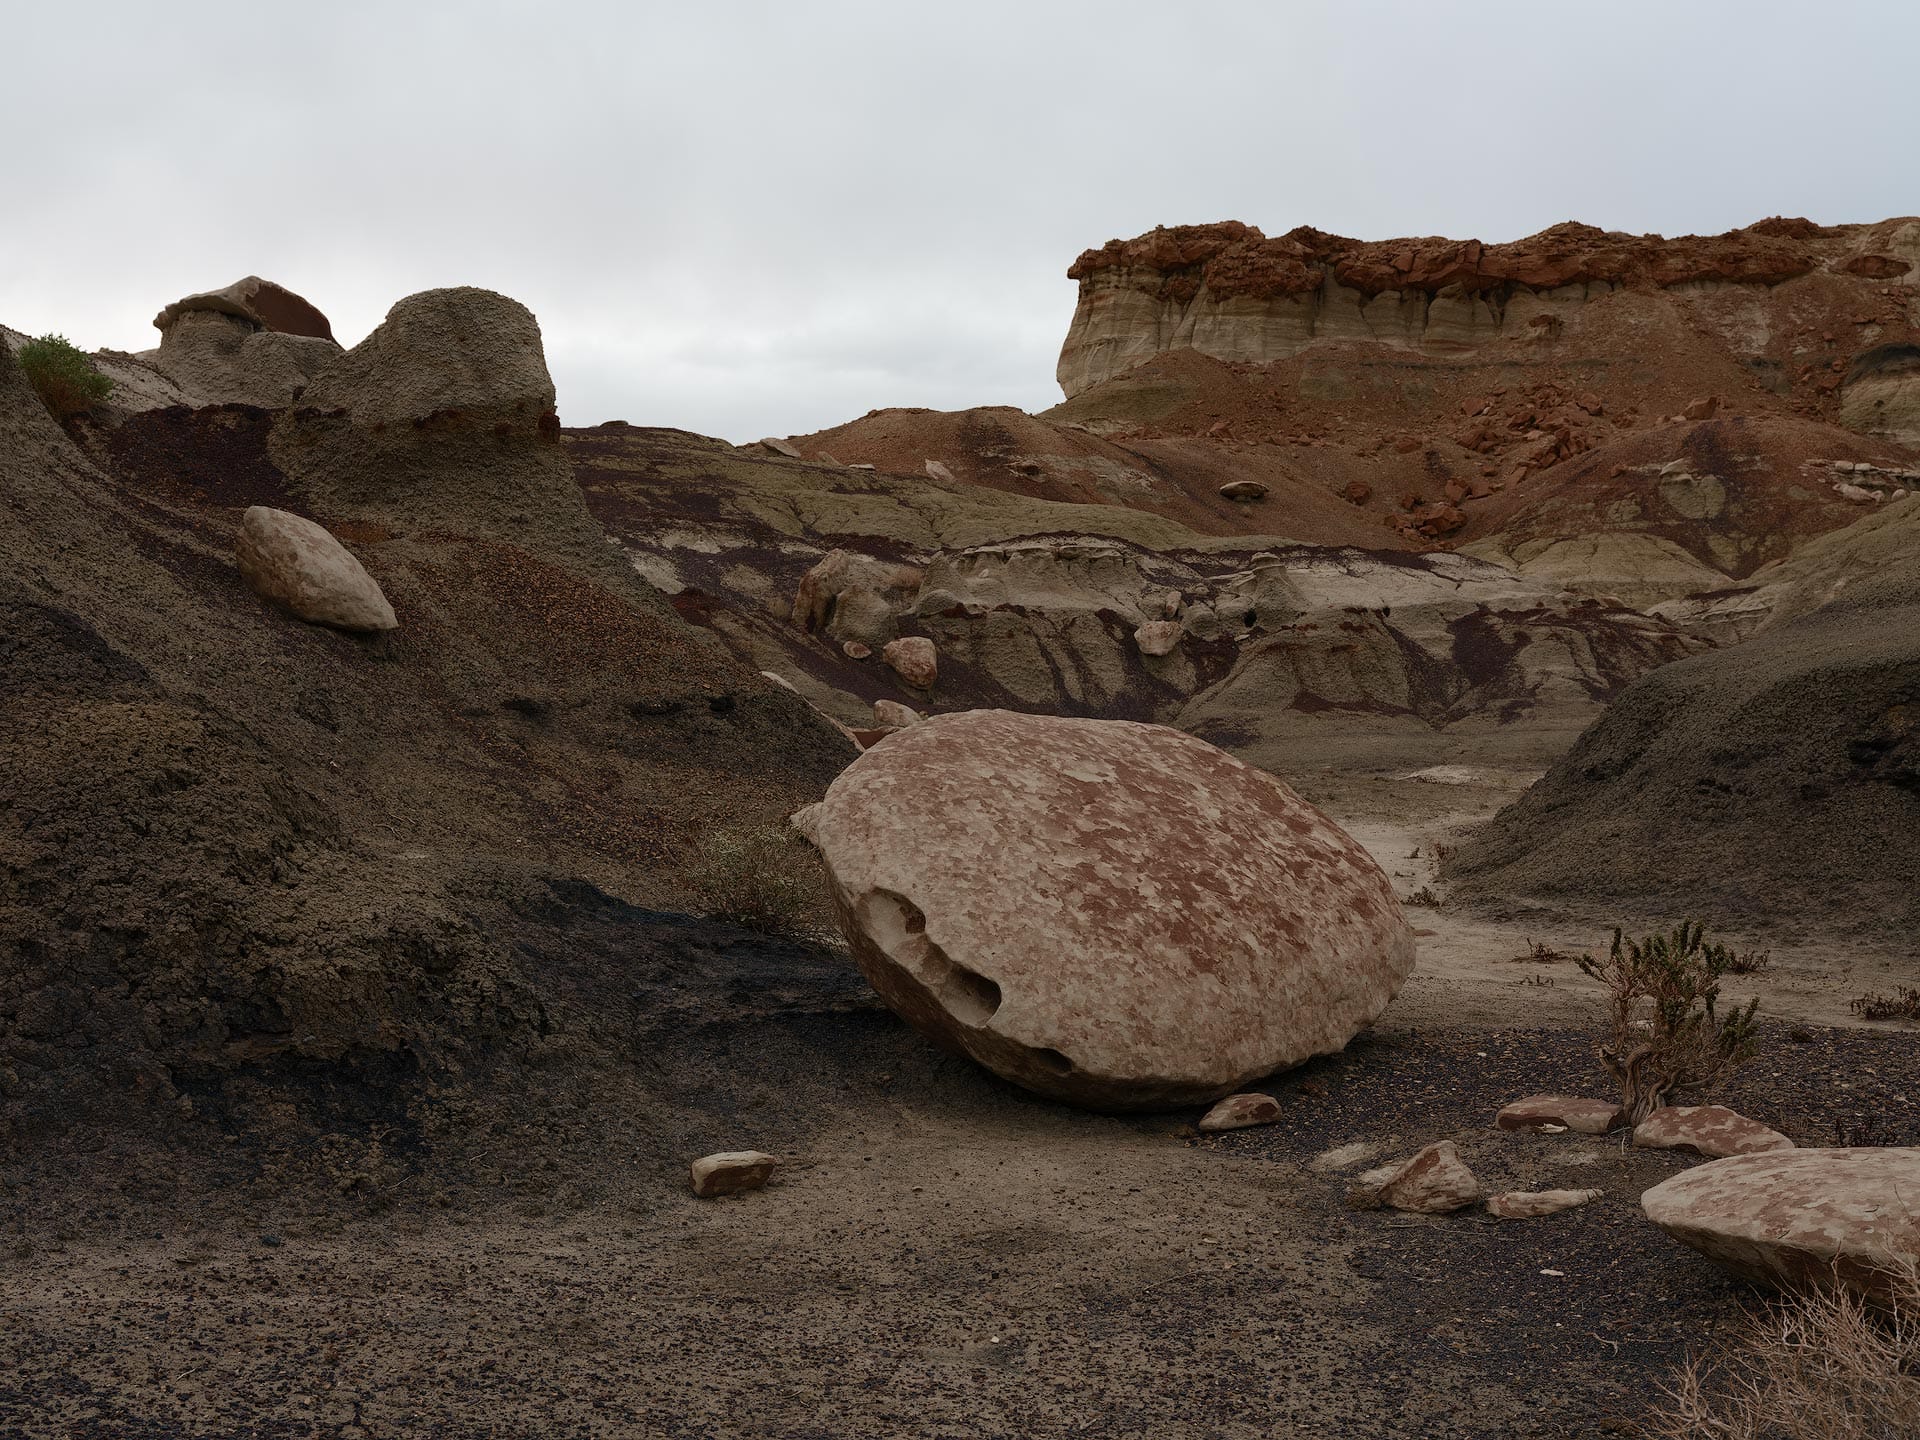
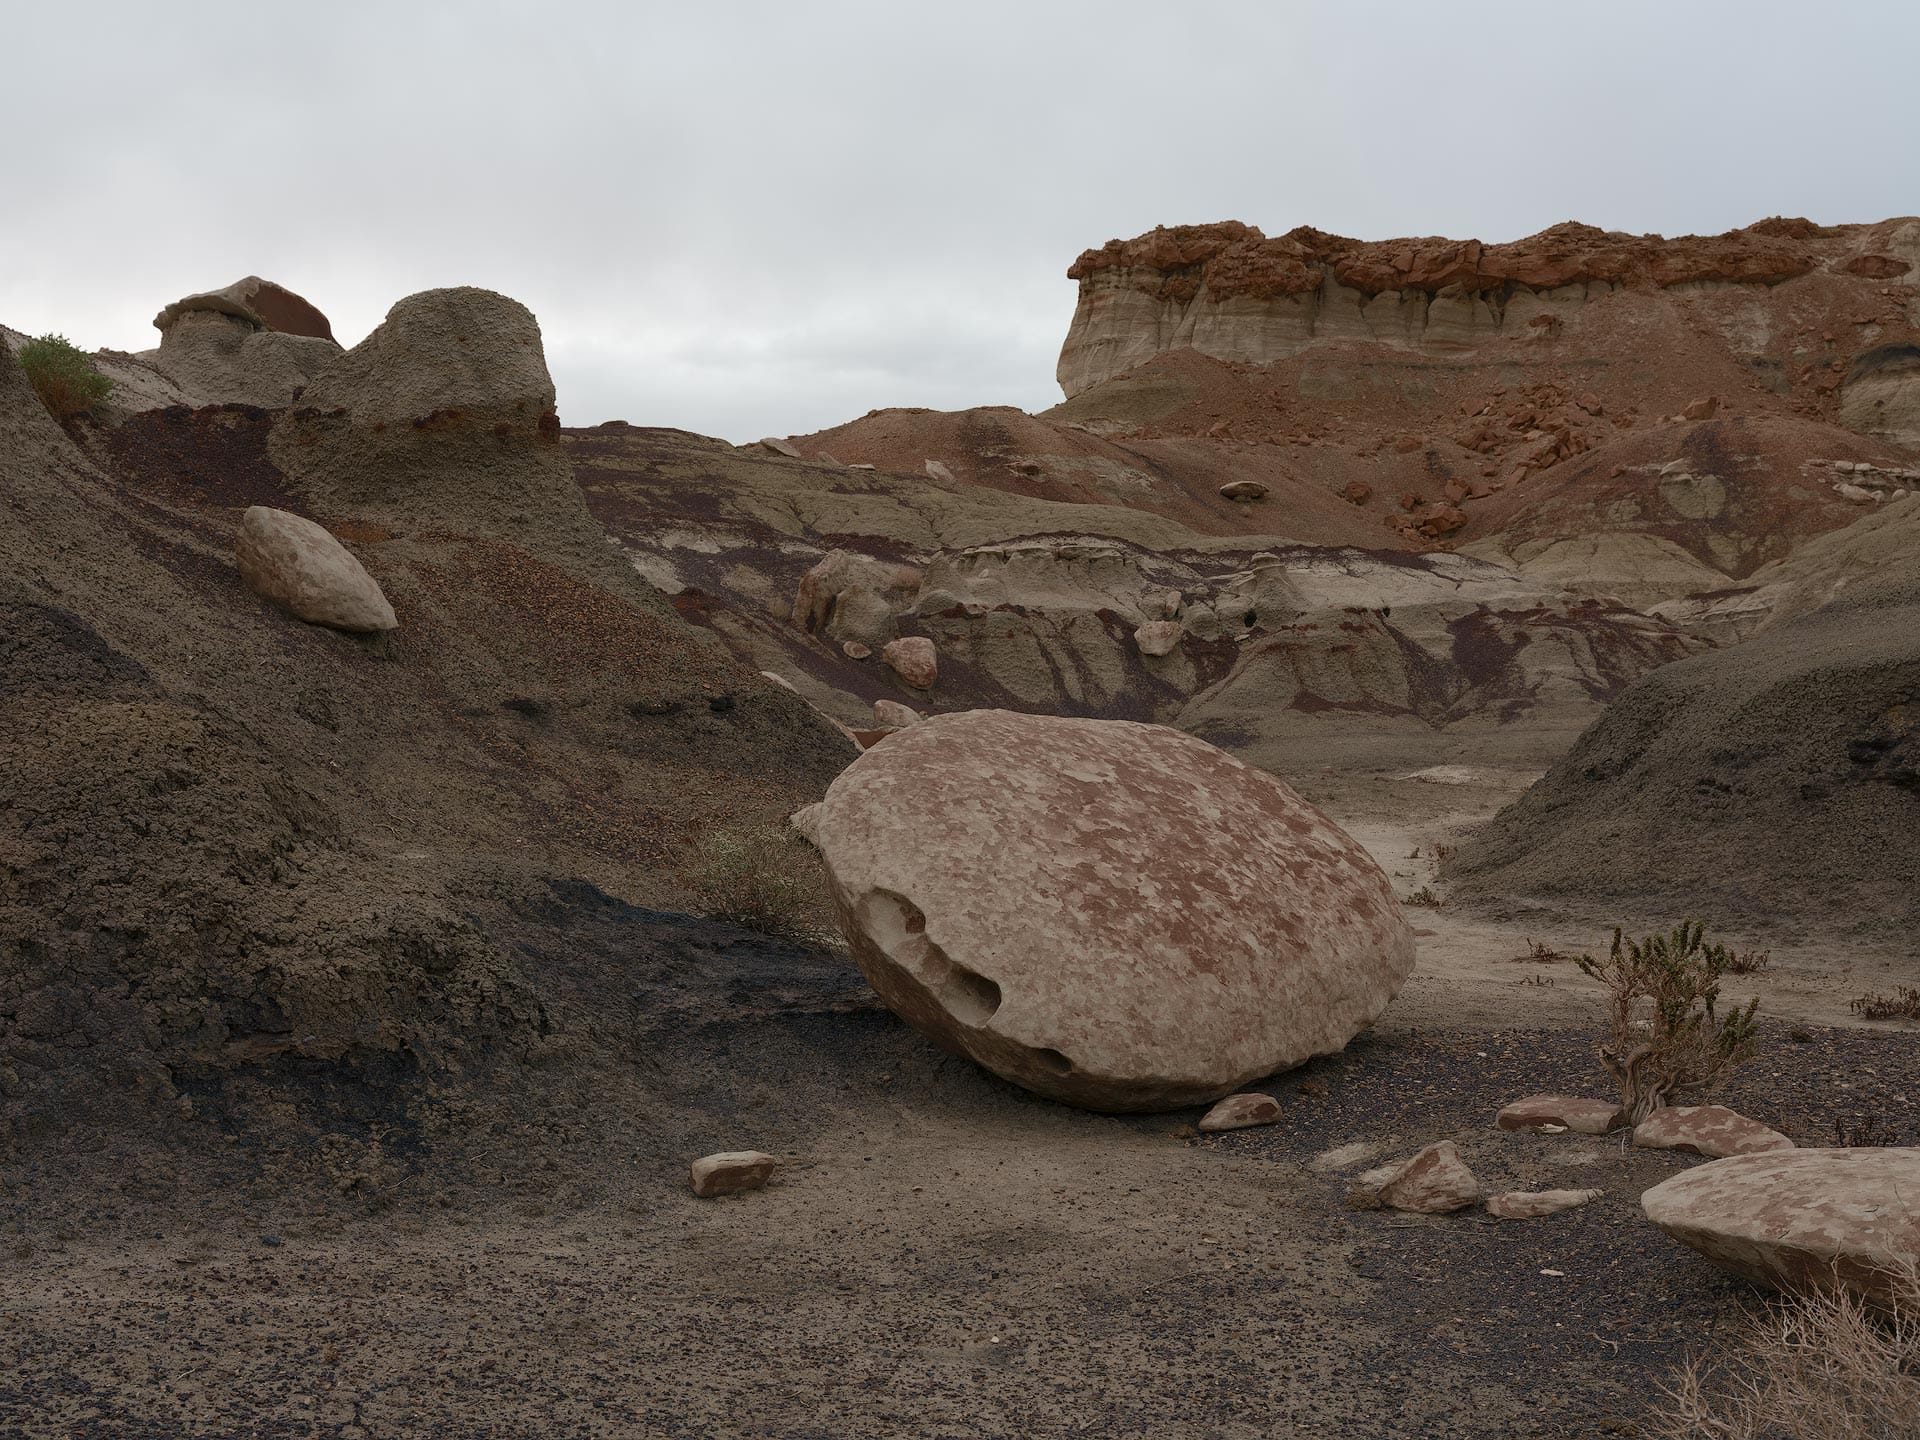
Finally, here's another option using the aforementioned "Special 8" Linear Light blend mode. Repeat steps 1 + 2 from the "Soft Light" example above, then do the following thereafter:
- Set blend mode to "Linear Light"
- Reduce "Fill" to 15%
- (Optional) Set "Opacity" to around 50%
This also brightens shadows and dims whites, but includes pure black and white (unlike the previous examples). The entire range of tonal values are affected and shifted proportionally, while also reducing color saturation.
Create dark and moody shadows with dense color
Shadows can often appear flat, gray and lifeless, especially when editing a raw file. What they need is an infusion of color that adds ummph so they appear richer and more alive. Here's one way to accomplish that goal:
- Add a "Solid Color" fill adjustment layer from the bottom of the Layers panel
- Select a dark, richly saturated color (eg, #0f1753)
- Set the layer's blend mode to "Linear Burn"
- Reduce "Fill" to somewhere between 0-20%.
This will blend the solid color into the shadows. You can also try the "Color Burn" blend mode, which produces a similar effect, though in my experience, the results often appear less natural and uneven. If too much of the effect is being applied to the midtones or brighter, you can mask the blend layer using luminosity masks or the "Blend If" sliders in the Layers Style panel.
Lift and tone shadows
This is similar to the previous example, but will brighten and tone the darkest values in an image. Here's what to do:
- Add a new "Solid Color" fill adjustment layer from the bottom of the Layers panel
- Select a bright hue that works with the color scheme of your image
- Set the Solid Color layer blend mode to "Linear Dodge (Add)"
- Decrease "Fill" to somewhere between 0-10%
The darkest tonal values are lifted, and you should notice a little extra color mixed in as well. If you want to change the color, simply click on the Solid Color layer and select a new one.
Reduce bright highlights
If you have an image with overly bright whites and highlights (eg, a landscape/outdoor image), we can use the Multiply blend mode to darken those tones and increase color density. Here's an example landscape image of mine with a bright, distracting sky.
Here are steps to address this:
- Add a new Curves adjustment layer
- Set the blend mode to "Multiply"
- Double click in an empty area of the active layer to open the Layer Style panel
- Hold down the Alt (Windows) or Option (Mac) key, click the right half of the black "Underlying Layer" slider, then move it to the right and find the sweet spot so only the highlights are affected. Click OK when done.
- Suit to taste by adjusting layer "Opacity"
With this, highlights should now appear dimmer, richer and more colorful. With some images, this approach can look better and more natural than the "Highlights" slider in Lightroom which can make bright tones grayer and less saturated.
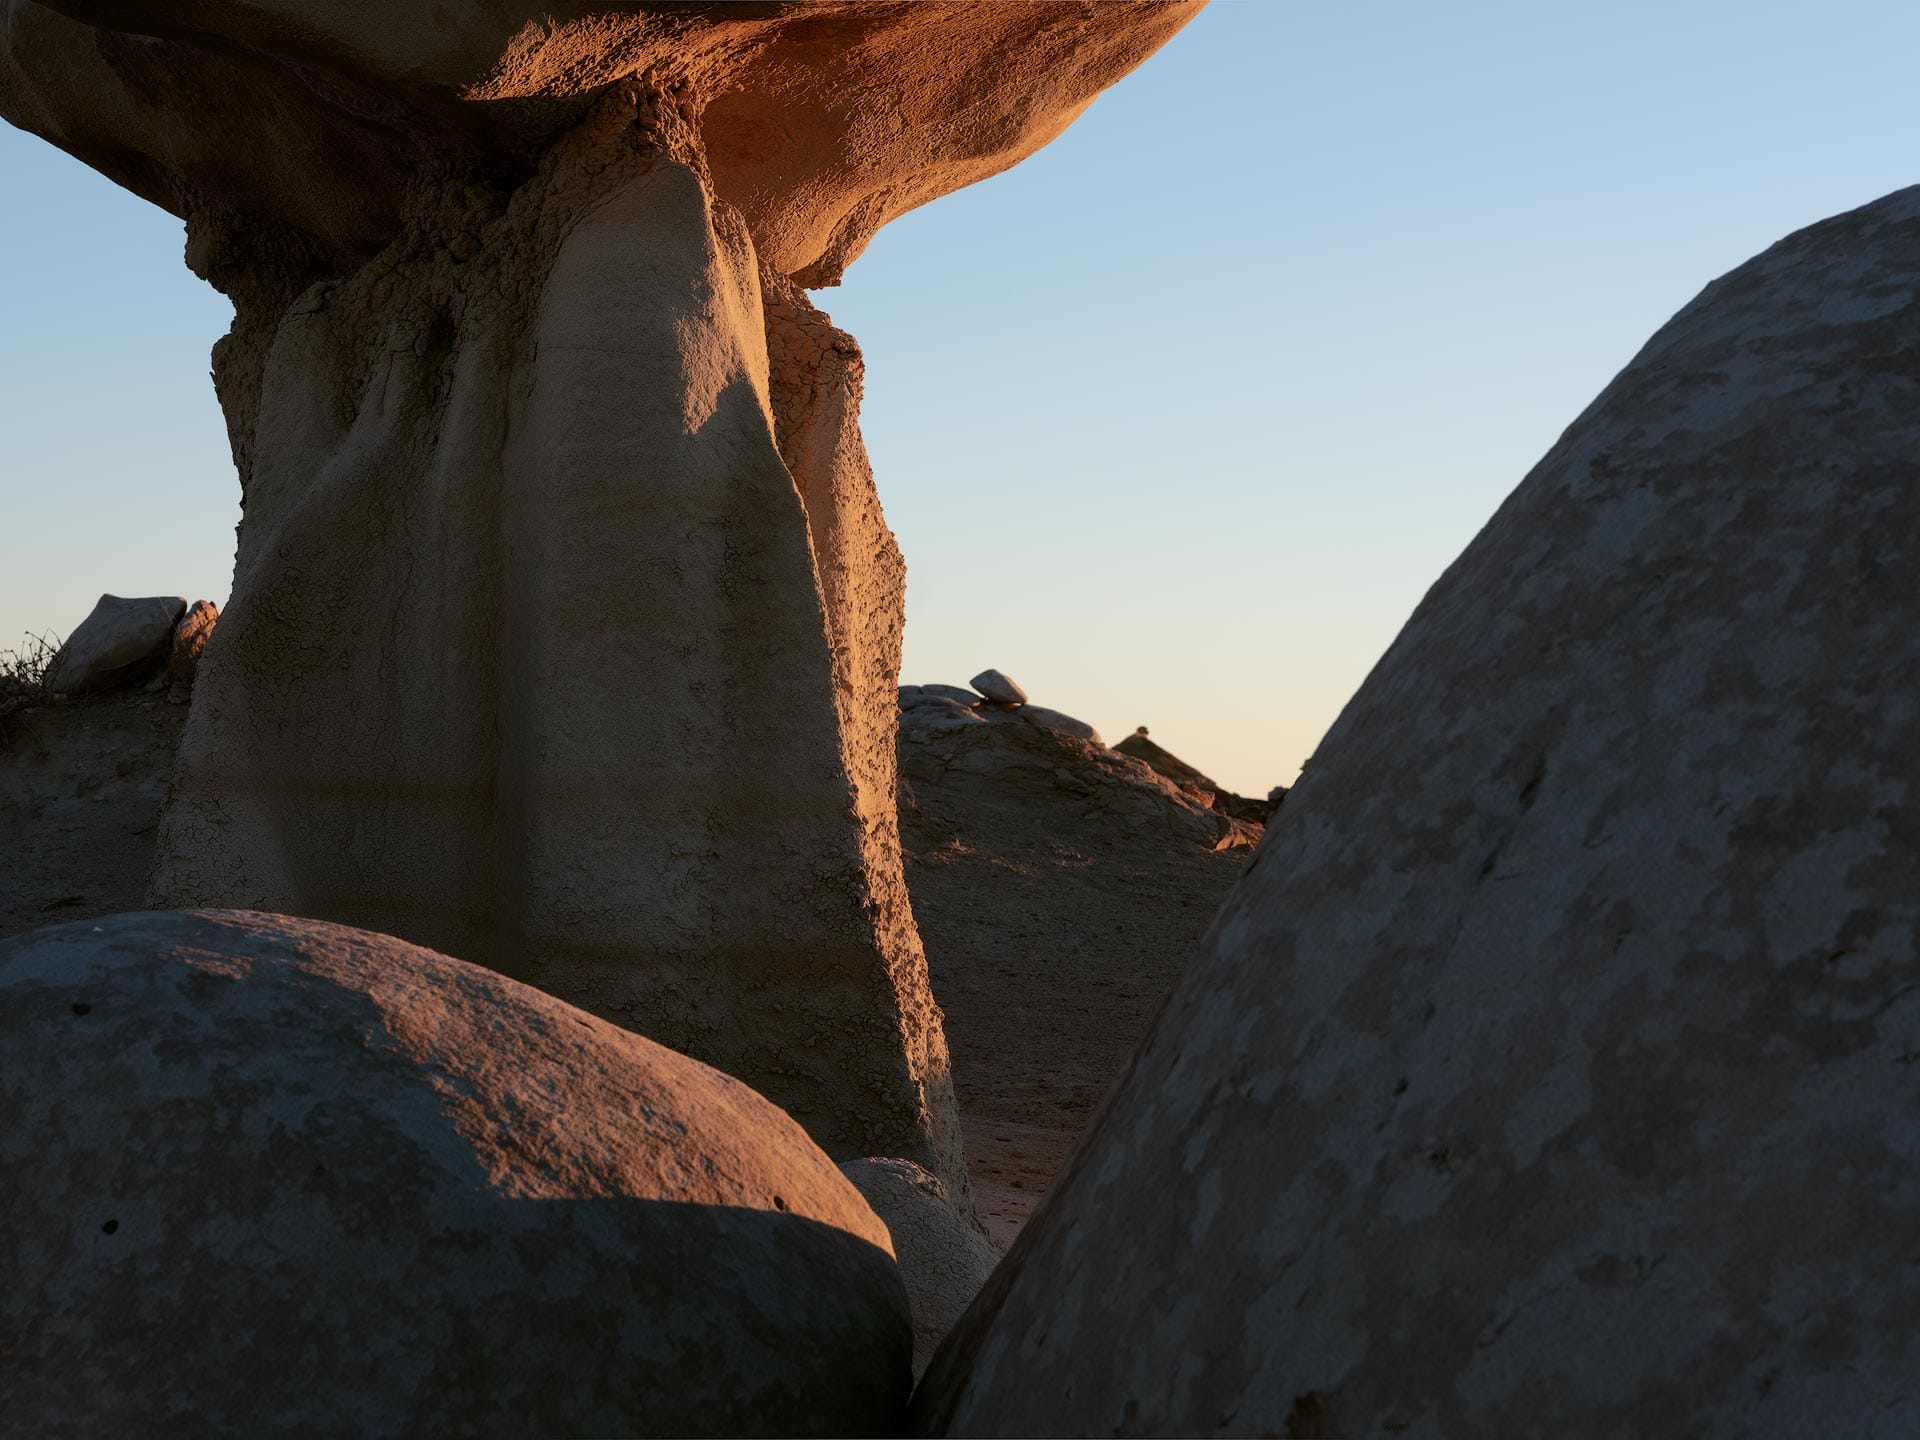
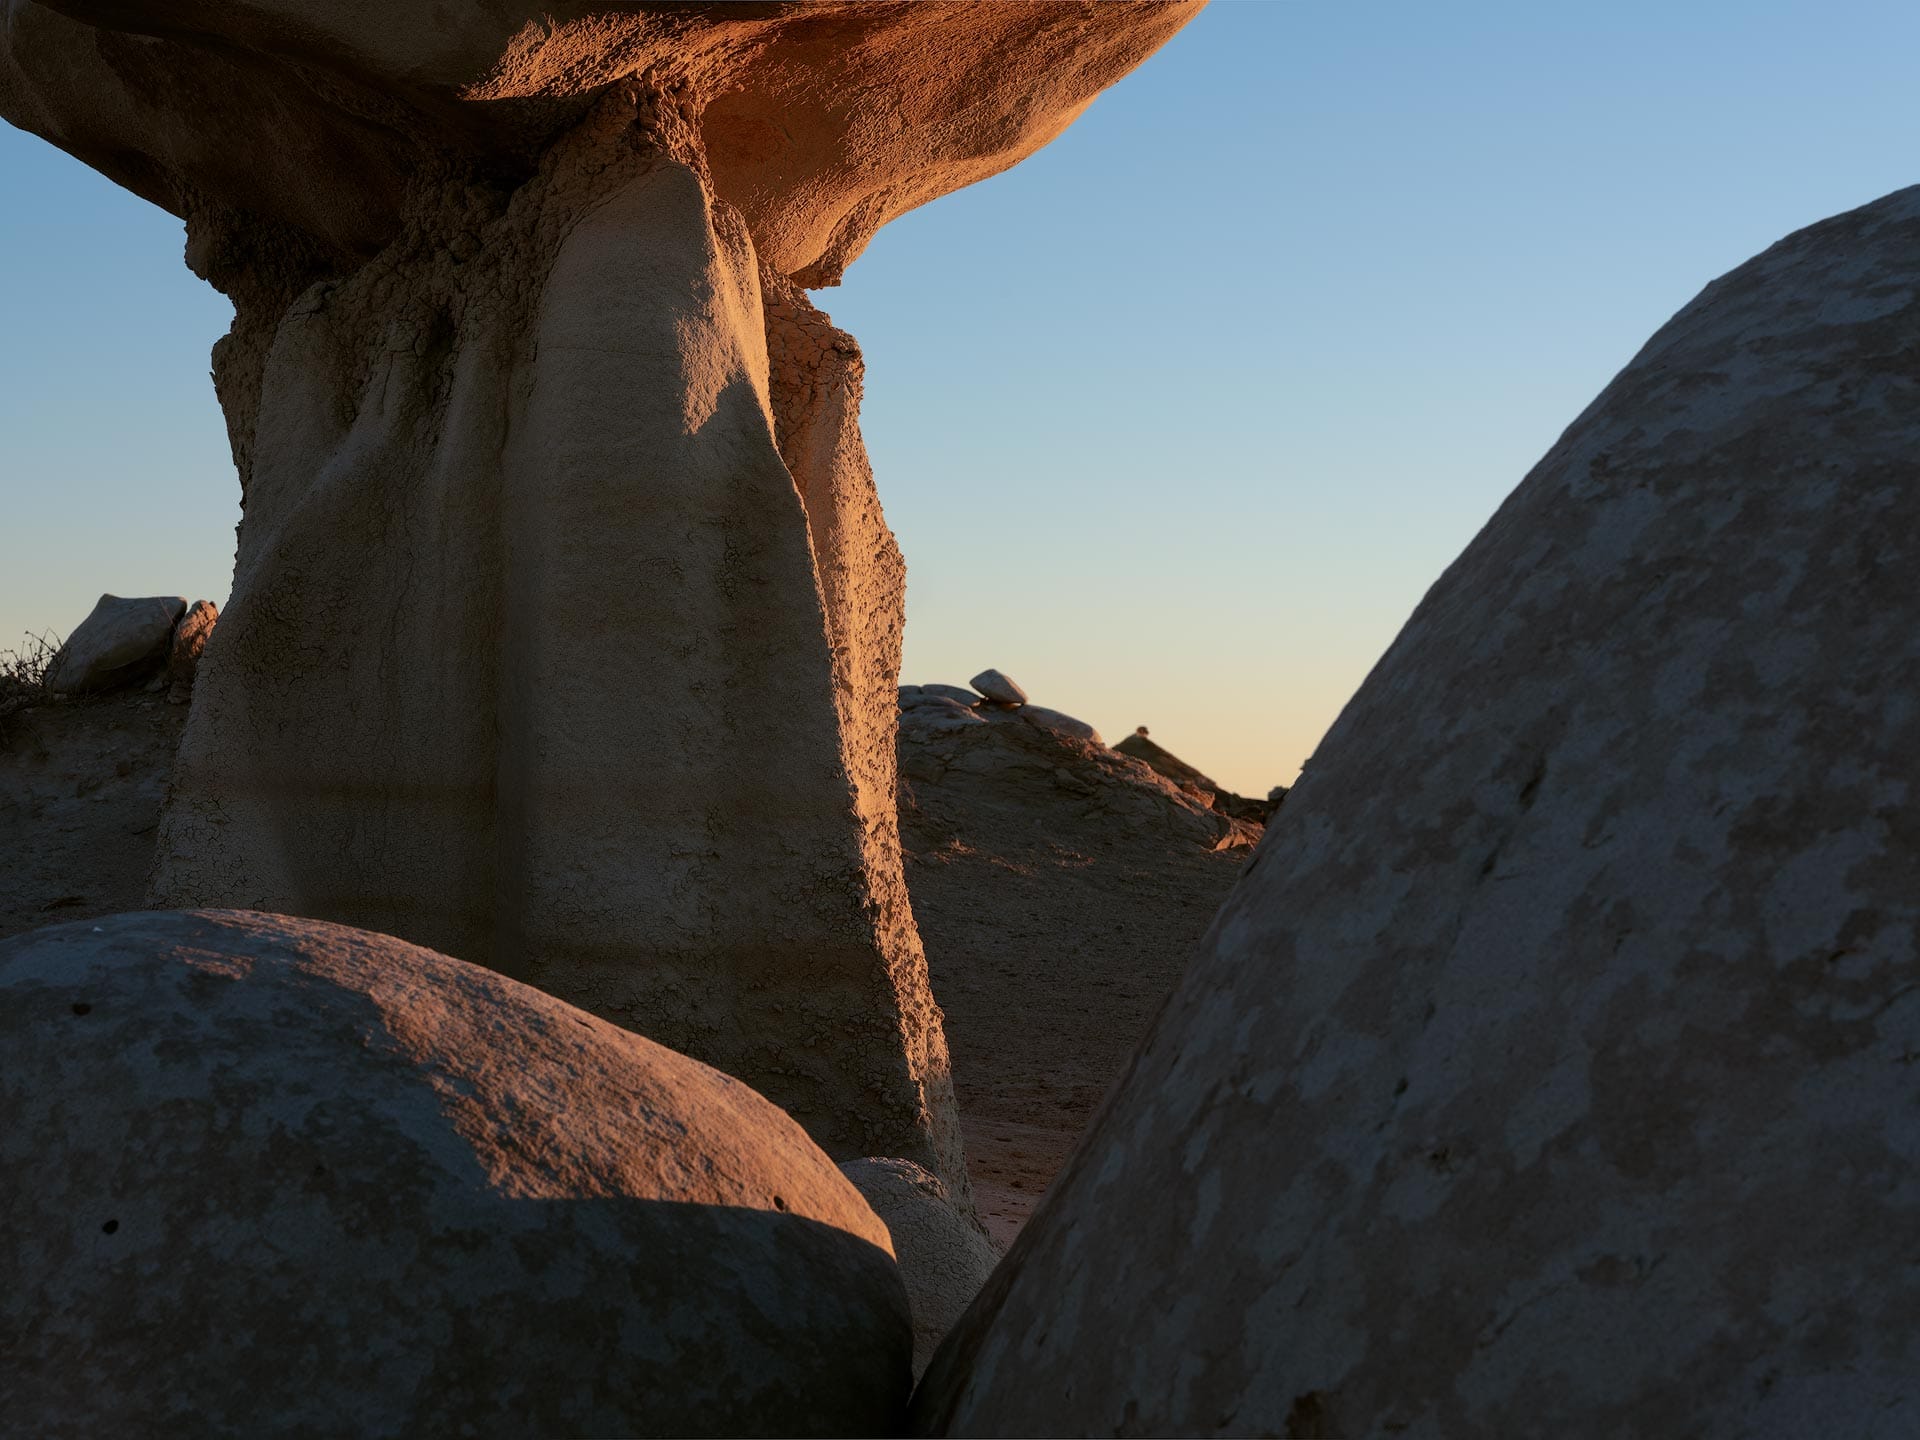
Note that we can also use "Multiply" without a "Blend If" adjustment to darken the entire image. This can be helpful when you have an overexposed image that needs to be uniformly darker. And of course, you can adjust "Opacity" or adjust the curve itself to suit your needs.
Tone an image with a soft, filmic look
Toning is a hallmark characteristic of color analogue film, and likely one of the reasons why people naturally gravitate towards it (as opposed to the literal, accurate look of digital). For example, Kodak Portra has cool blue/teal shadows and yellow/peach highlights, Kodak Ektachrome has warm, magenta tinted shadows and blueish highlights, etc. You can do the same thing using the Color Grading wheels in Lightroom (or any other photo editor), but there's a much simpler way to get a similar look using blend modes in Photoshop. Try out the following.
- Create a new "Solid Color" fill adjustment layer (from the bottom of the Layers panel)
- Assign a deep, richly saturated color (eg, #040d46 for a purple-blue hue)
- Select the fill adjustment layer and set blend mode to "Exclusion"
- Drop "Opacity" to around 50%
Notice what's happening here. Contrast is softened across the full range of tonal values (including pure black and white), and a complimentary color scheme has been applied. Black and dark shadows are toned with the deep, purple-blue hue, while brighter values are toned with a warmer, yellow-y hue. The colors aren't exact mathematical compliments, but they feel complimentary. And you can easily change this solid color to other hues to try out different schemes.
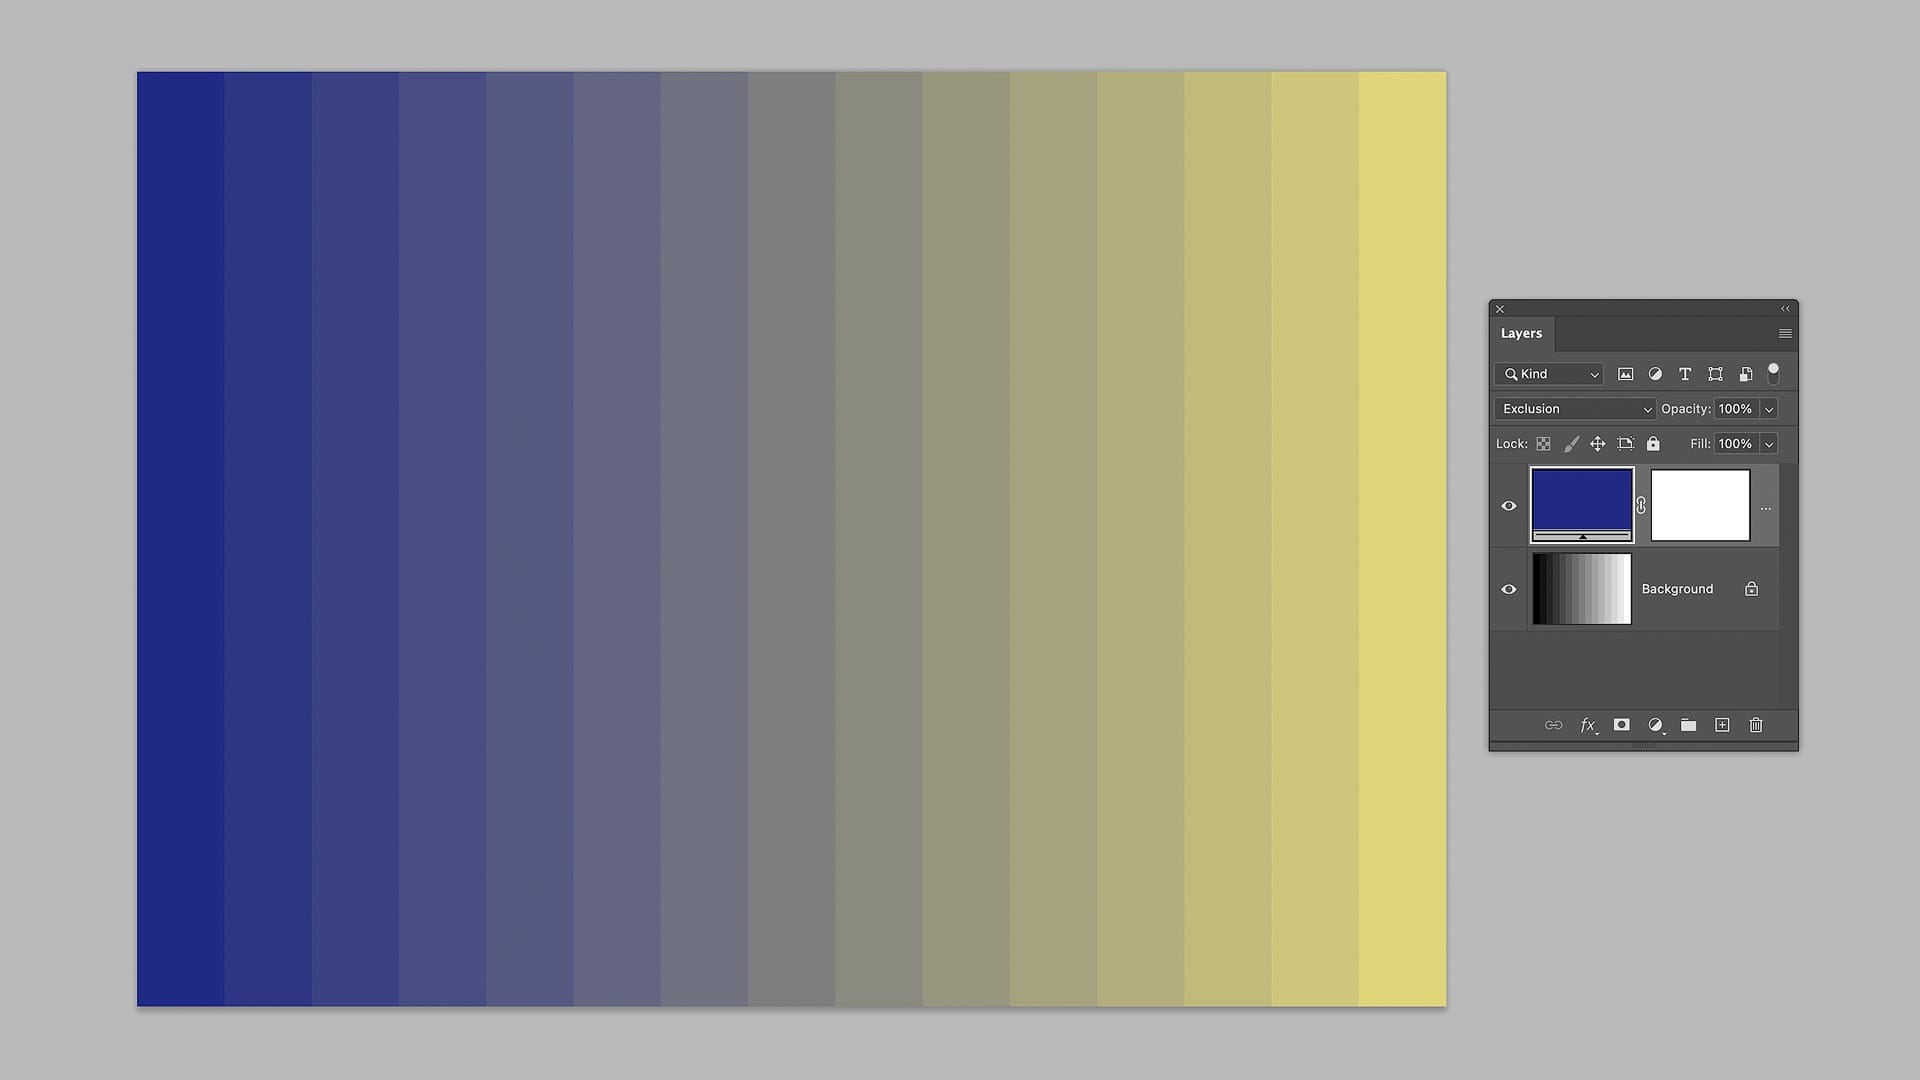
This technique is great for establishing visual harmony between a collection of images and tying them together with subtlety. The images feel more related and connected with one another, but in a non-obvious way.
Add glow and softness to highlights
There are numerous methods for adding an "Orton Effect", an editing technique that blurs and brightens highlights to make them appear more luminous. More glowy and less exact, like you'd see with sunlight in the real world. Here's a quick way to add this effect using layer blend modes:
- Duplicate the base image layer
- Blur the duplicated layer using Gaussian Blur (Filters > Blur > Gaussian Blur / around 20 pixels should do the trick)
- Change the duplicated layer blend mode to "Lighter Color"
- Drop "Opacity" to around 0-20%
This blend mode composites the brightest pixels from the duplicated layer into the base layer, but ignores shadows and blacks, so the blur effect is only applied to the highlights (to better simulate sunlight). Experiment with different Opacity settings, and try shifting the hues warmer in the duplicated layer to better simulate sunlight.
Add sparkle to highlights
If your image is lacking sparkle in the high-end (tonal values above 50% gray), we can easily brighten those values in a natural and controlled way. Here's how:
- Duplicate the base layer
- Select the duplicated layer and invert it (Image > Adjustments > Invert or Command/CTRL + I on your keyboard)
- Set the duplicated layer blend mode to "Divide"
- Suit to taste with the "Opacity" slider
What we're doing here is dividing pixels in the base layer by pixels in the blend layer. And because we're using an inverted version of the base image, the changes appear organic and natural (because we're masking and selecting pixels using data from the image itself). This technique is great for emphasizing the "treble notes" to add texture, clarity and contrast.
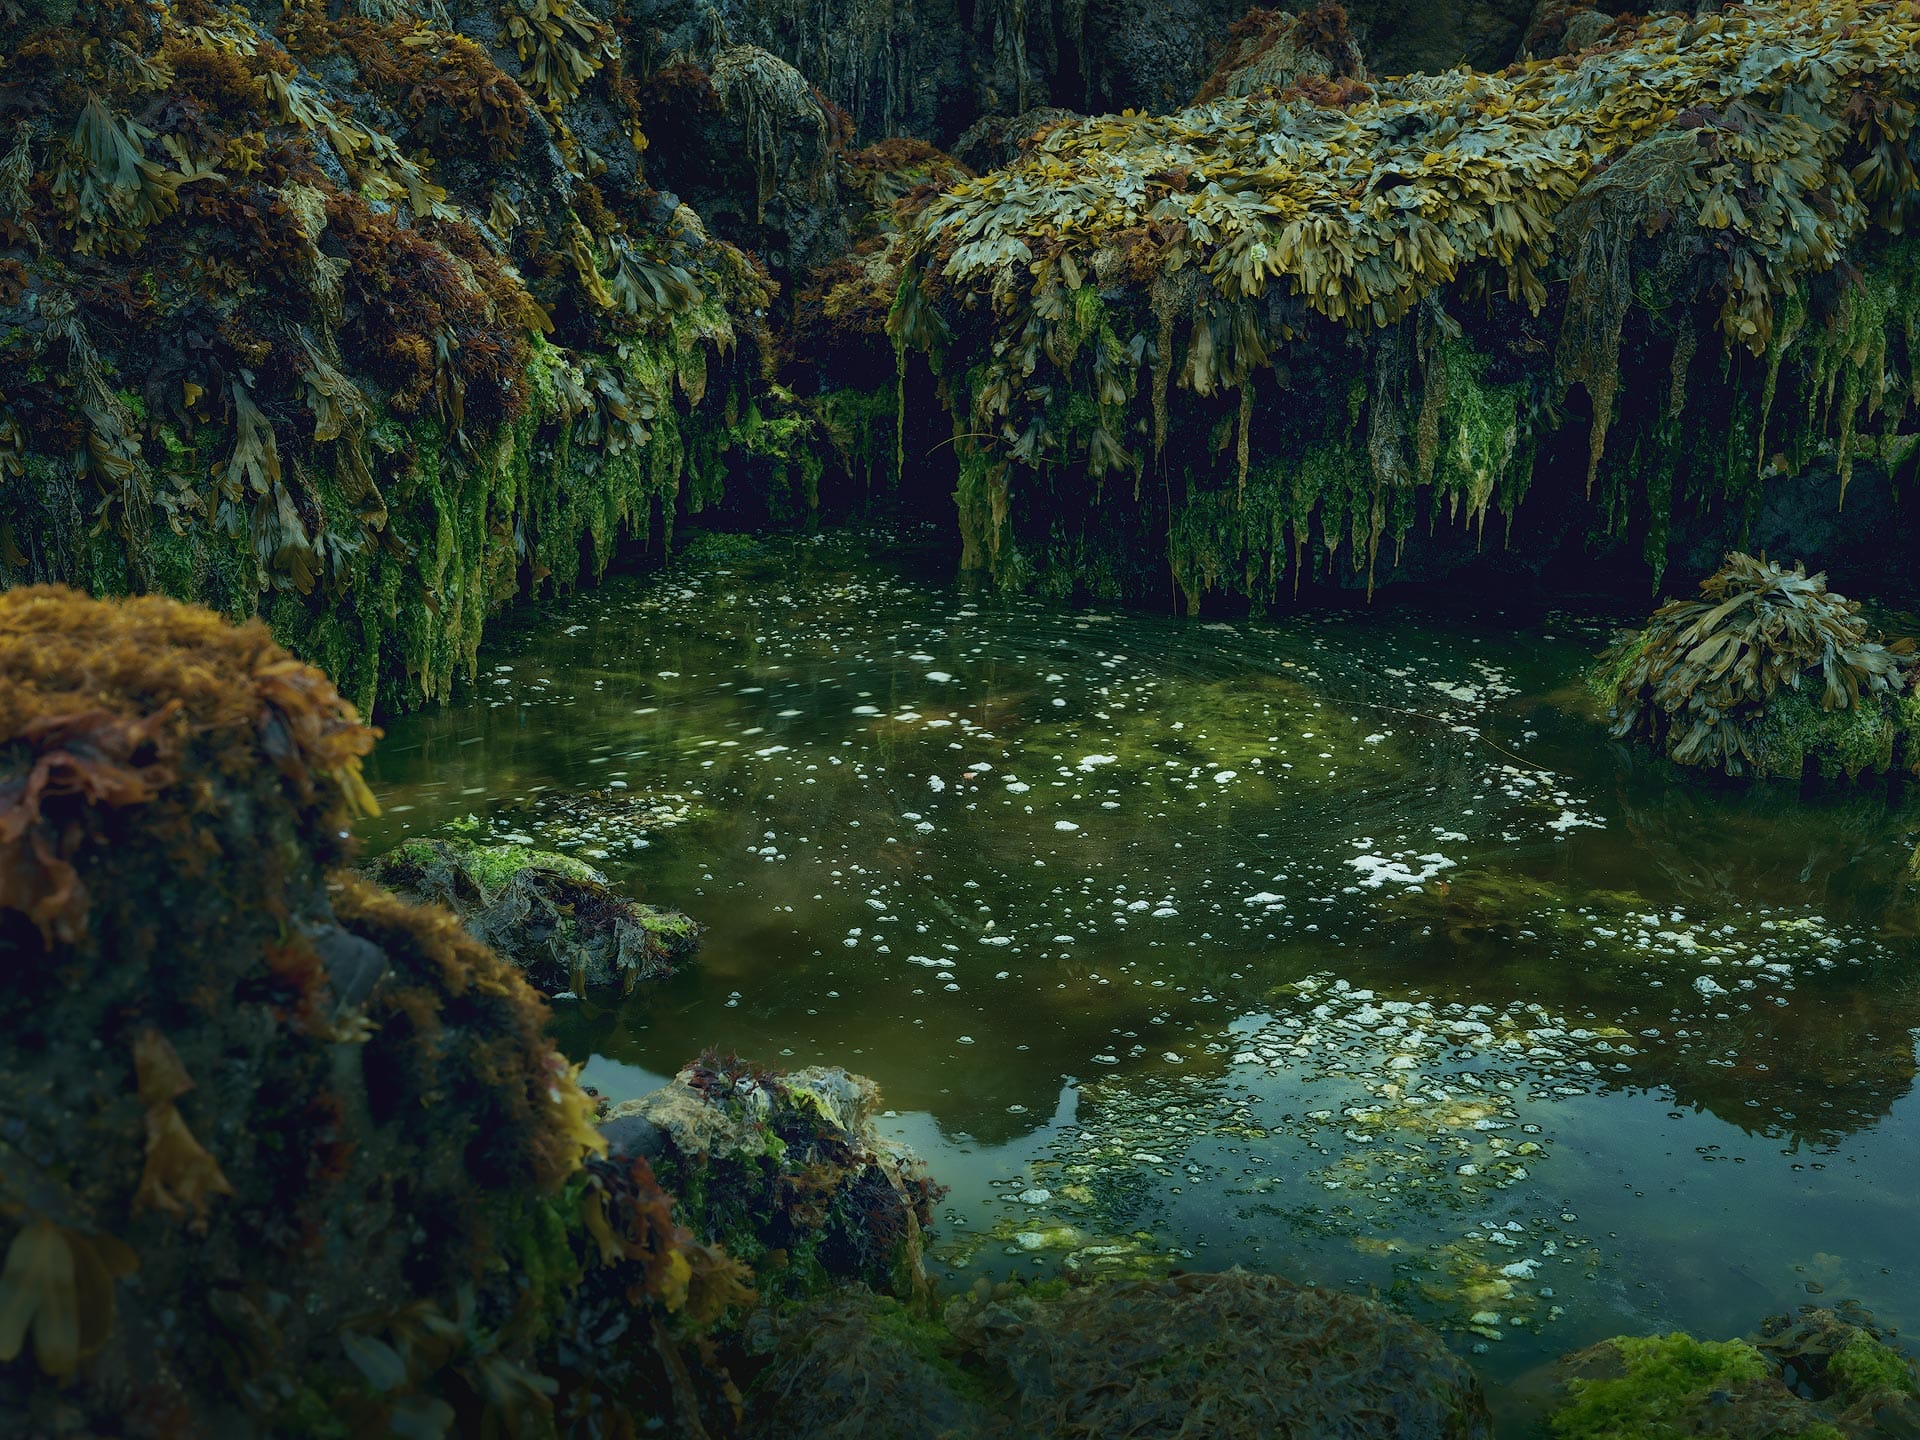
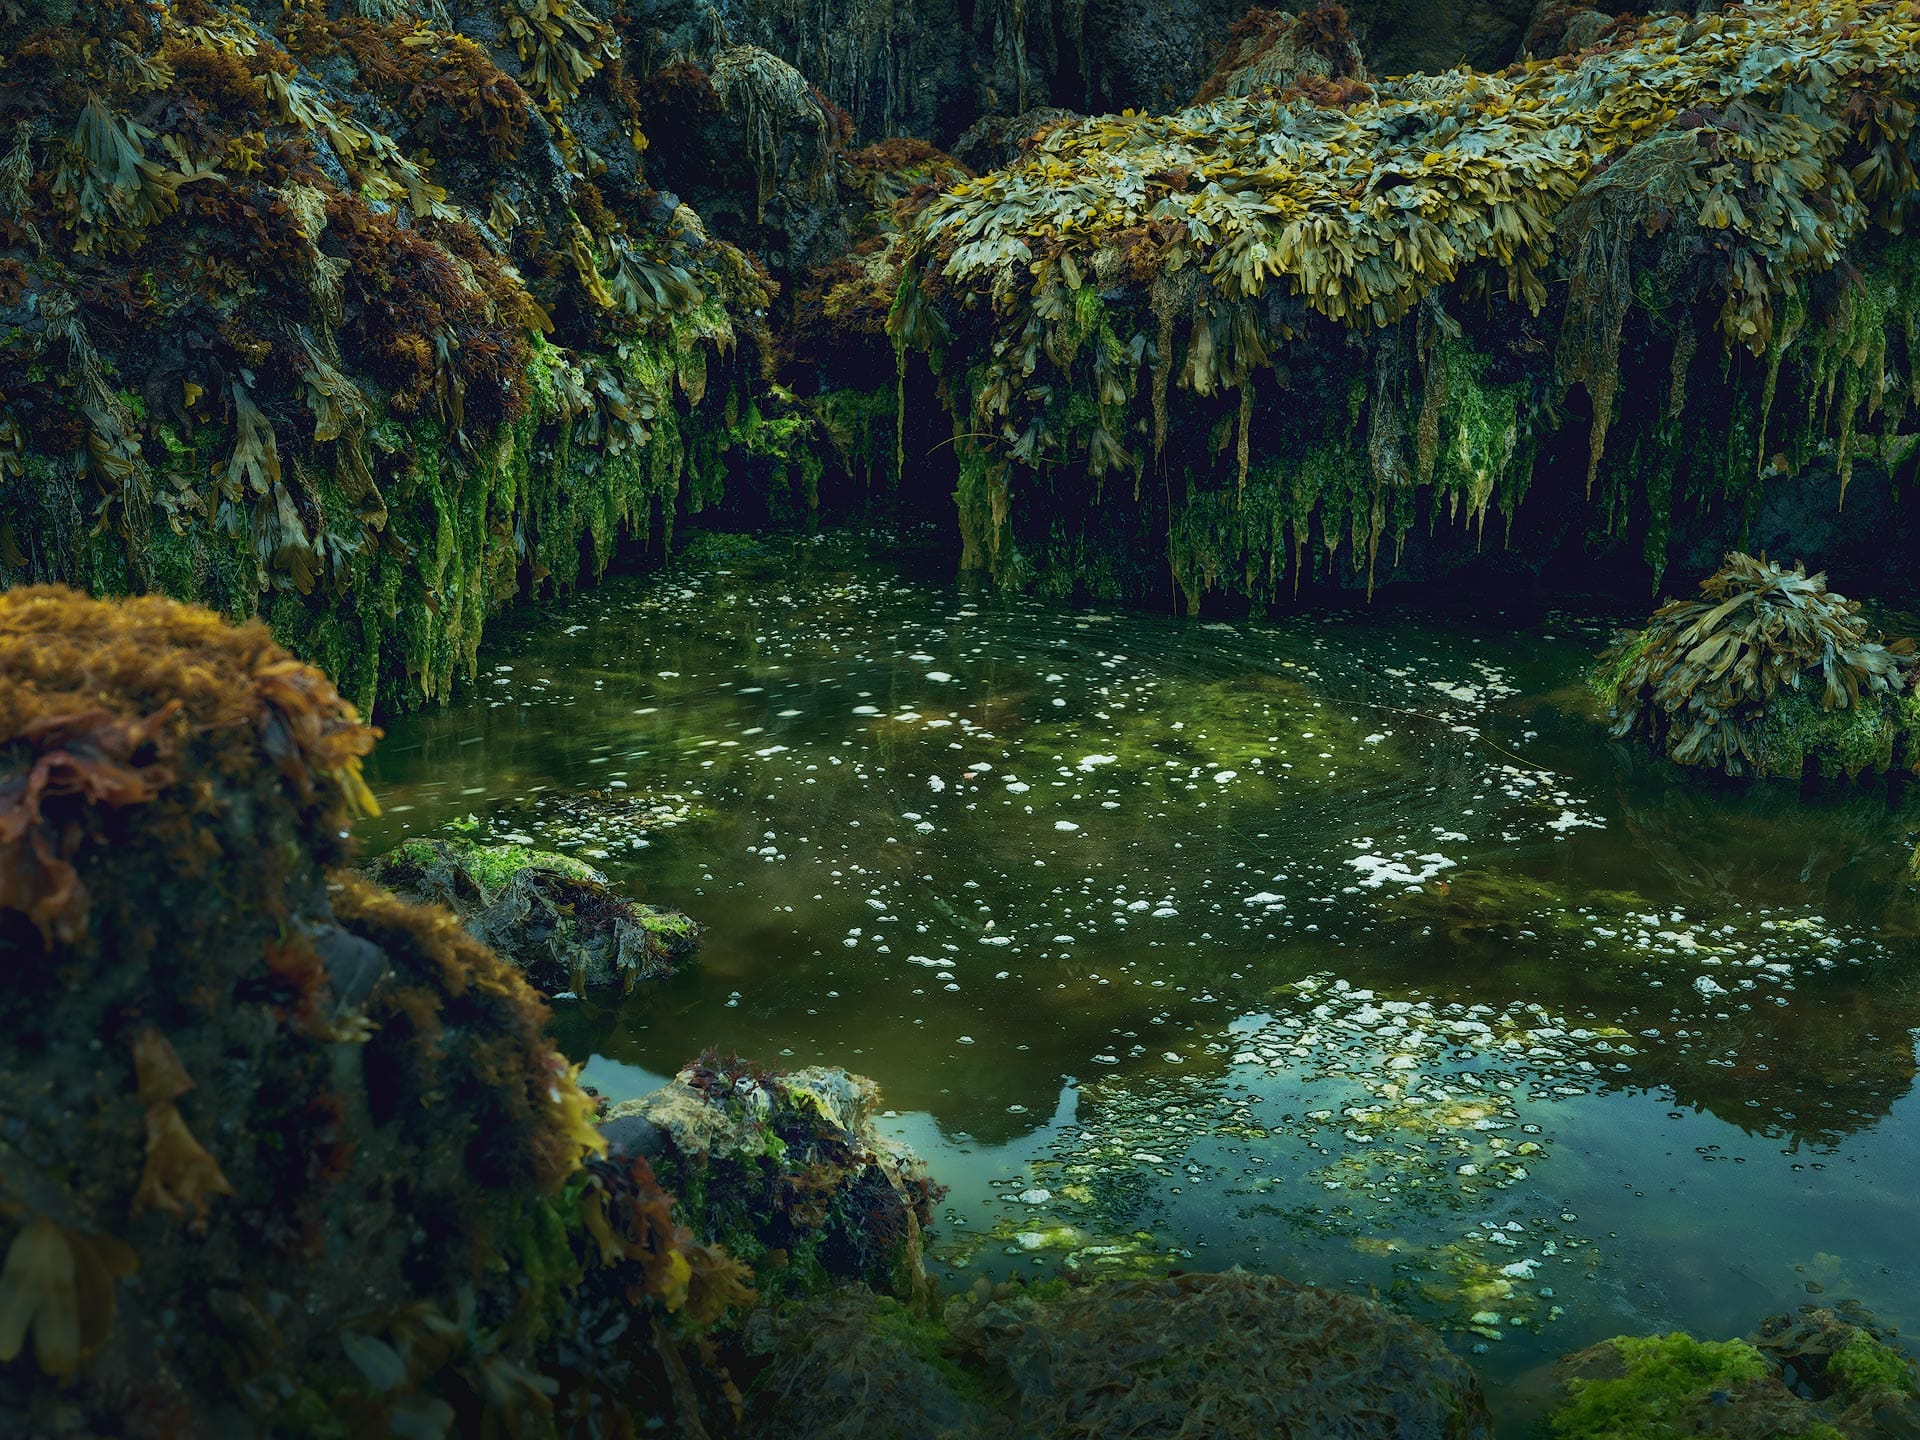
And by the way, you can also use this to diminish highlights and flatten contrast by applying the "Subtract" blend mode set to a lower opacity.
Summary
These examples barely scratch the surface of what's possible with layer blend modes in Adobe Photoshop. I highly recommended experimenting with them to find additional methods that help you achieve your creative goals.
One final tip: With Adjustment layers like "Curves", "Levels" and others, Photoshop now allows you to save these layers as presets. Simply add an Adjustment layer, modify as needed, then add it to "Your presets" at the bottom of the Adjustments panel.


