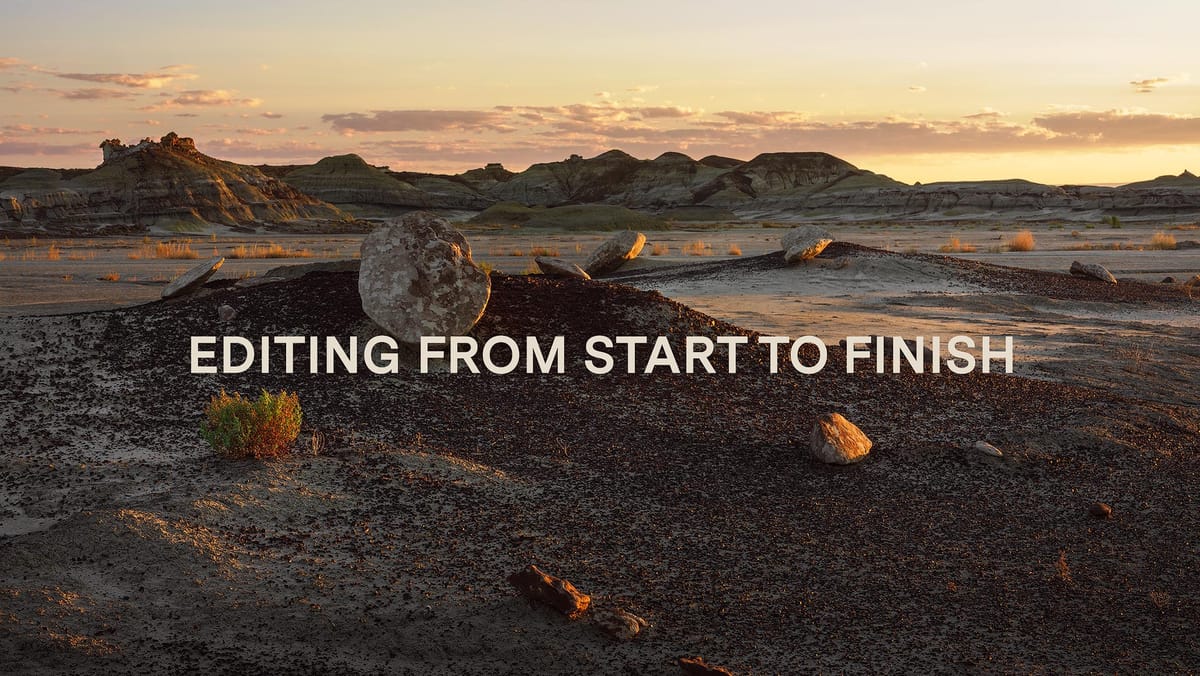
Editing a landscape image from start to finish
Step by step walkthrough of how I edited a landscape image from New Mexico using Adobe Lightroom and Photoshop
Recently a viewer of my YouTube channel reached out, asking if I would create a video demonstrating my complete photo editing workflow from start to finish. While I've produced many tutorials on specific editing tools and techniques, it's been a while since I've shared a comprehensive walkthrough of one of my landscape images.
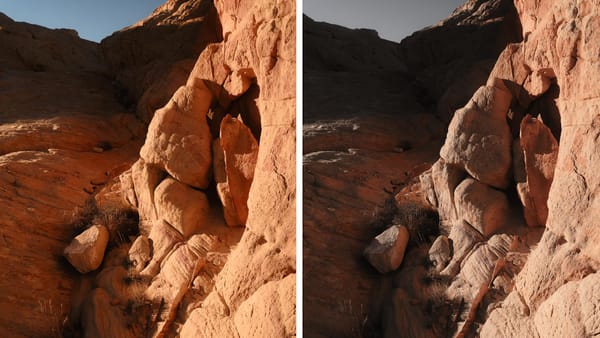
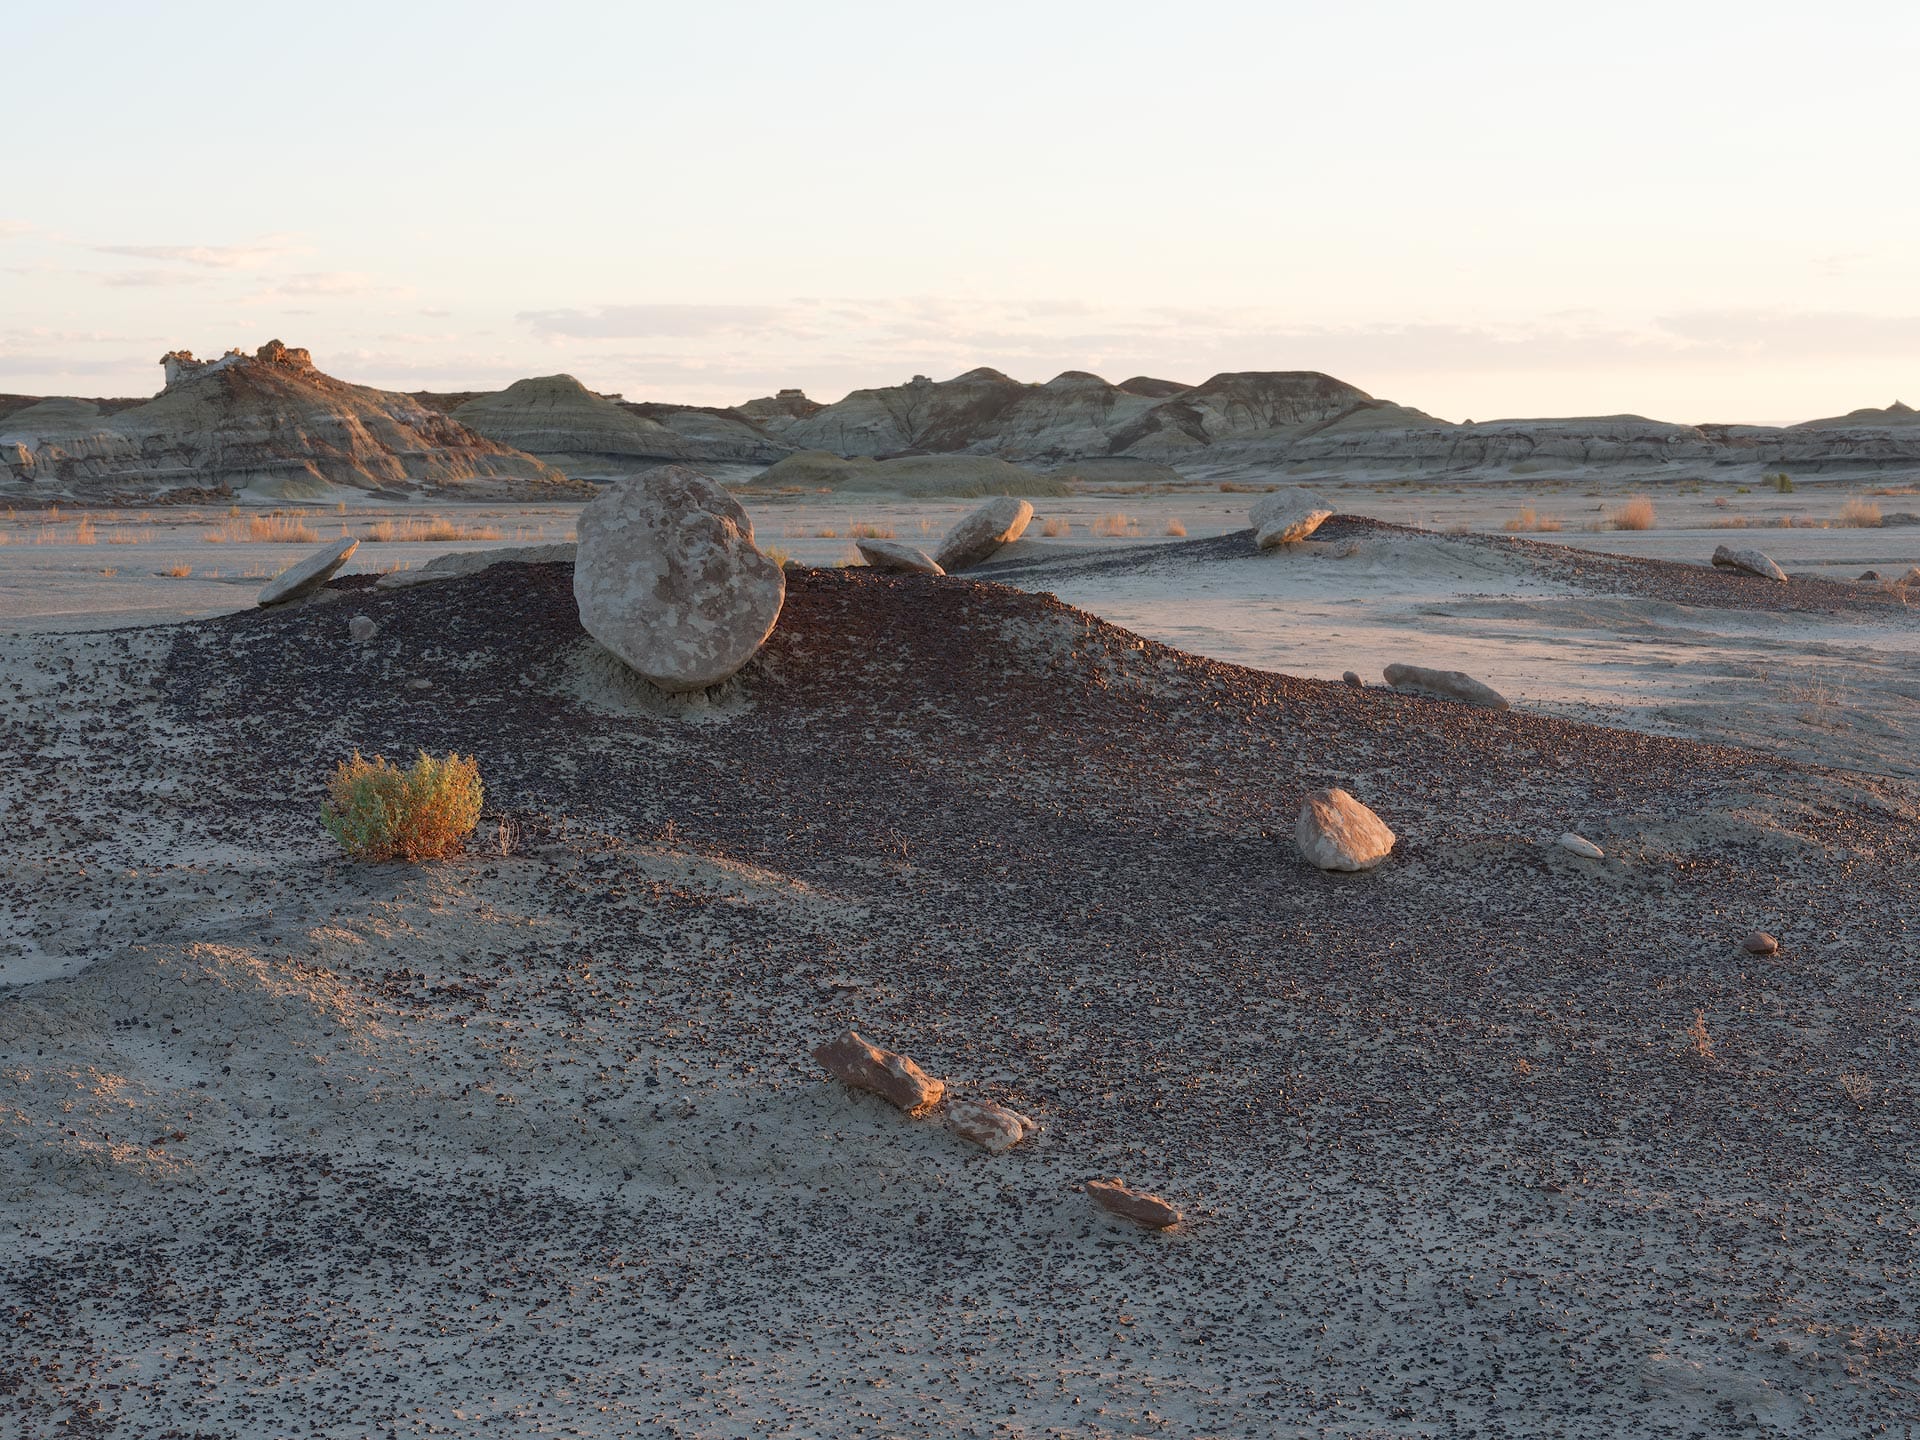
Here's a before-and-after of the image from the video, captured at twilight in one of my favorite New Mexico landscapes. I chose this example because it demonstrates what I strive for, where most of the work is done in-camera under good lighting conditions. All a raw image like this then needs is tonal balancing, contrast, a few small hue adjustments, plus some light dodging and burning to bring it to life.

My editing process has evolved over the past couple of years. I used to edit all my raw images in Lightroom Classic until they were 90% complete, then switch to Photoshop for final cleanup and sharpening.
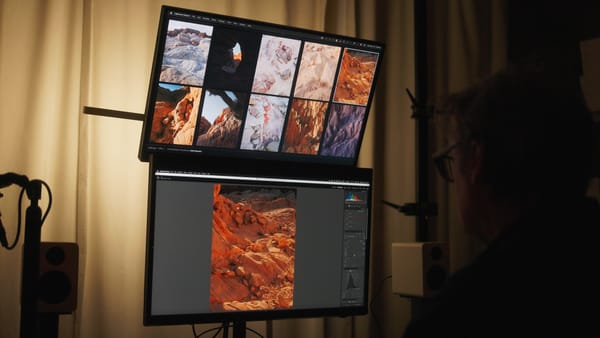
Now, I do pretty much everything in Photoshop.
This is more streamlined and less confusing for me, for then all my edits are contained in a single PSD instead of being split between Lightroom and Photoshop. Additionally, Photoshop has Adobe Camera Raw, so I can edit raw images just the same as Lightroom, then add luminosity masks, adjustments layers, and other edits on top. Photoshop also provides layer blend modes, which are extremely powerful once you get the hang of them.
Hopefully this video effectively illustrates my process, and you pick up a new technique or two along the way.
Thanks to Squarespace for sponsoring this video! Need a new website? Sign-up for a free 30-day trial, no credit card required. Then if you decide to keep it, use coupon code DOMINEY to knock 10% off a new website or domain.