DxO PureRAW review: better raw files
DxO PureRAW is a pre-processing application that promises better results from straight-out-of-camera RAW files. The app creates newly optimized DNGs that may then be edited in Photoshop, Lightroom, Capture One, etc. The app fits into a photographer’s current workflow without requiring them to switch everything over to something new (like DxO PhotoLab, the app from which PureRAW is derived from).
In this review, I’ll explain what PureRAW does, and show you a few examples of what it can produce.
Disclosure: DxO provided me with a copy of PureRAW for feedback and review.
What DxO PureRAW does
PureRAW uses nearly two decades of camera and lens optimization data (nearly 60,000 lens and camera combinations), plus artificial intelligence that has studied millions of photos, to demosaic RAW files. PureRAW denoises and fixes chromatic aberration, distortion, vignette, and other anomalies as data is demosaiced; unlike Adobe Camera RAW or other RAW processing utilities that apply these adjustments afterward. PureRAW also intelligently sharpens images edge-to-edge to create even and appropriate detail throughout the entire image. The resulting DNGs may then be imported into any RAW processing software (eg, Adobe Lightroom) for further processing.
DxO claims that by fixing and improving issues when data is demosaiced, PureRAW can achieve levels of clarity and sharpness that cannot be achieved using other software. I decided to put DxO PureRAW to the test by processing a variety of RAW files from different cameras (and a drone). Here’s what I found.
DxO PureRAW versus Adobe Camera RAW
Let’s take a look at some examples. For comparison, I intentionally used RAW photos captured using older digital cameras. I also processed drone images (shot using a DJI Mavic 2 Pro) since those especially typically suffer from distortion and a lack of corner sharpness and detail.
Detail and distortion correction
Below is a 1-1 comparison of the same straight-out-of-camera RAW file processed using Adobe Camera RAW (using DJI’s built-in profile) on the left, and DxO PureRAW on the right. No other adjustments have been made.
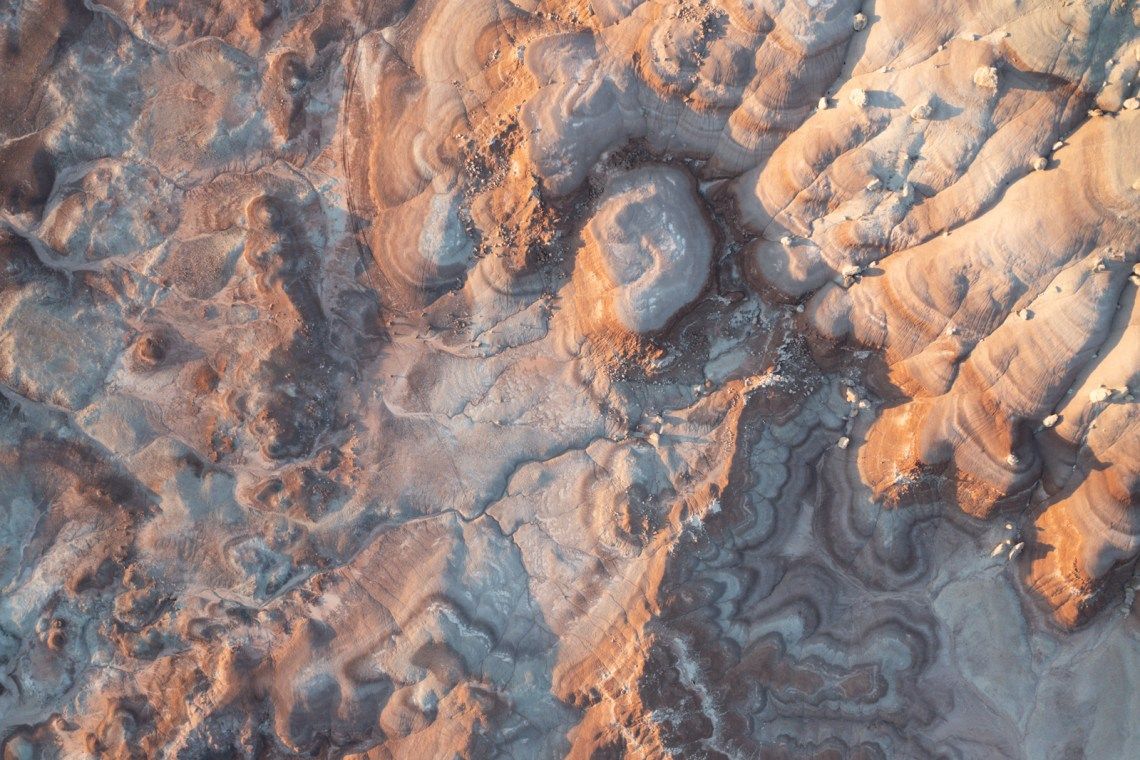
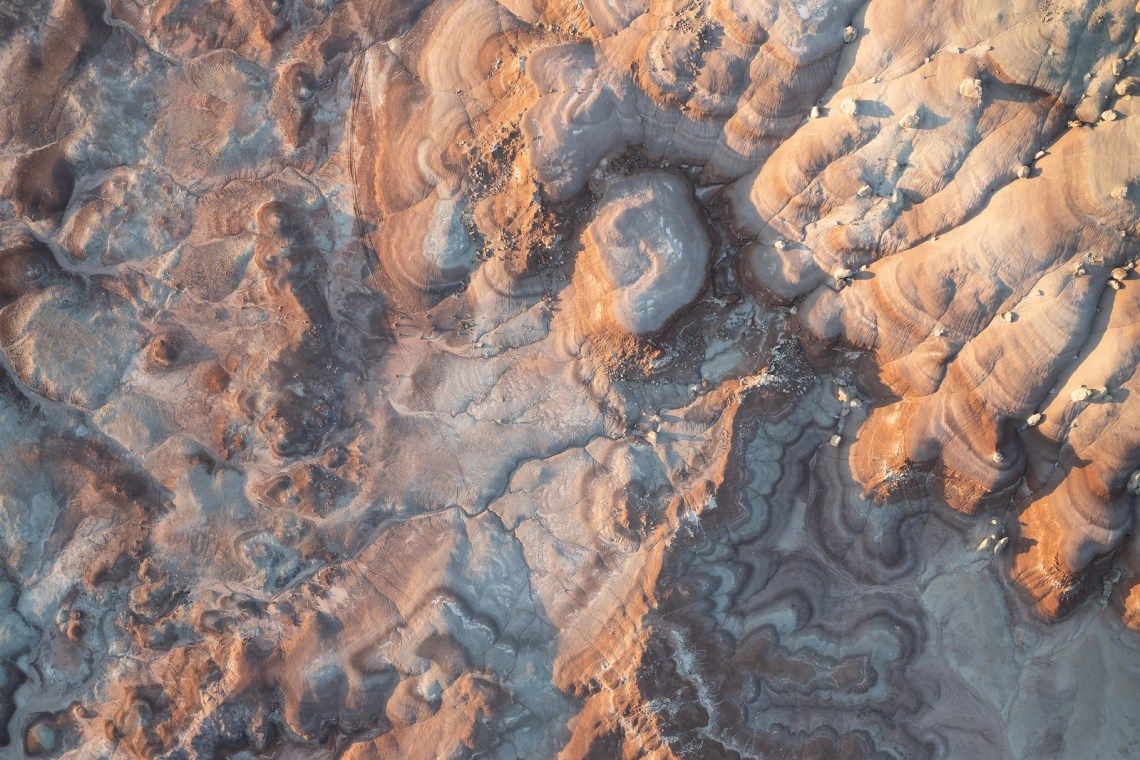
The DxO PureRAW version is noticeably more detailed and sharp from corner to corner compared to Adobe Camera RAW. Speaking of corners, take a closer look at the bottom-left corner.
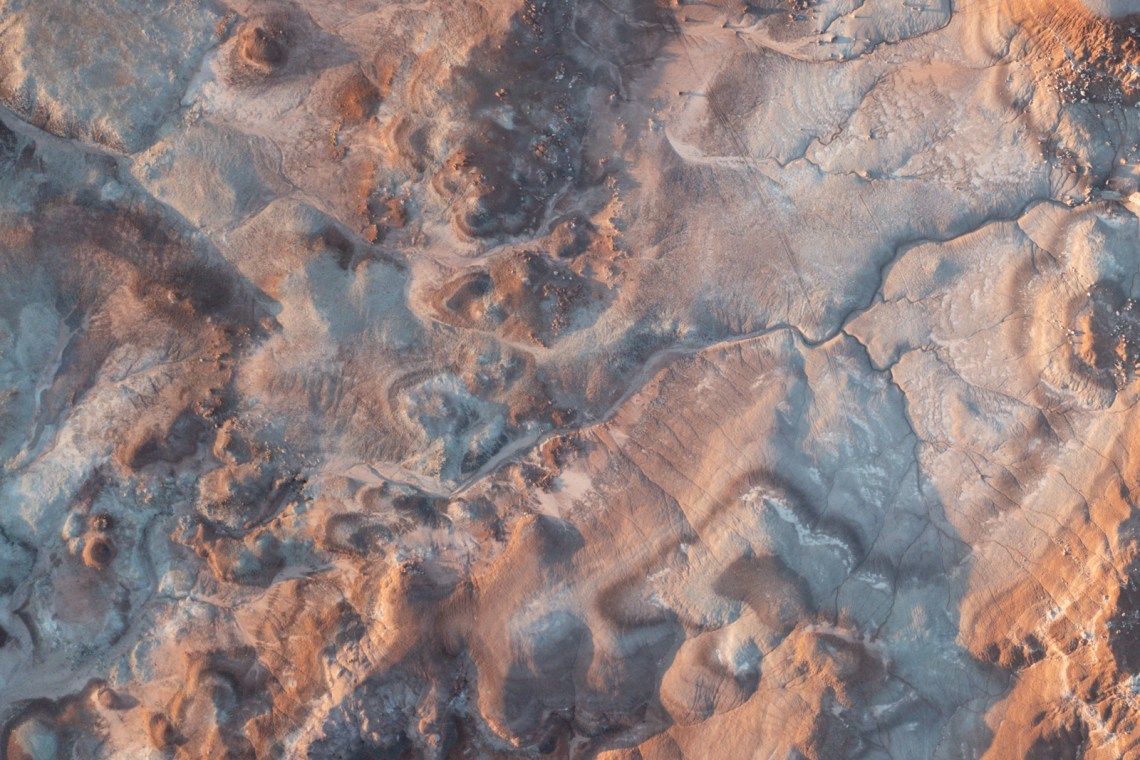
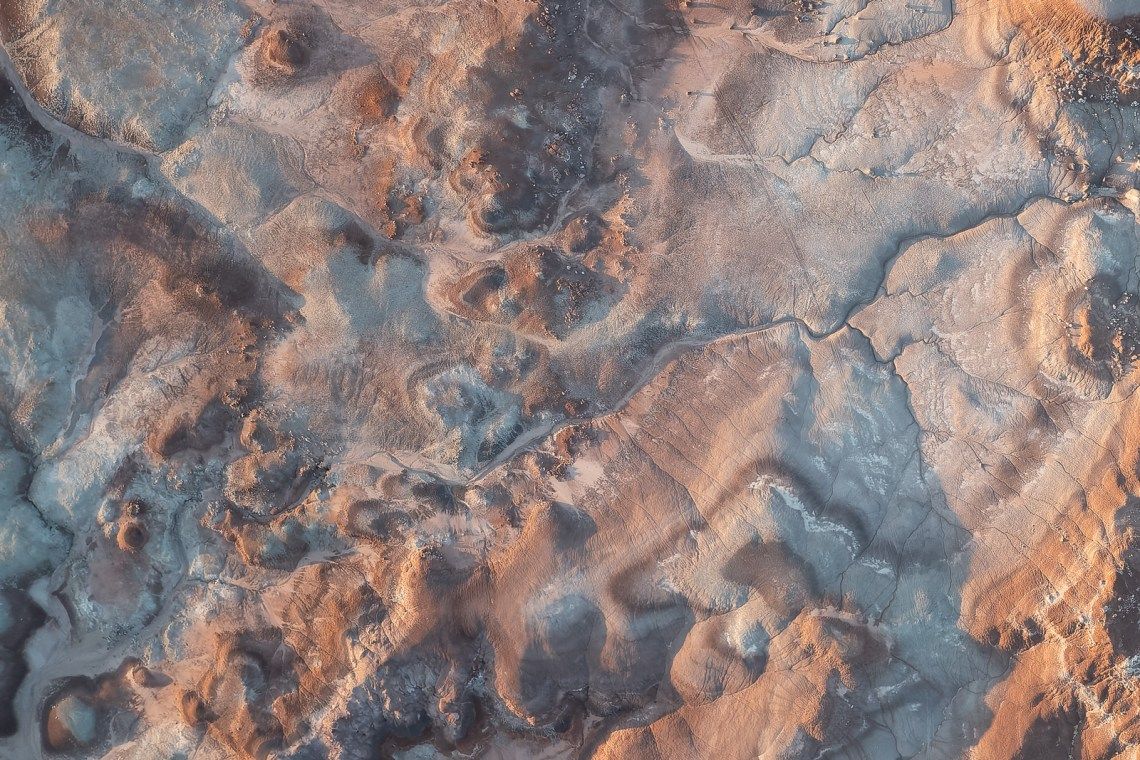
Now you can really see the difference. DxO PureRAW did a far better job of handling distortion and sharpness. Interestingly, more of the original image is now visible (look at the bottom-left corner to see the difference).
Noise reduction
Let’s now take a look at noise. The following straight out-of-camera RAW image was shot handheld, indoors, using a Canon 7D at ISO 8000.
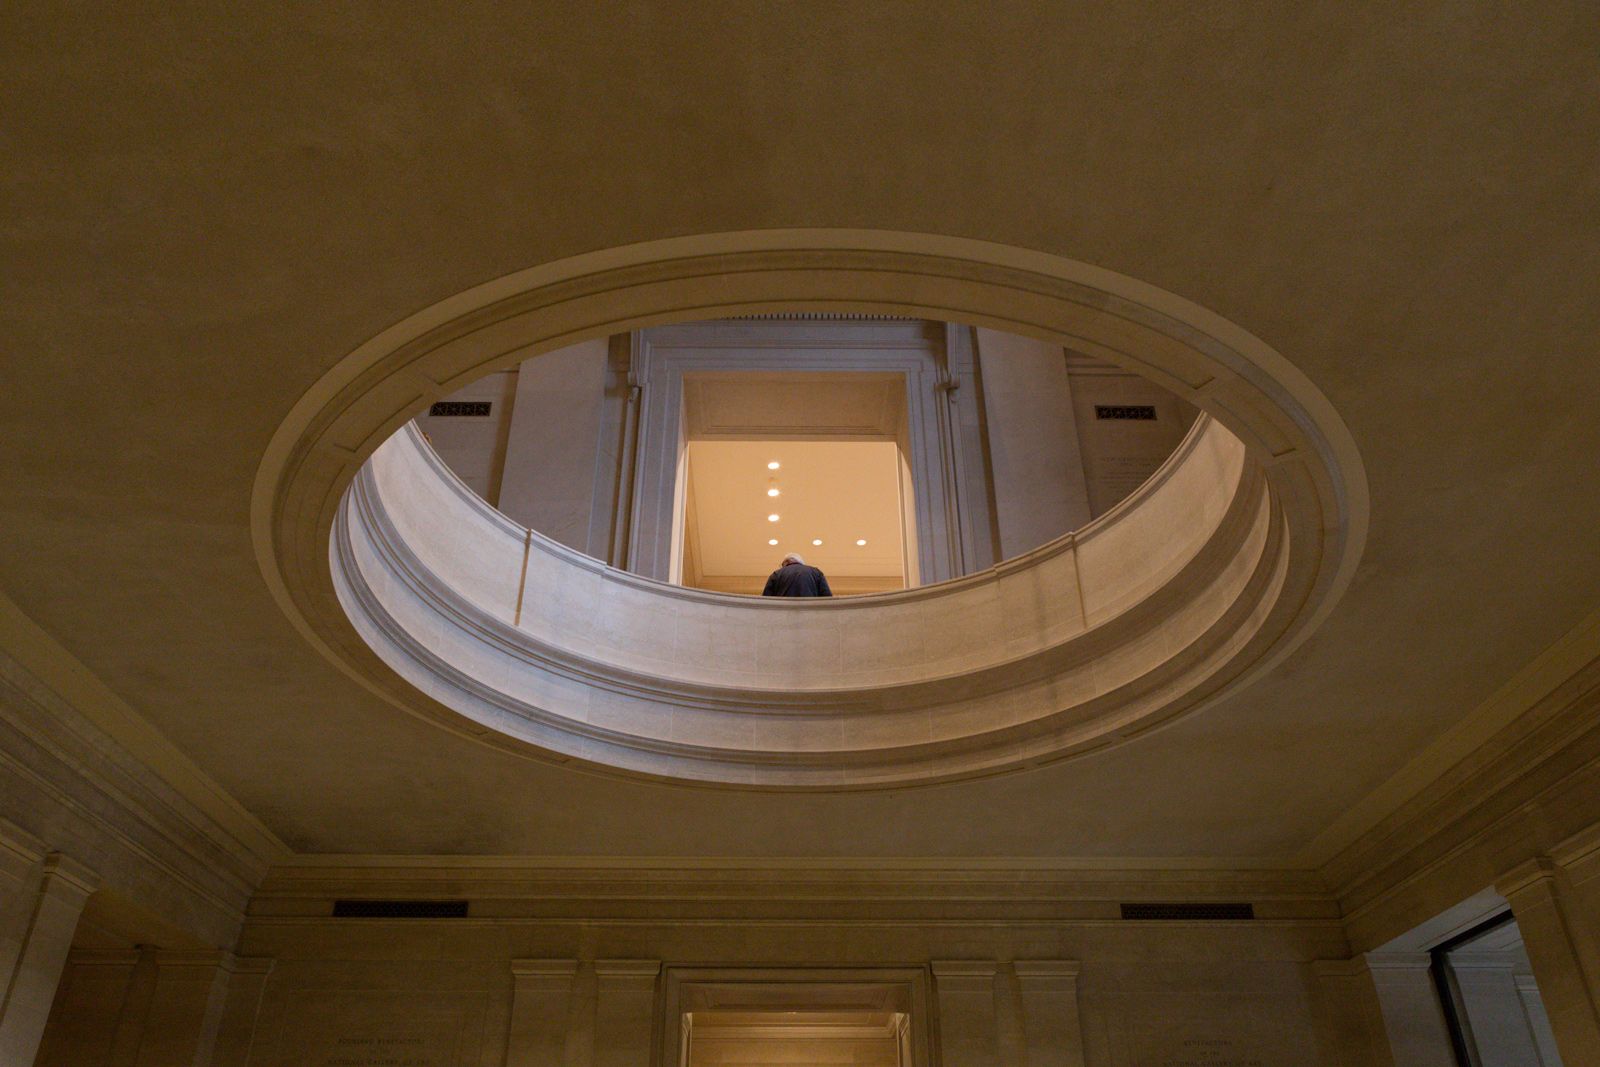
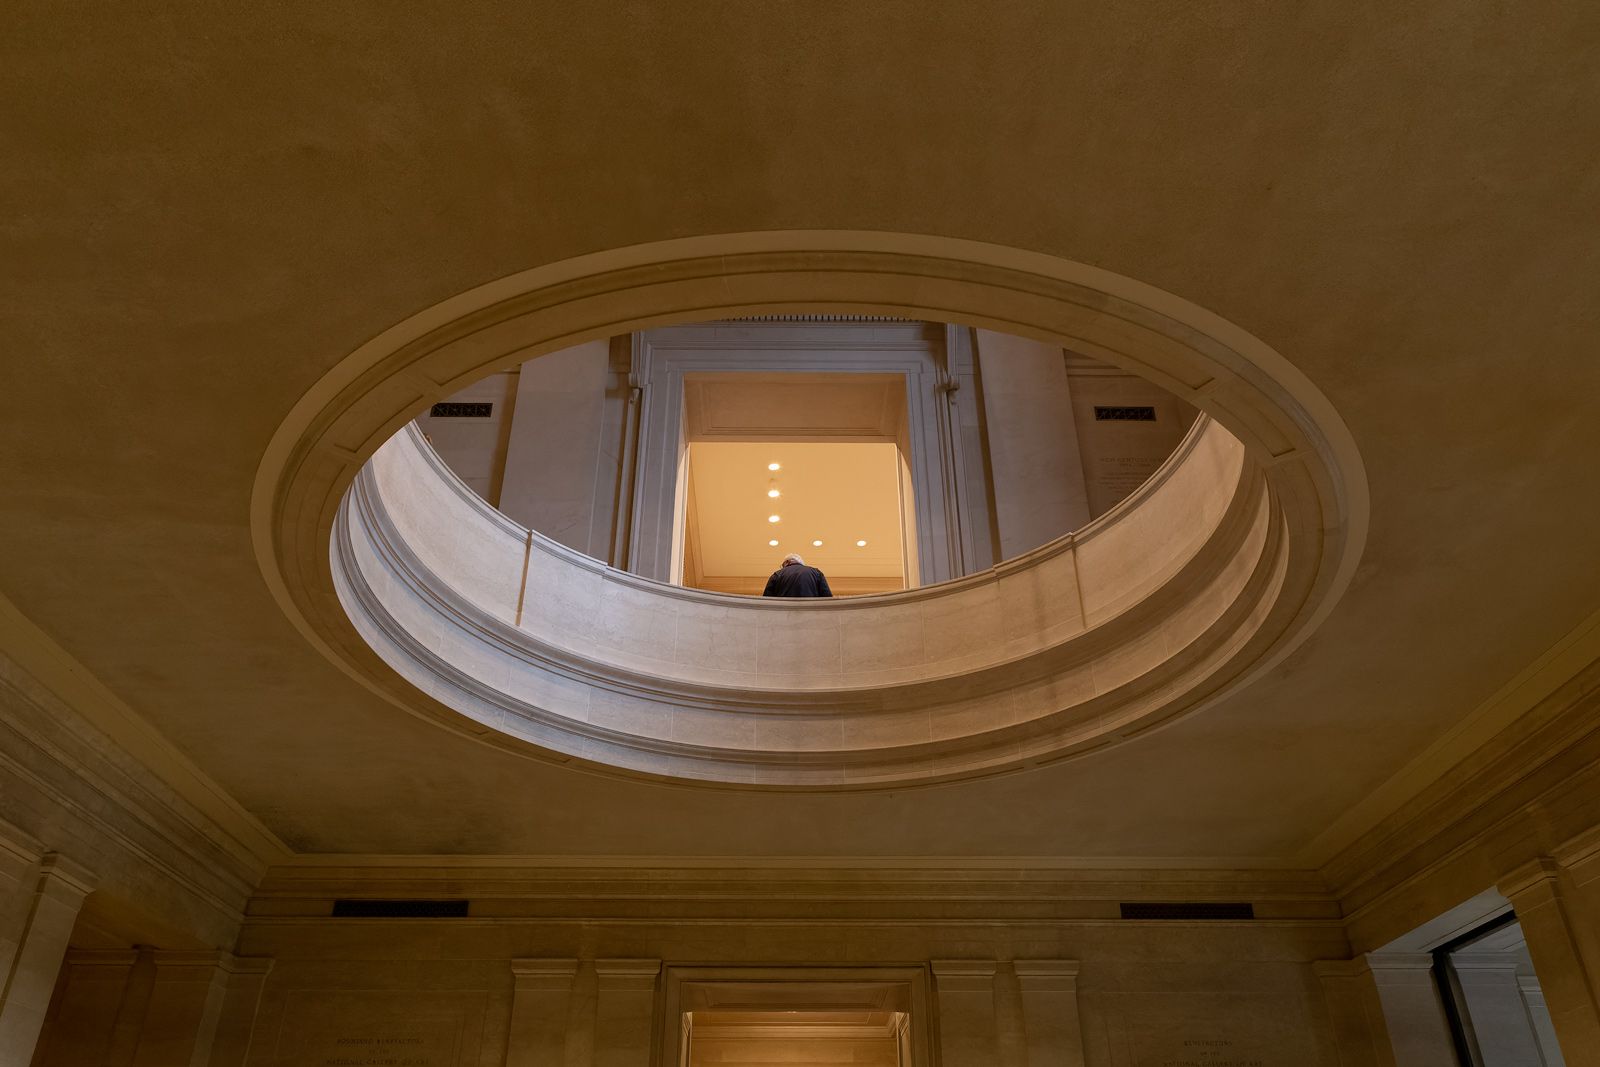
Overall, you can see DxO PureRAW did a better job of handling sharpness, noise, and (unexpectedly) color. Now let’s zoom way in and take a closer look.
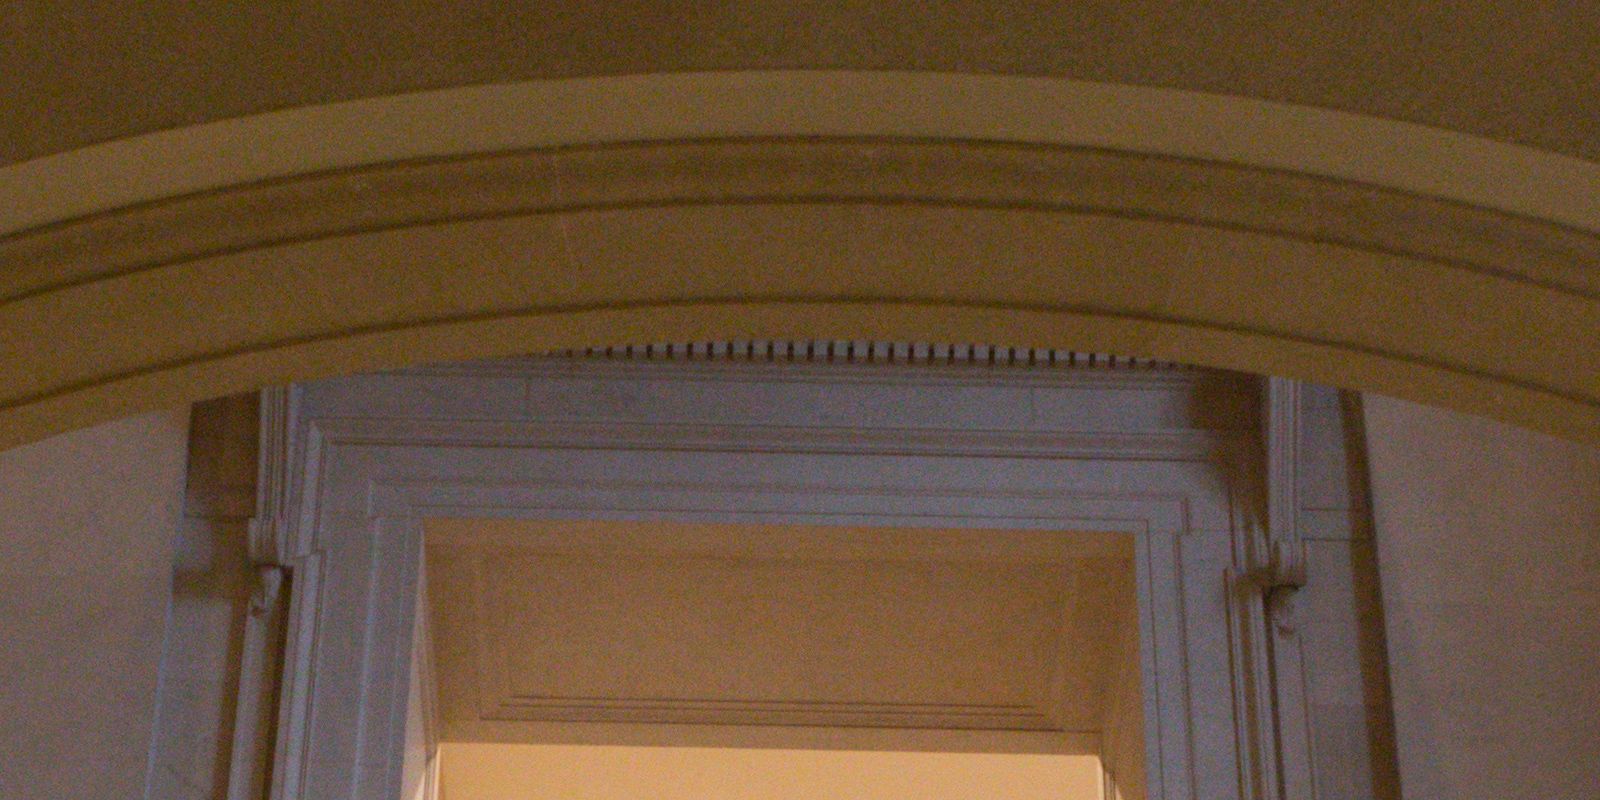
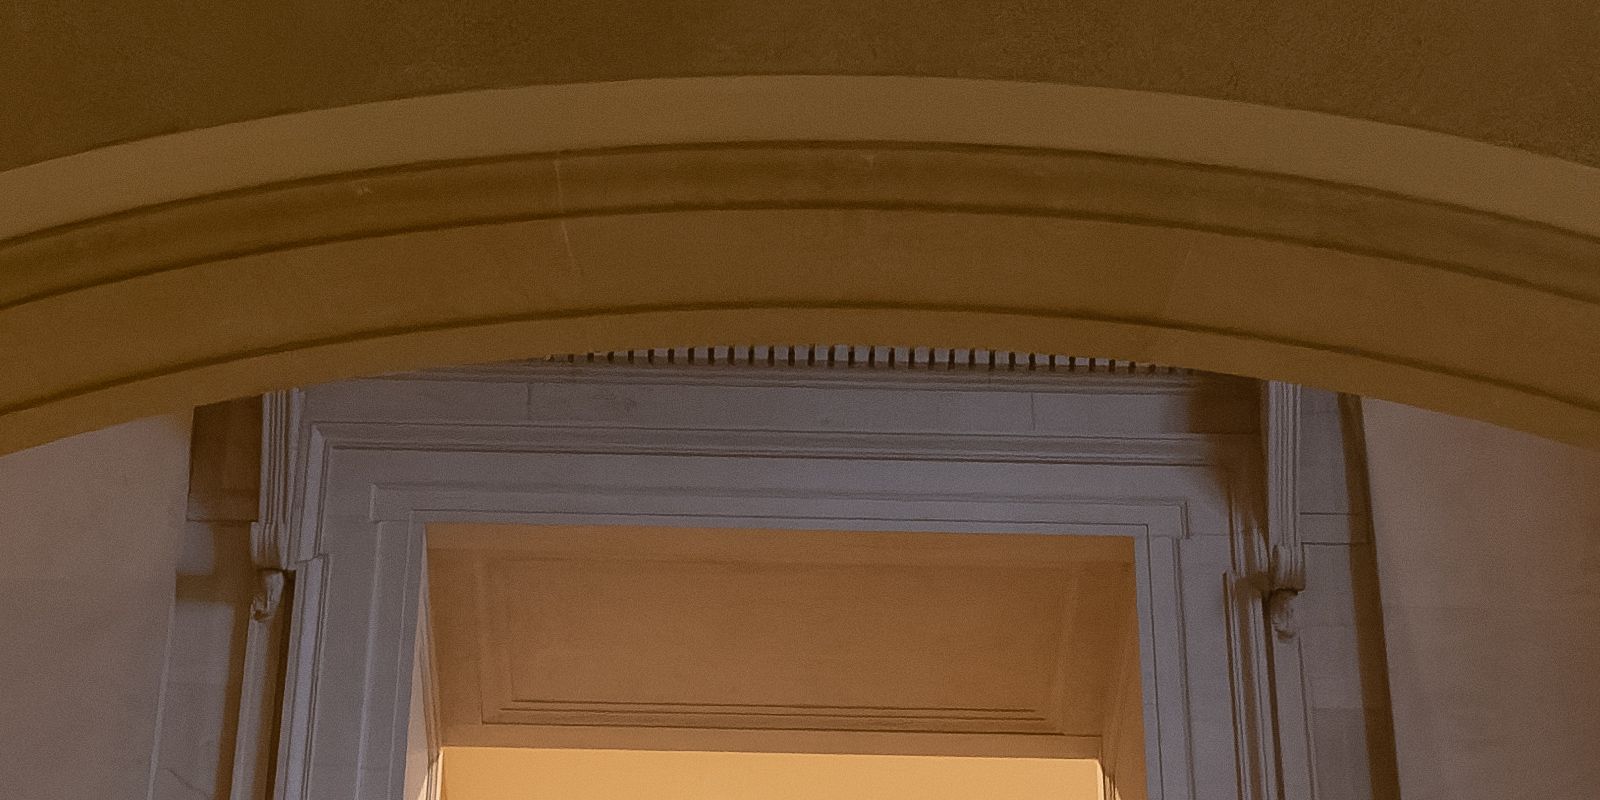
The original RAW file is full of colorful noise — especially in the white molding around the doorway. The DxO PureRAW file is clean, noiseless, and has well-defined lines.
Now let’s try to match the ACR image to the DxO PureRAW image by manipulating the noise reduction and sharpness sliders in ACR.


The ACR image does appear sharper and less noisy, but still nowhere near as good as the DxO PureRAW image.
What makes DxO PureRAW Great
Without question, DxO PureRAW did a better job than Adobe Camera RAW at processing every RAW image I tested. The older the image, the higher the ISO, the more dramatic the difference. Drone shots from my Mavic 2 Pro also looked incredible. In some instances the results were so transformative I wanted to do nothing more than spend hours reprocessing old RAW files.
The three processing modes — HQ, Prime, and Deep Prime — provide just enough processing control for most users. I found that Deep Prime performed best with older RAW files (and drone RAW images), but was sometimes a bit too intense for newer RAW files with low noise and good sharpness. In those instances, HQ and Prime did the job.
I also like that DxO PureRAW doesn’t require moving away from Lightroom, Photoshop, Capture One, or any other RAW photo processing app. It fits into your existing workflow by pre-processing your RAW files. The app simply provides a better, straight out-of-camera RAW files for you to edit.
Tip: When importing a PureRAW DNG to Lightroom, etc, avoid adding more noise reduction, vignette, lens correction profiles, and sharpening. DxO Pure RAW should provide enough on its own.
Finally, the software couldn’t be easier to use. You simply drag-and-drop RAW files into the app, choose where you want them saved, and PureRAW takes care of the rest.
What makes DxO PureRAW Not-So-Great
DxO PureRAW creates amazing images, but the DNG files it creates are (on average) three times larger. For example, the original “museum” RAW image was 27 megabytes, but the DxO PureRAW DNG was 70 megabytes. That’s a huge increase in file size. If I kept the original RAW file in addition to the PureRAW DNG (which I would for future use), I would effectively quadruple the amount of requisite disk space for each and every image.
PureRAW’s denoising and lens corrections are phenomenal, but I wish DxO would add a fourth processing mode using little-to-no sharpening. Sharpening is typically the final step in photo editing workflow (so that sharpening can be tailored for screen, print, etc). Baking the sharpening into the PureRAW DNG could lead to over-sharpening later when an image is reformatted / resized.
Update (Oct 6, 2021): DxO PureRaw 1.5 added a new “Global Lens Sharpening” toggle to DeepPRIME processing. When toggled off, sharpening is only applied to fine details (not the entire image). Better than no control at all, but you still can’t turn all sharpening off or customize the amount of sharpening.
Final thoughts
DxO PureRAW is impressive. There’s no better feeling than importing a RAW file from years ago and seeing it reborn with improved demosaicing and intelligent denoising / sharpening through AI.
Highly recommend downloading a free trial and giving it a try with your own images!
Video Review
To see more examples, check out the following video from my YouTube channel.
