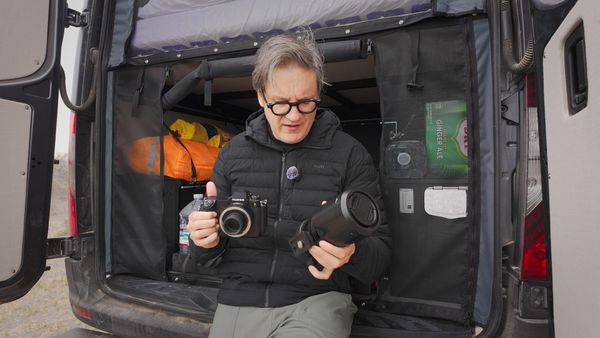
Wind is the enemy of sharp photos. Here's how to beat it.
Wind is one of the toughest conditions a landscape photographer can face. Here are practical, field-tested tips for getting sharp images when the wind won't cooperate.
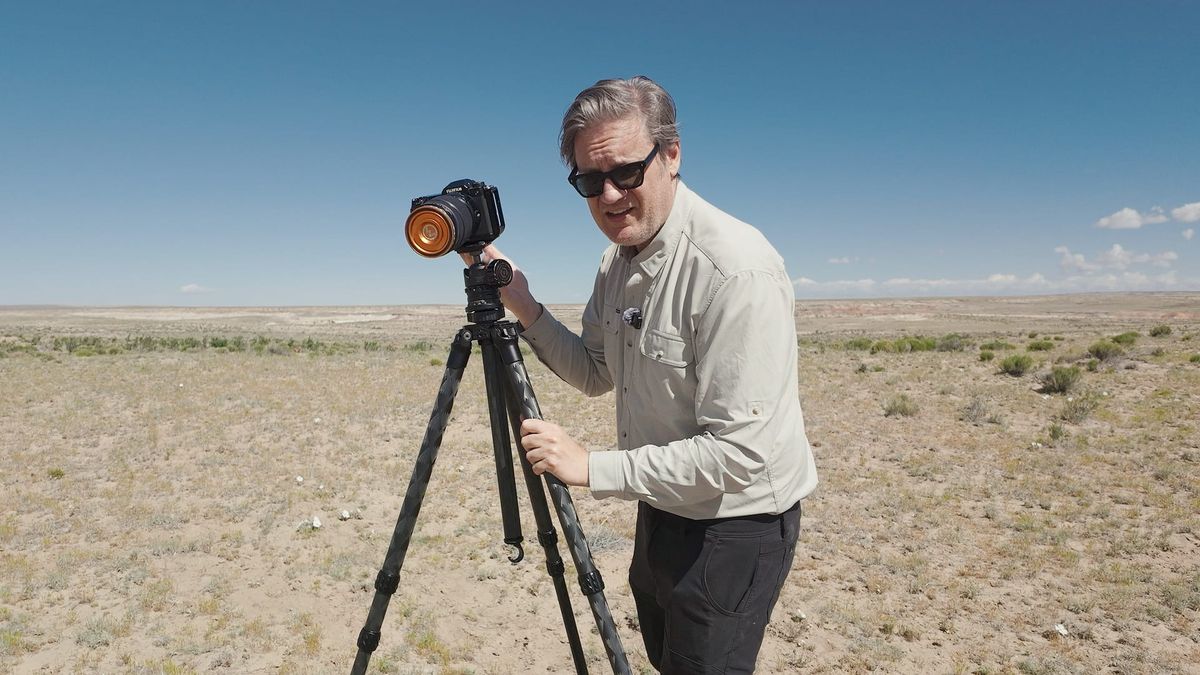
Sharp landscape images in strong wind come down to a handful of decisions made before you press the shutter. Tripod choice, setup, focal length, shutter speed, and where you stand all matter more than most photographers realize. The tips below are what I rely on when conditions get rough.
Don't use cheap, thin tripods
Travel tripods are popular for good reason: they're lightweight, compact, and easy to carry. But they're not built for demanding outdoor conditions. Most don't extend tall enough for serious landscape work, and they lack the rigidity to hold steady in wind. Rather than absorbing vibration, they transmit it directly to the camera, which shows up as a subtle blur, especially at slower shutter speeds. There are things you can do to help stabilize any tripod (more on that in a moment), but if you're shooting in challenging conditions, a stronger, more rigid base will go a long way toward reducing vibration and keeping your camera from getting blown over.
Don't raise the center column
Whatever tripod you own, if it has a center column, avoid raising it in high wind. I'm guilty of this too. It's faster than extending the legs, but a raised center column is far more susceptible to shake and vibration. Keep it lowered and locked, and use the legs to raise the camera when you need to.
Lower the tripod
The taller your tripod, the more wind it catches and the more leverage that wind has to move the camera. Wind speeds also drop closer to the ground, where terrain and vegetation create friction and slow the air down. Both effects work in your favor when you keep the setup low. Compositionally speaking, lowering the tripod is also a good practice to get into if you have a habit of always raising your camera to eye level.
Add weight to the tripod
If your tripod has a center column, it probably has a hook at the bottom. Hanging a camera bag from it adds weight and improves stability. Just keep an eye on the hook itself. Some are made of cheap plastic and will break under a heavy bag. It's happened to me.
If your tripod doesn't have a center column, a stone bag works well. These typically pack flat, attach to the legs, and you fill them on location with whatever's around: rocks, dirt, sand, or even extra lenses. Most collapse when the tripod folds, so you can leave them attached without adding much bulk.
Add spikes to the tripod feet
Many tripods ship with extra spike feet as an alternative to the standard rubber tips. Spikes dig into soft terrain and anchor the tripod below the surface, where vibration is less likely to travel. If you're shooting on grass, dirt, or sand, they're worth swapping in.
Use a timer and shield the camera
I always shoot with a two-second timer on my Fujifilm GFX so that any vibration from pressing the shutter button has time to settle before the exposure fires. In wind, that brief pause also gives you a chance to block the camera.
Pay attention to where the wind is coming from before you set up. Positioning yourself, or the tripod, so that a rock face, a hillside, or dense vegetation breaks the wind before it reaches your camera can make a significant difference. Terrain features like these act as natural windbreaks and are worth factoring into where you plant the tripod, not just how you frame the shot.
When no natural cover is available, use your own body. Step into the wind's path and let it hit you instead of the camera. I'll use my hands or pull my jacket up to shield the body as well. It sounds low-tech, but it works.
Push your shutter speed higher
The longer the shutter stays open, the more vulnerable the image is to blur. On calm days I don't think much about shutter speed, even with long exposures. Wind changes that. If conditions are strong, I'll raise my ISO from its base value, say from 80 to 400 or 800, to increase sensor sensitivity and push the shutter speed up. Modern noise reduction in Lightroom and similar tools handles higher ISOs well enough that it's rarely a problem. Opening the aperture a stop or two is another option to let in more light and achieve the same result.
The harder situation is when a long exposure is the point. Moving water, blurred clouds, light trails. These require a slow shutter by definition, and you can't simply speed things up without losing the effect you're after. In those cases, lean harder on the physical stabilization tips above: get the tripod as solid as possible, add weight, keep the center column down, and time your exposures for brief lulls in the wind if you can. It won't always work out, but a few sharp frames in a session is better than none.
Consider your focal length
Focal length affects how much wind-induced shake shows up in your images, and it's worth keeping in mind when conditions get rough. Wide angle lenses are more forgiving. The broader field of view means small amounts of camera movement have less impact on sharpness. Telephoto lenses are the opposite. The longer the focal length, the more any vibration is magnified in the final image. If you're shooting at 200mm or longer in strong wind, you're fighting an uphill battle even with a solid tripod setup.
When conditions are bad, defaulting to a wider focal length, if your composition allows it, gives you a better chance of walking away with sharp frames. If you're shooting with a high resolution camera, this is even more viable as a strategy. My GFX 100S II captures 102 megapixels, which means I can shoot wide, nail a sharp frame, and crop aggressively in post to simulate a tighter focal length without giving up meaningful detail. It's not a perfect substitute for a telephoto lens, but in wind, a sharp wide frame you can crop is worth far more than a blurry telephoto shot you can't use.
Should you use image stabilization?
Most modern mirrorless cameras include IBIS (In-Body Image Stabilization), and many professional lenses offer OIS (Optical Image Stabilization) via a switch on the lens barrel. Photographers have debated for years whether either one helps or hurts when the camera is mounted to a tripod. Some manufacturers recommend disabling stabilization in that situation, because the system tries to compensate for motion that isn't there, which can actually introduce shake. Others (like Fujifim and their GFX cameras) recommend leaving it on, for the camera should automatically disable stabilization when it isn't needed. Others don't offer any guidance and leave it to you.
My approach: use the live view on the back of the camera, zoom into your subject, and watch the edges and corners of the frame. If the image is moving, try enabling OIS and see if it settles. If it does, leave it on. If it doesn't, turn it off.
Test tripod performance with a mobile app
If you own more than one tripod or head and want to objectively compare how well they handle vibration, you might try Physics Toolbox (iOS/Android). It includes a G-Force Meter, Linear Accelerometer, and Gyroscope that give you real data on how much movement your camera is experiencing. Mount your phone to the tripod using a phone clamp or your camera's cold shoe, head outside on a windy day, and let the app do the measuring. It might also a great way to see the center column effect in practice. Raise it, watch the numbers, then lower it and compare.